Placing graphics in a matter of placing previously created graphics (with few exceptions) generated by another application thru the Place facility under the File menu.
Placing a bitmap graphic
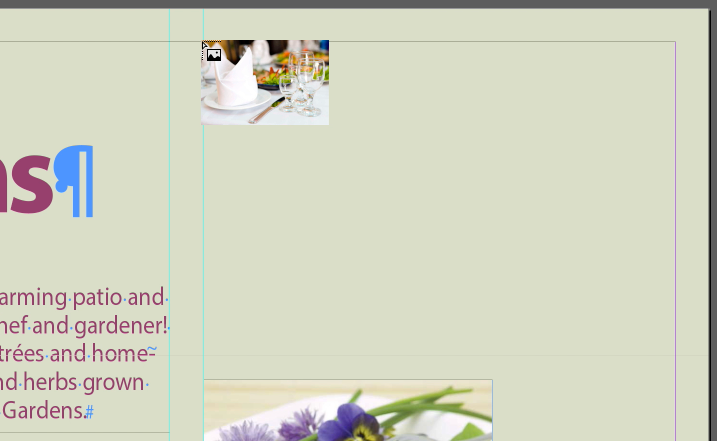
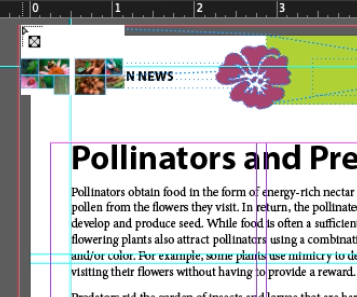
Deselect all (click off onto pasteboard or use Menu > Place... and position the loaded cursor to align with the guides above the picture of the flowers
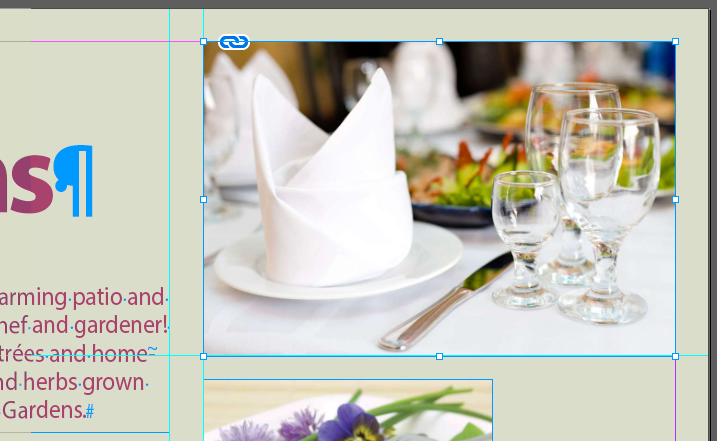
Click and drag to line up the right edge to the guide on the right side of the page and release
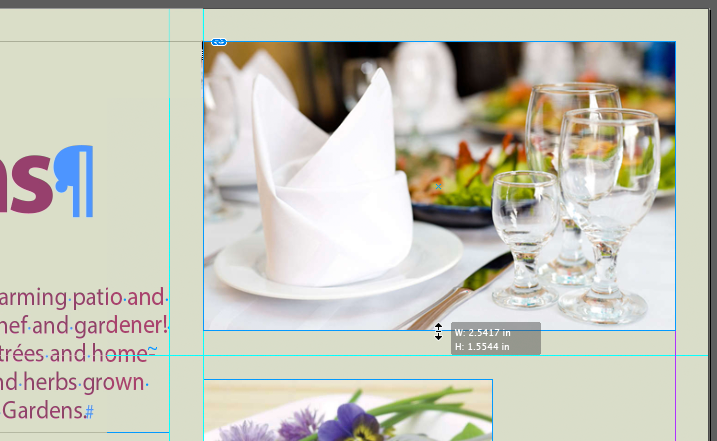
Use the Selection tool (V) to drag the bottom center square of the selection rectangle up a bit. Notice that this crops the image rather than resize it.
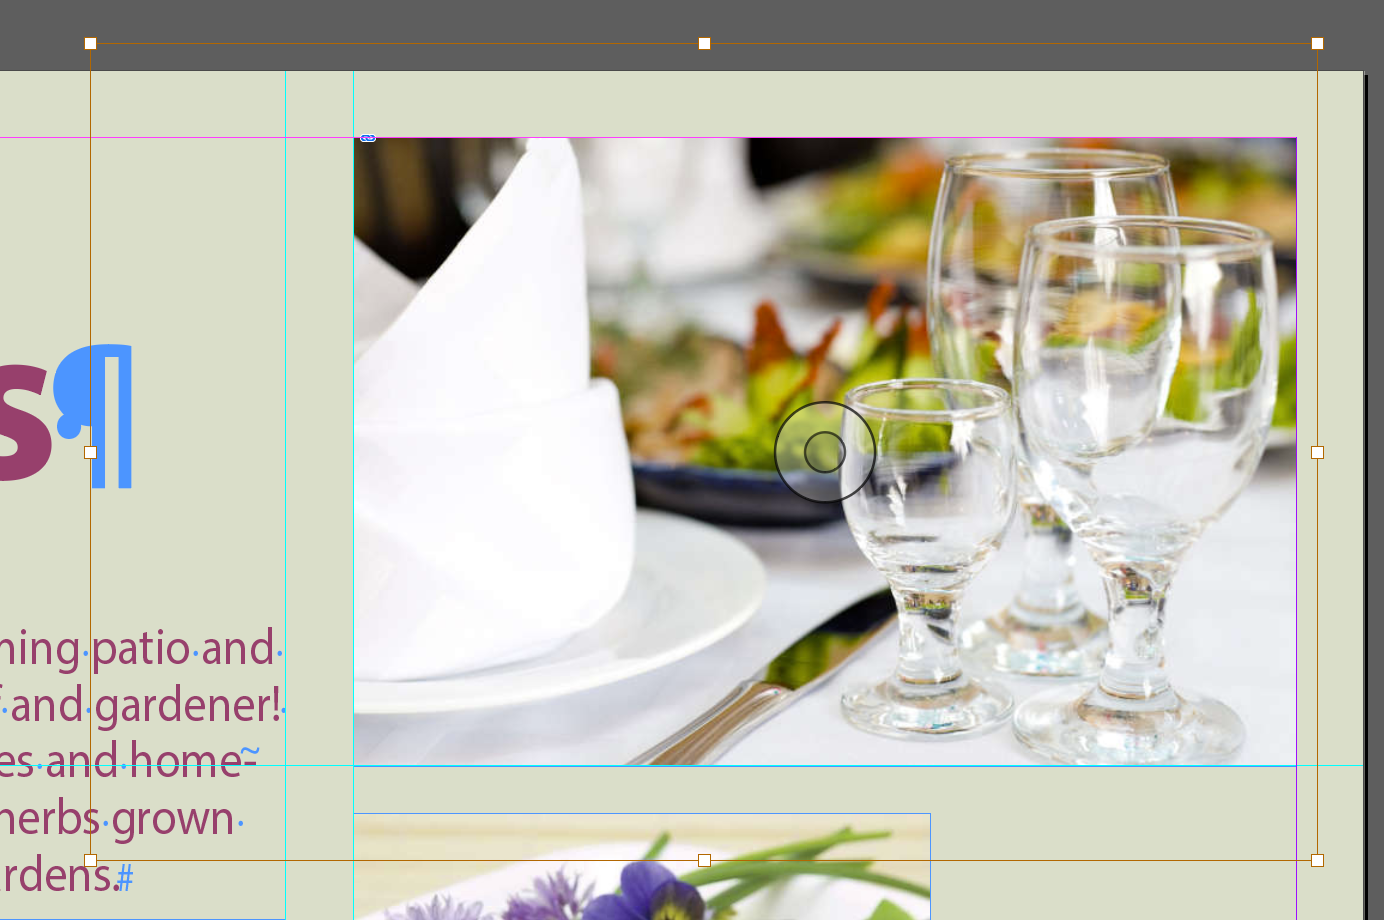
Now use the "content grabber", that donut shape in the center of the graphic's rectangle, to move the image around and scale it inside the rectangle. Takes a bit of getting used to, but it's very powerful and completely different from any other UI in Adobe's products.
Undo everything...
Working with Objects
Objects are things like text frames, graphics frames, rules (line), tables and more
Move’m with the selection tool
Give’m fill colors and stroke colors
Objects “snap” to other objects. Edges to edges, centers to centers.
You can scale and rotate them too.
Moving and Rotating and Object
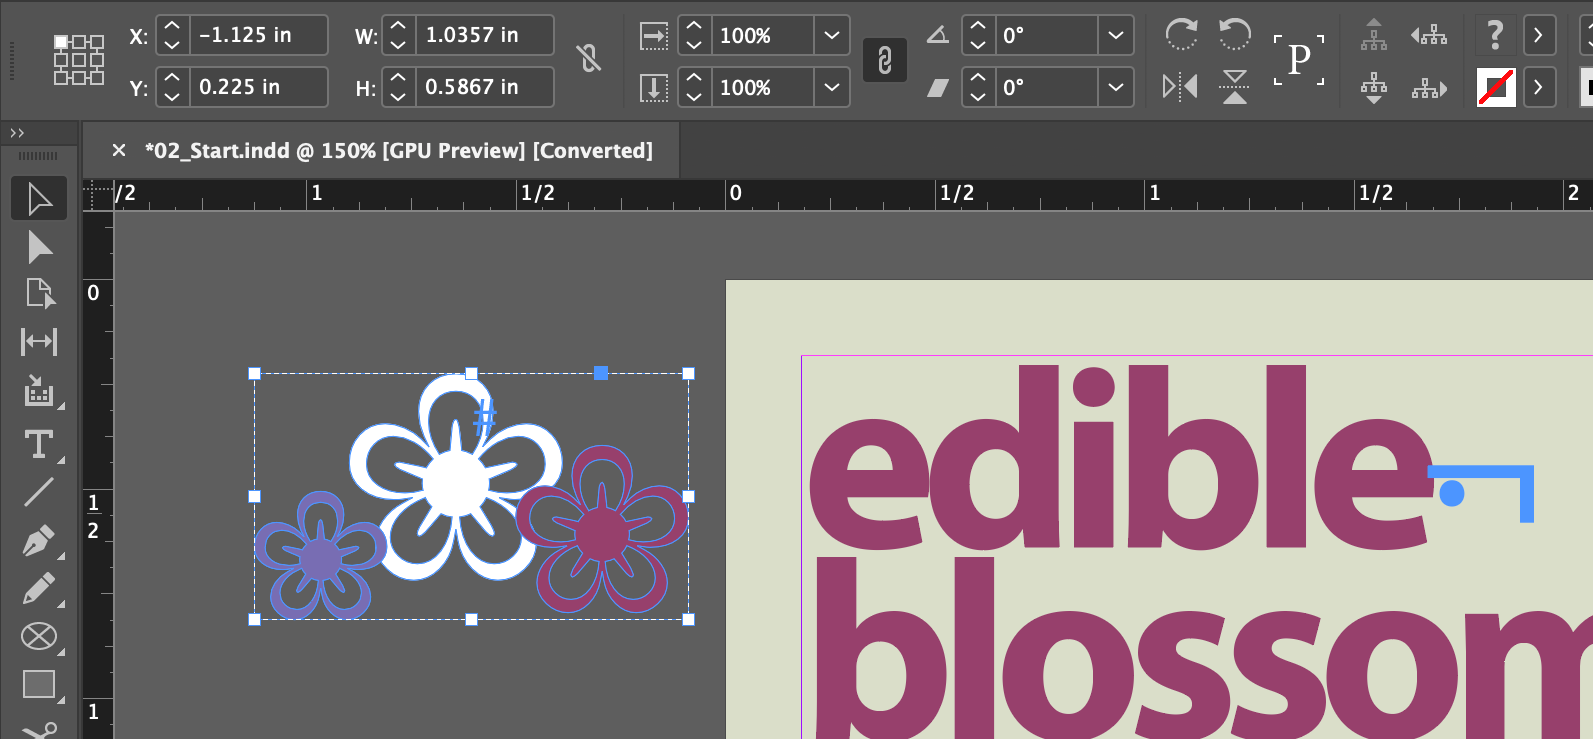
Select the flowers off to the left of the page with the Selection tool (V)
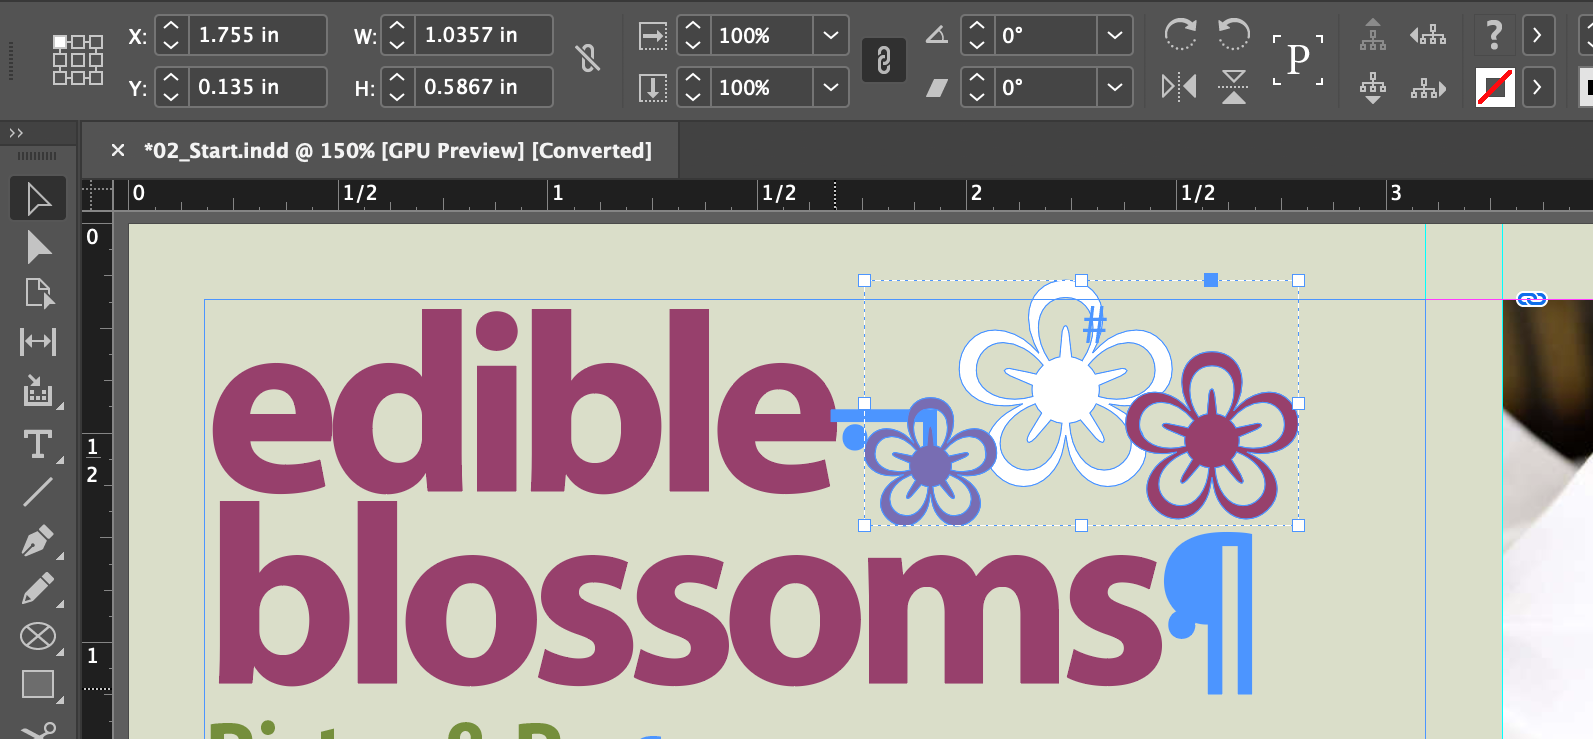
Drag them to the left of the headline "edible"
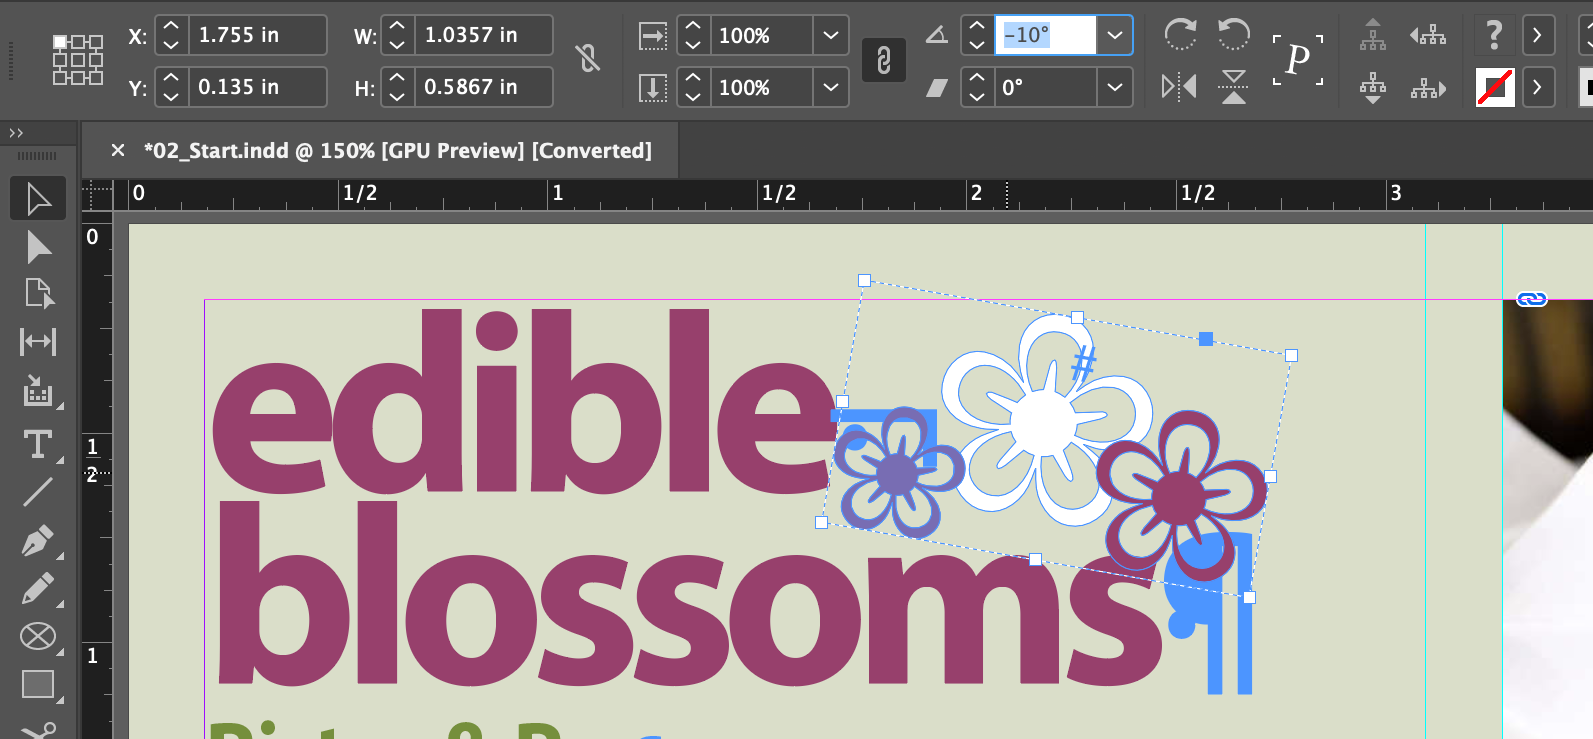
Rotate it with the Control Panel angle adjustment -10°
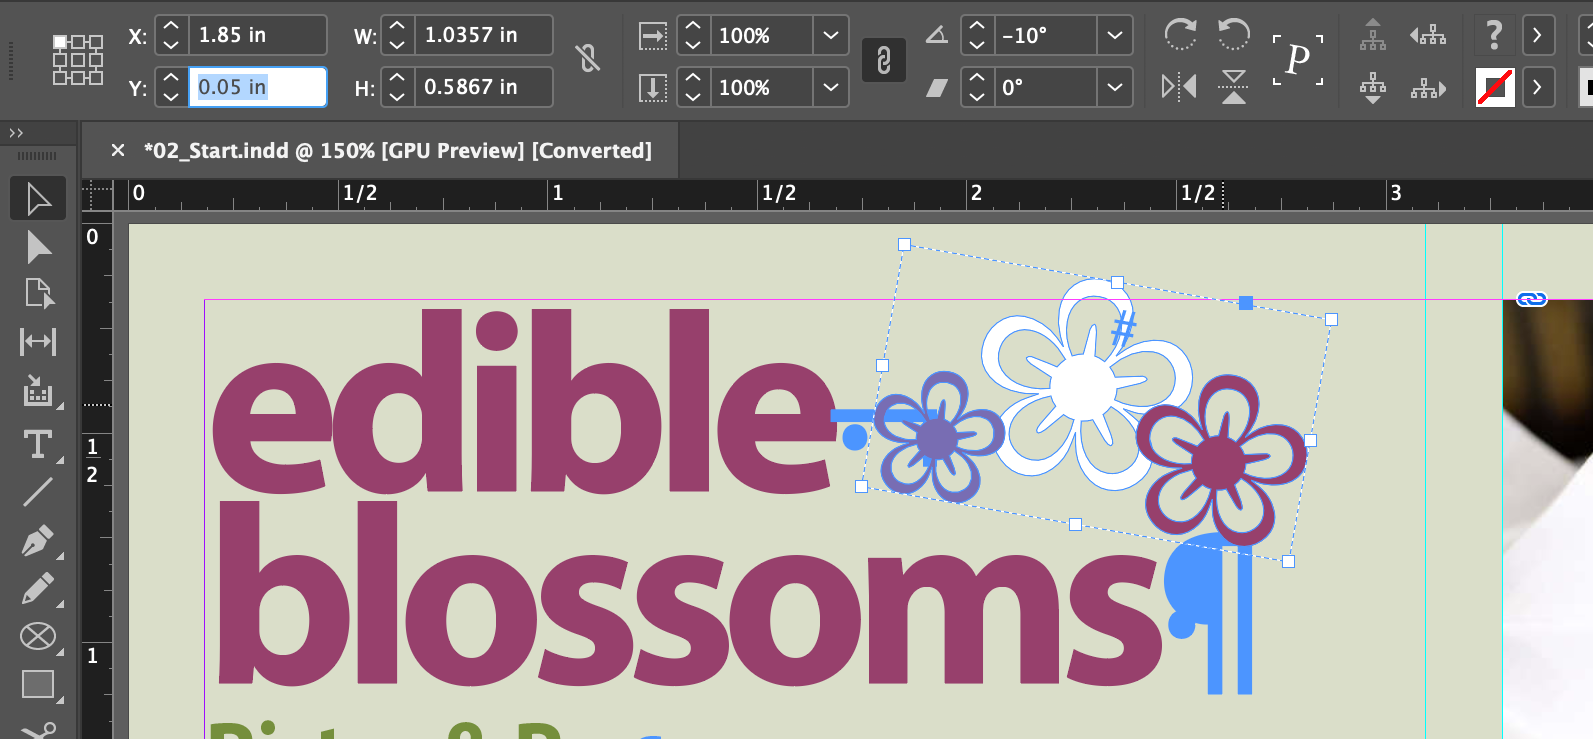
Use the Control Panel to set the x and y locations to X: 1.84 in and Y: .05in
Changing and object's stroke and fill
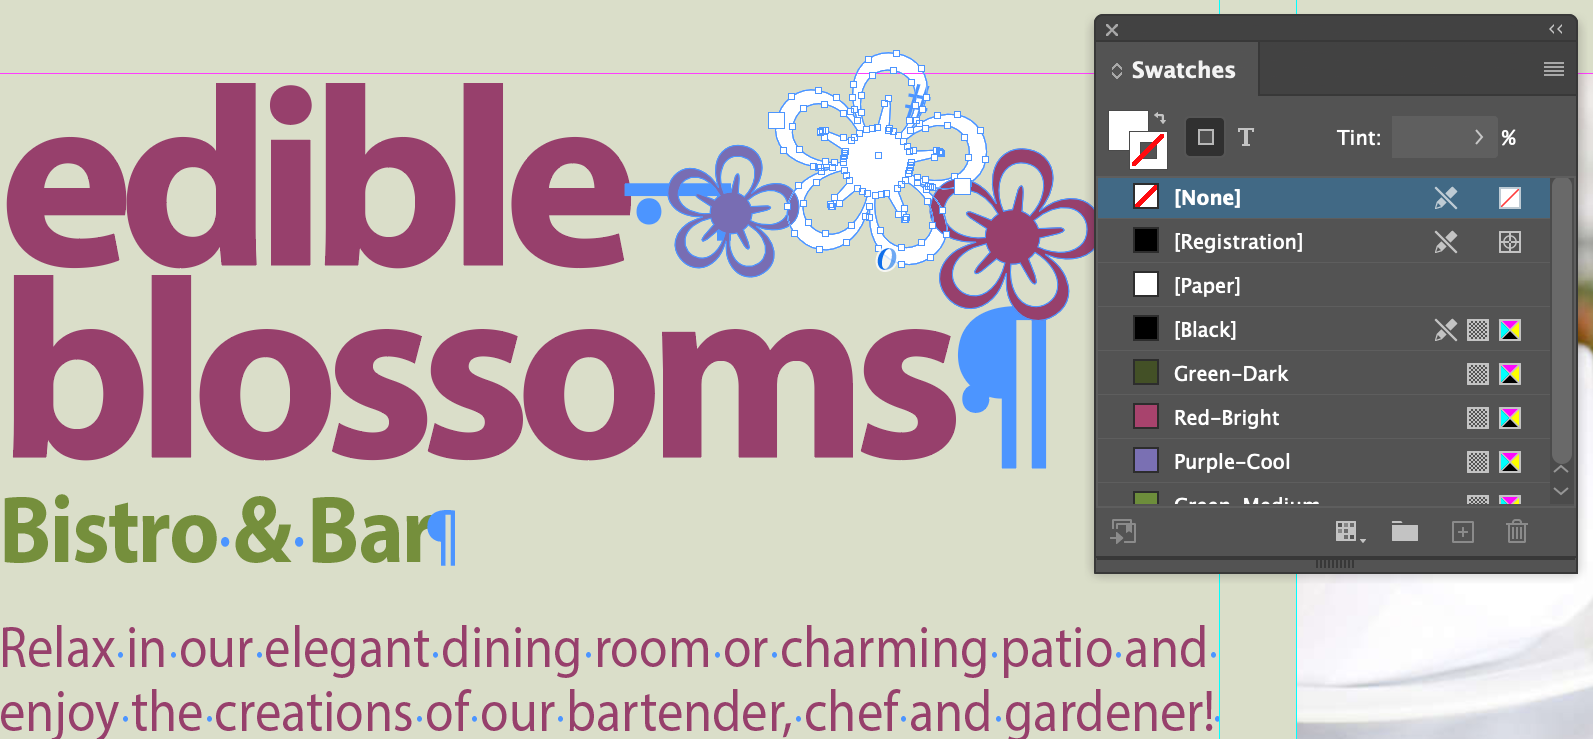
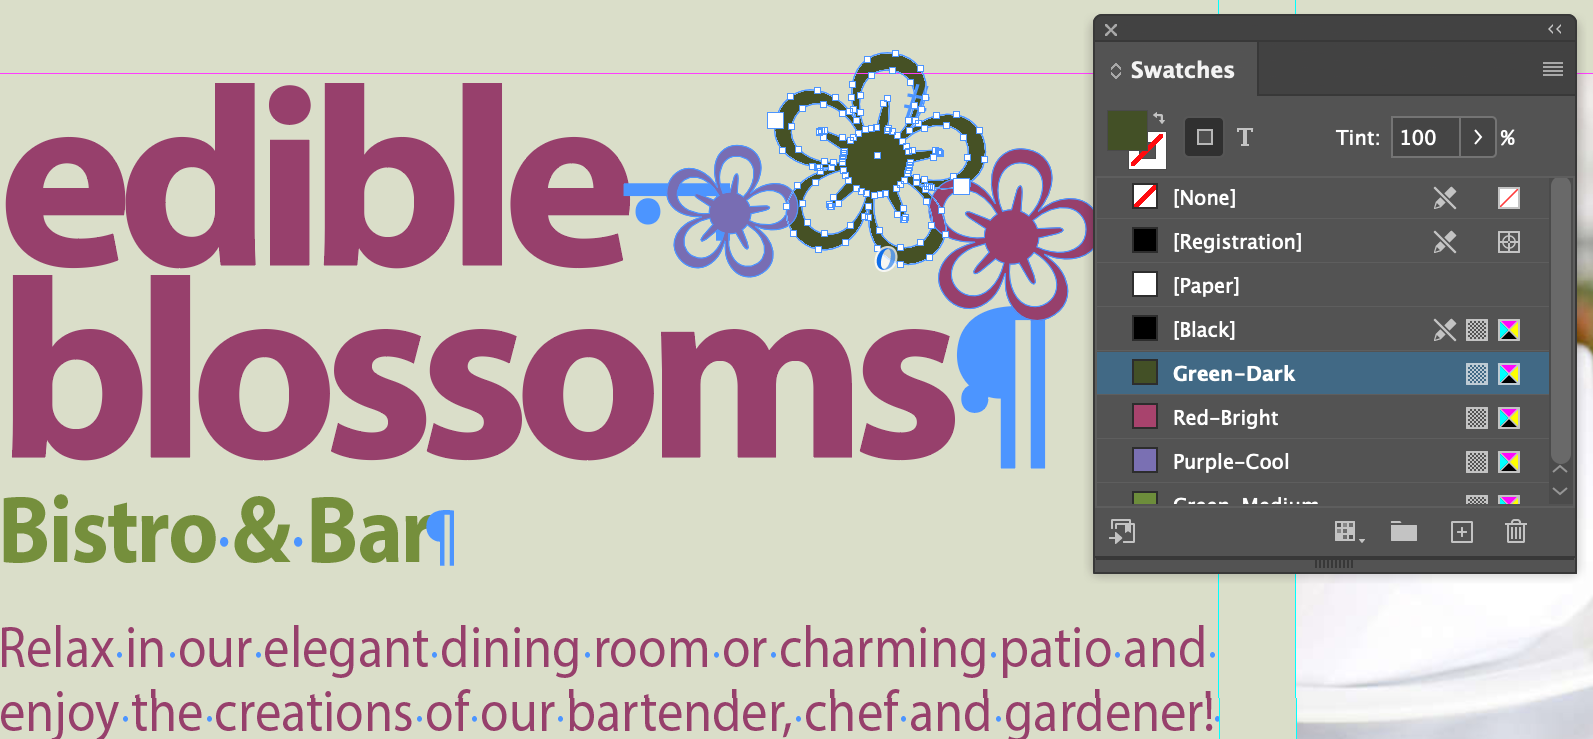
Use the Direct Selection tool (A) to select the white flower
Open the Swatches panel under Menu > Windows > Color
Making sure the Fill tab is in front in the panel, fill the white flower with Green-Dark
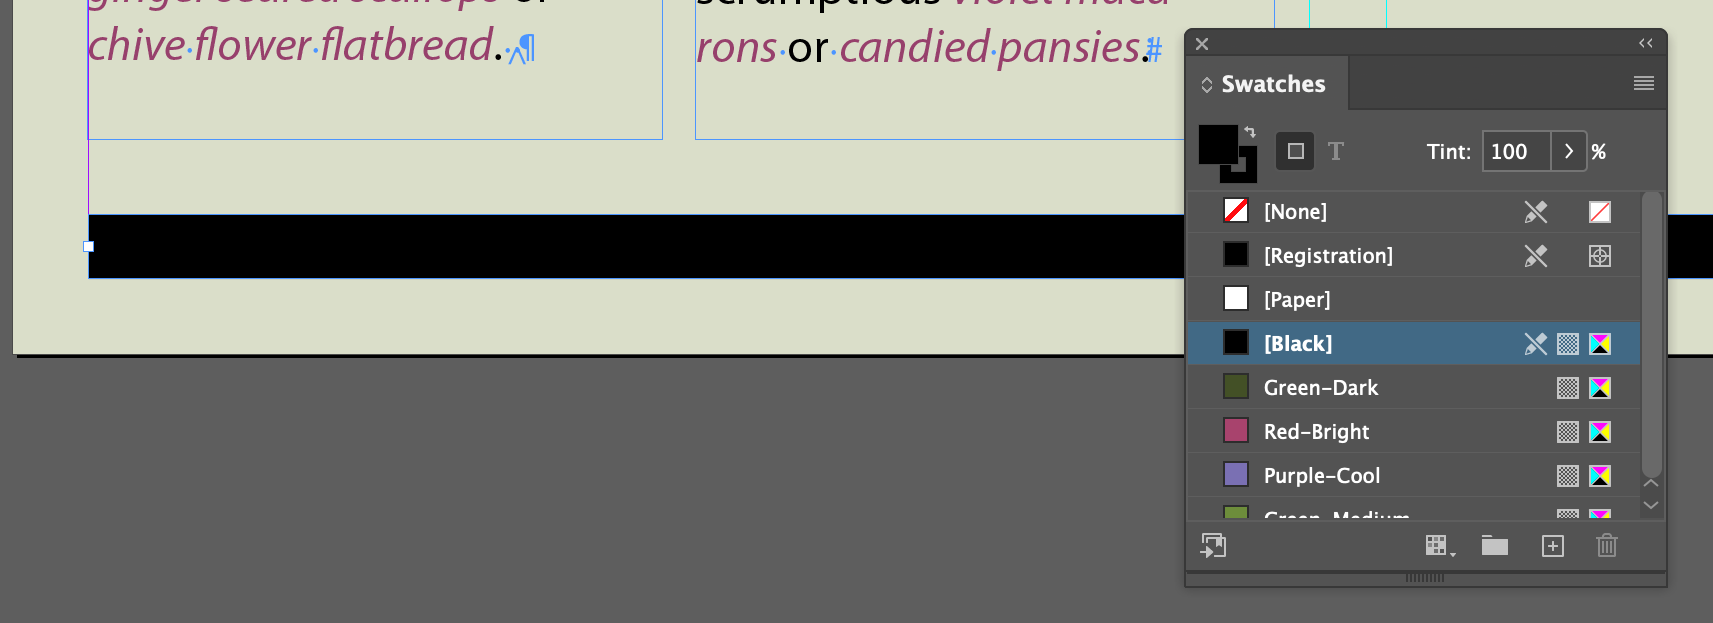
Then with the Selection tool (V), choose the black rule at the bottom of the page...
And set the stroke color to Green-Medium
Working with Object Styles
As with paragraph and character styles, you can create and apply object styles
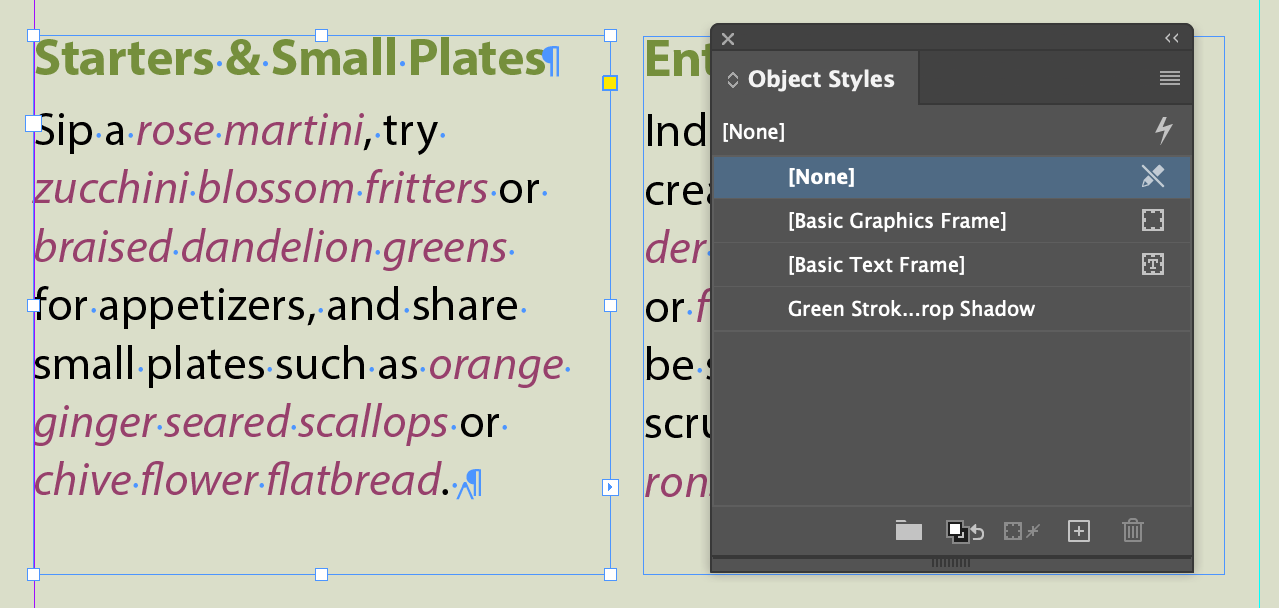
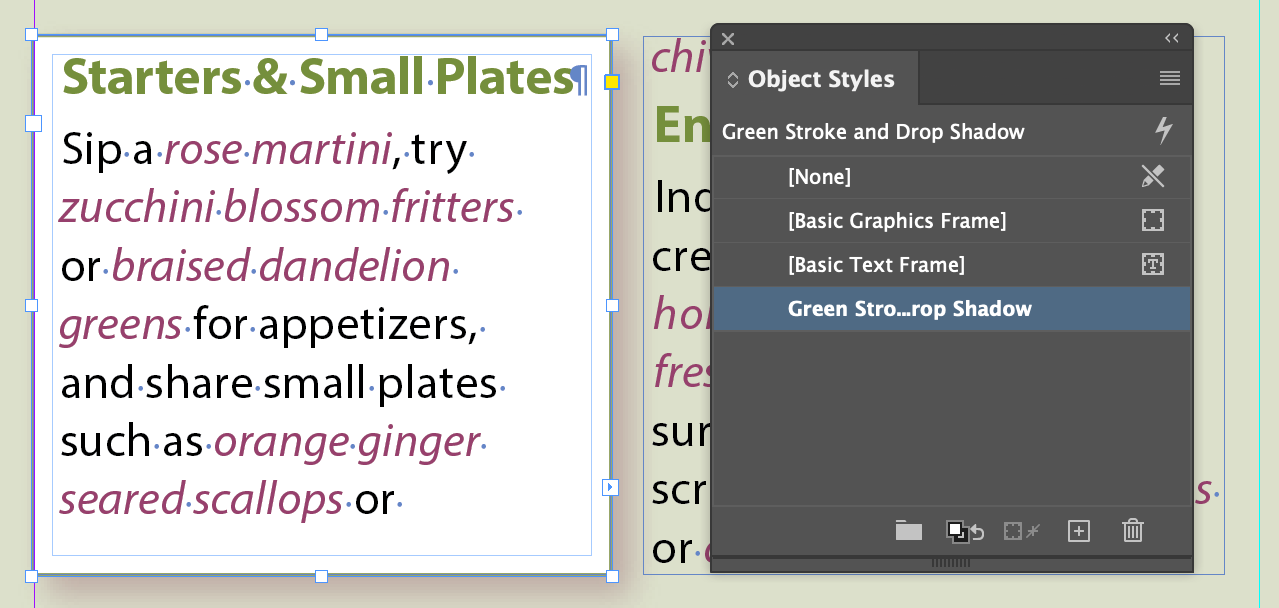
Open the Object Style panel (Menu > Windows > Styles > Object Styles) and select the text frame with "Starters & Small Plates" subhead
Click the "Green Stroke and Drop Shadow" object style
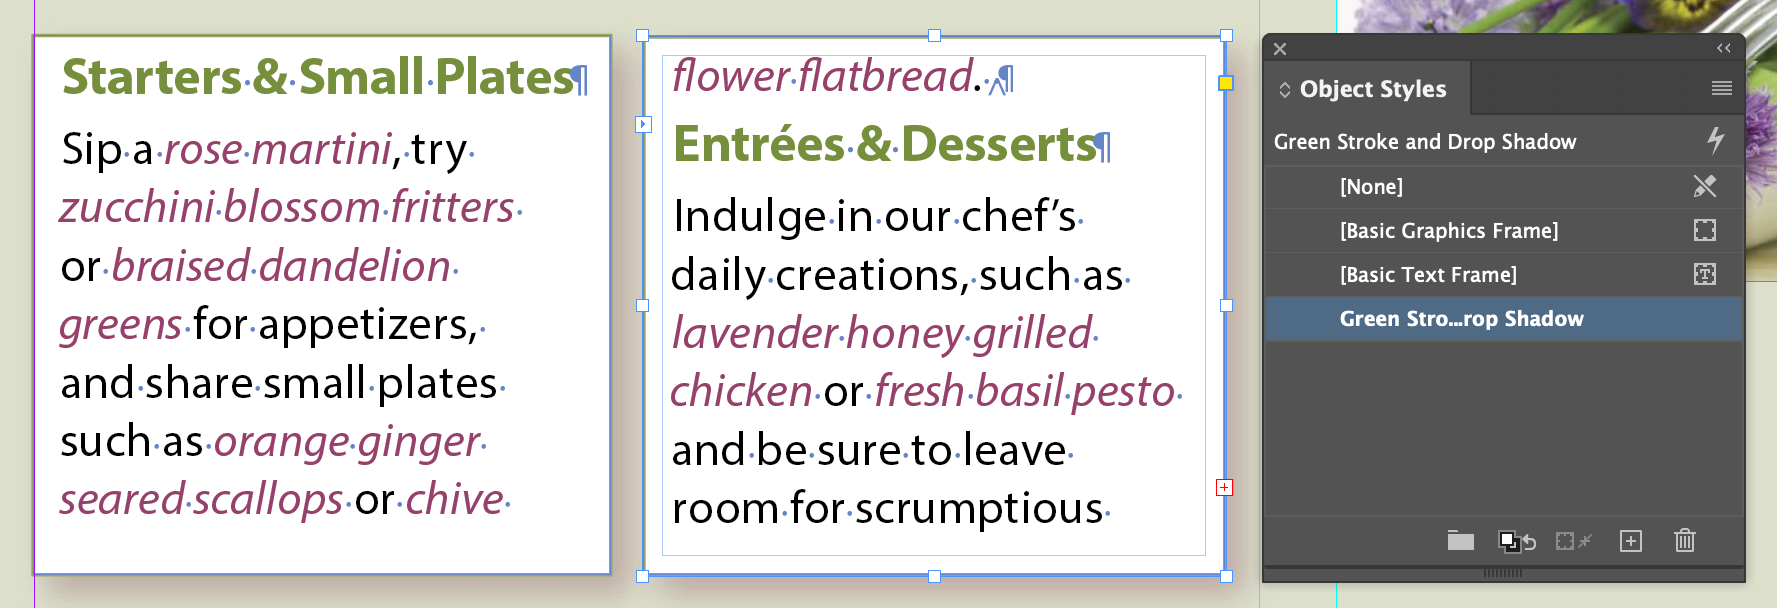
Do the same to the next frame
And this is why you shouldn't do like the book says and have two linked text frames...
Screen Modes
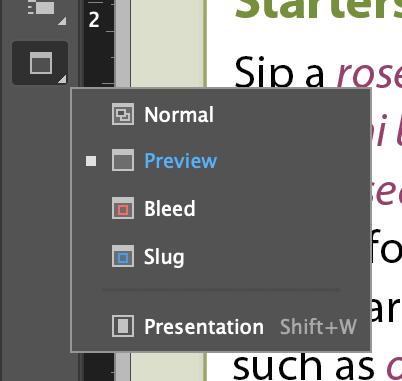
InDesign has several screen modes to review your work with:
Normal: Shows all the guides and hidden characters (if they're on)
Preview: Shows how the page or pages would look printed
Bleed: Shows how the page or pages would look with a bleed edge
Slug: Shows how the page would look on the paper it's to be printed on
Presentation: Special mode that fills the screen and hides the UI. Great for showing to clients. Hit escape to exit
InDesign Best Practices
We'll be covering these throughout the semester, but the book has a good list
Start with Preflight
Avoid stacking objects
Thread text frames
Use styles for all formatting
CHAPTER 2
Review Questions
How can you tell if an aspect of a layout will cause output problems?
What tool allows you to create text frames?
What tool allows you to thread text frames?
What symbol indicates that a text frame has more text than it can hold—that is, overset text?
What tool allows you to move both frames and graphics within frames?
What panel provides options for modifying selected frames, graphics, and text?
Chapter 3: Setting Up A Document And Working With Page
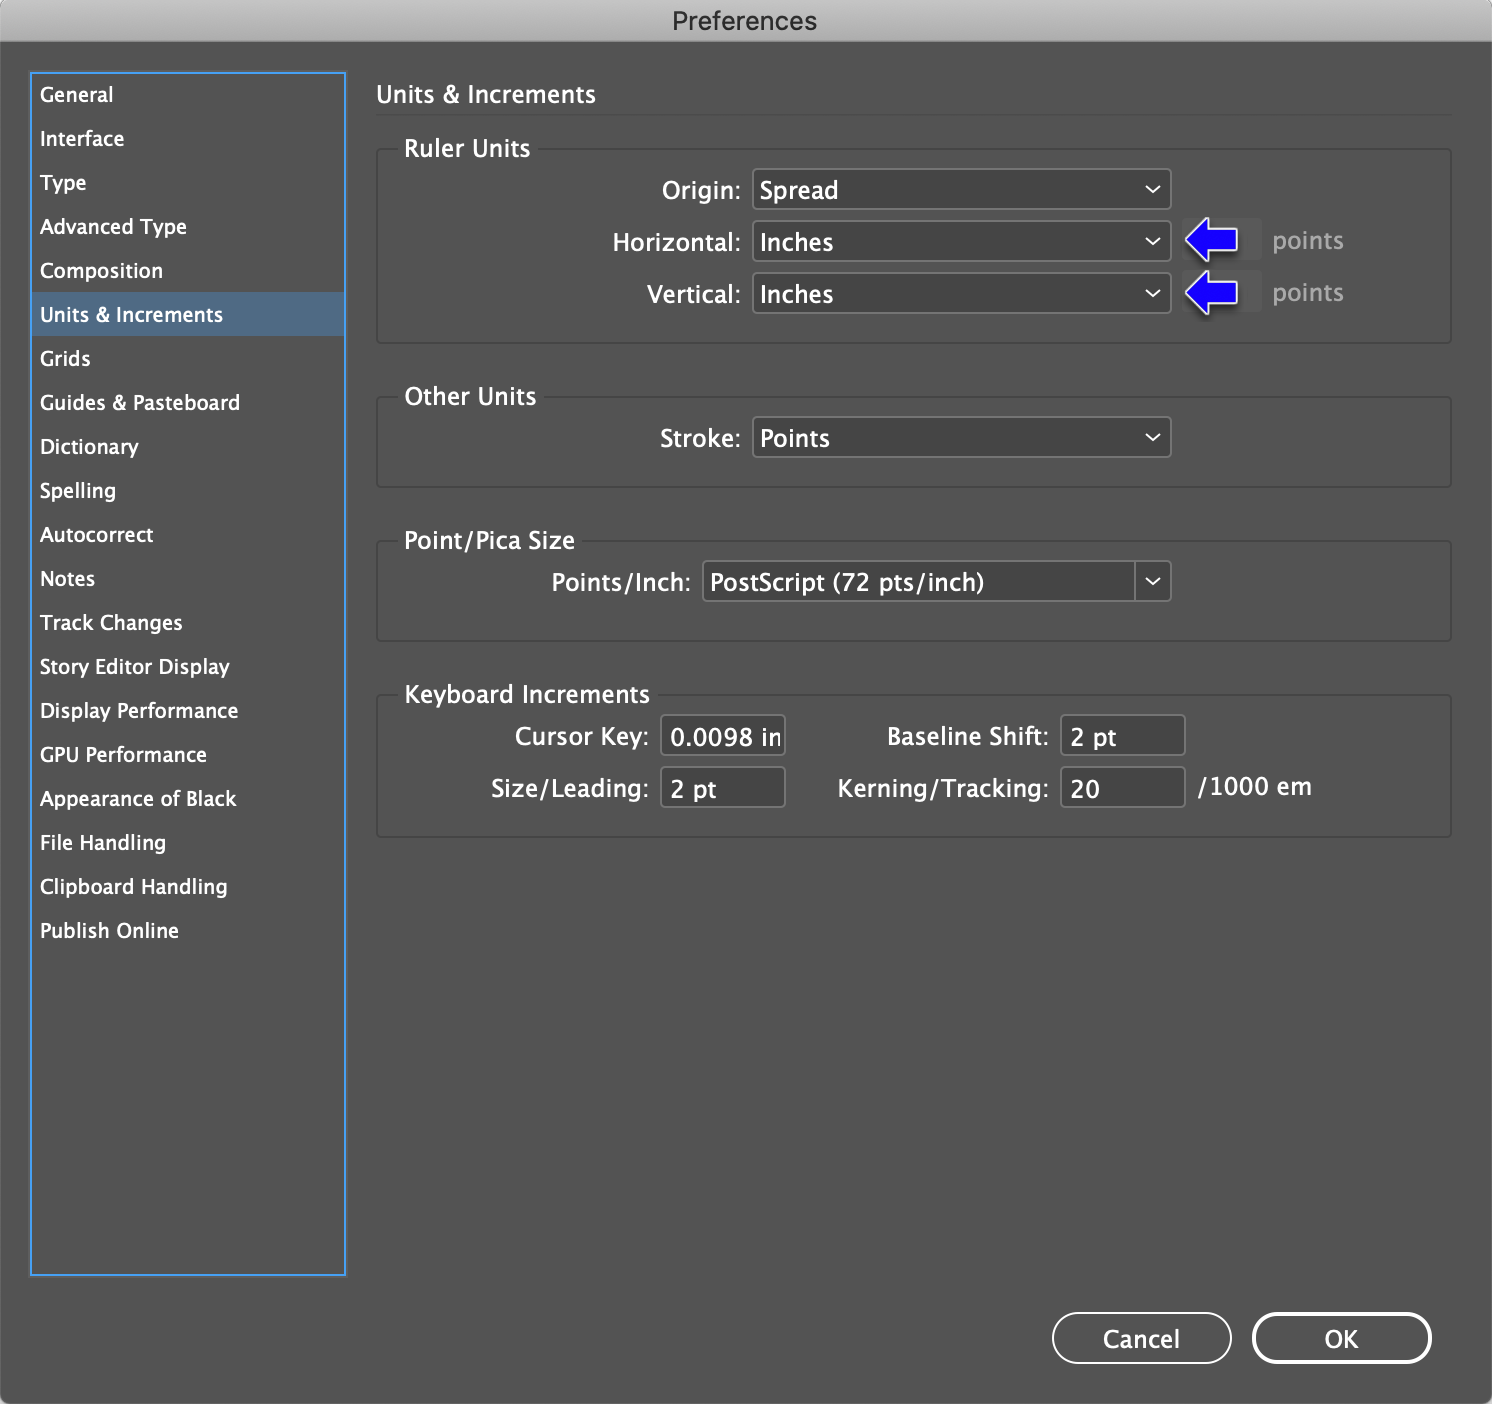
Menu > InDesign > Preferences > Units & Increments
Change the Horizontal and Vertial setting to Inches in order to follow along with the lesson (if they aren't already set that way).
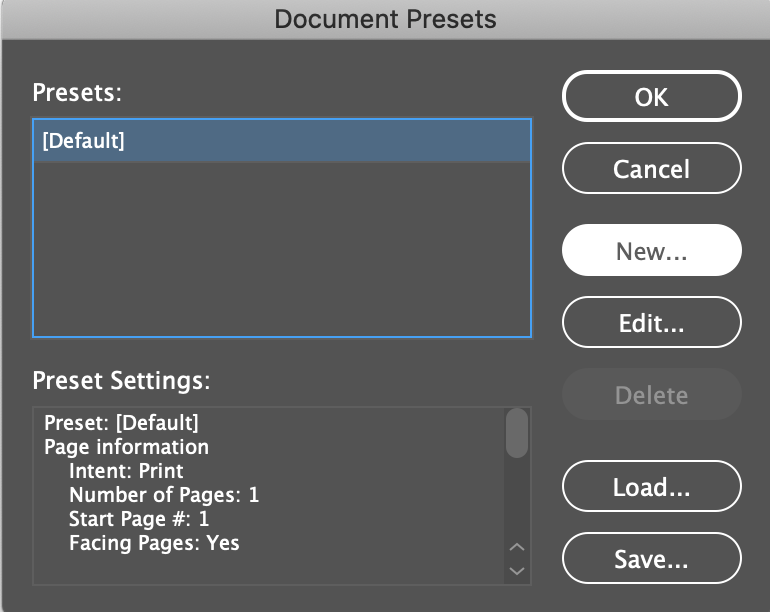
Menu > File > Document Presets > Define...
Click on New...
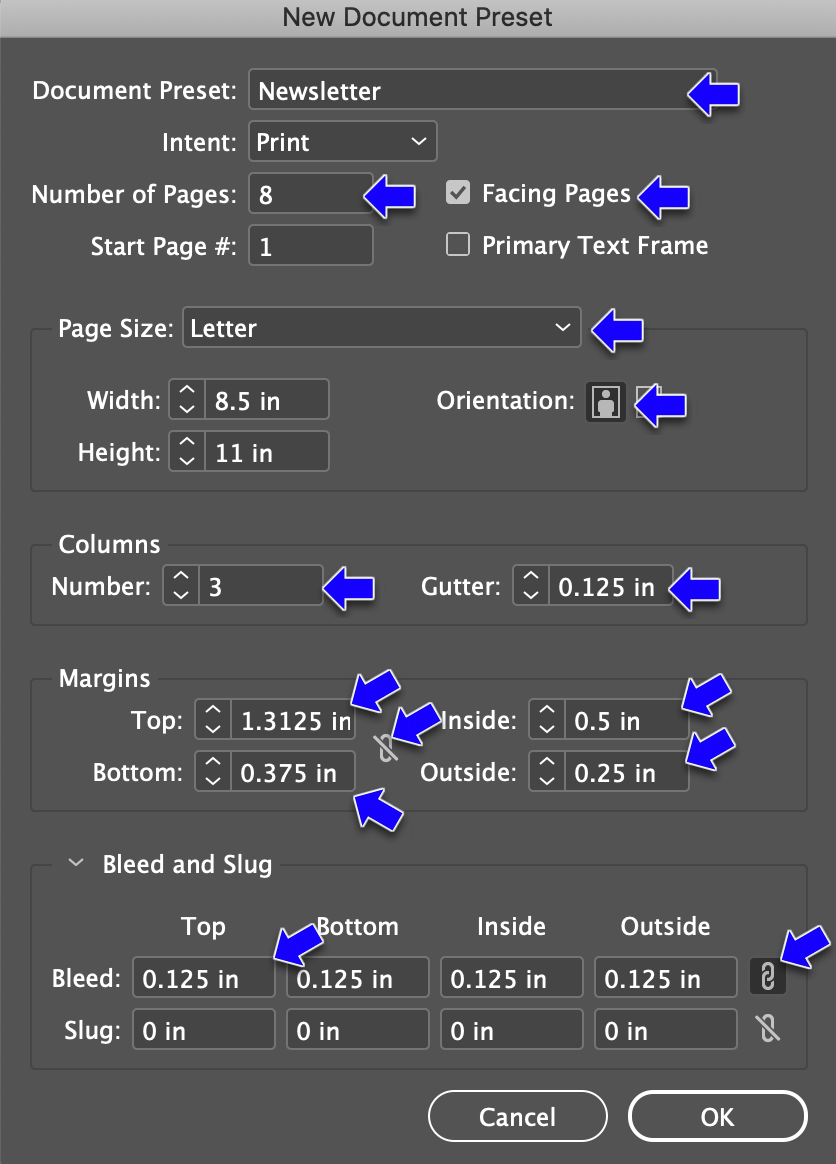
Set the parameters
Settings:
Document Preset: Newsletter
Number of Pages: 8
Facing Pages: (checked on)
Page Size: Letter
Columns:
Number: 3 Gutter: 0.125 in (1/4 inch)
Margins: (turn off linked sizes first)
Top: 1.3125 in (1 5/16)
Bottom: 0.375 in (3/8)
Inside: .5 in (1/2)
Outside: .25 in (1/4)
Bleed: .125 in
Or as the book says, 0p9 picas
Make sure the linked icon is on
Click OK
Creating a new document
Now we'll use the Document Preset we just configured
Menu > File > New > Document
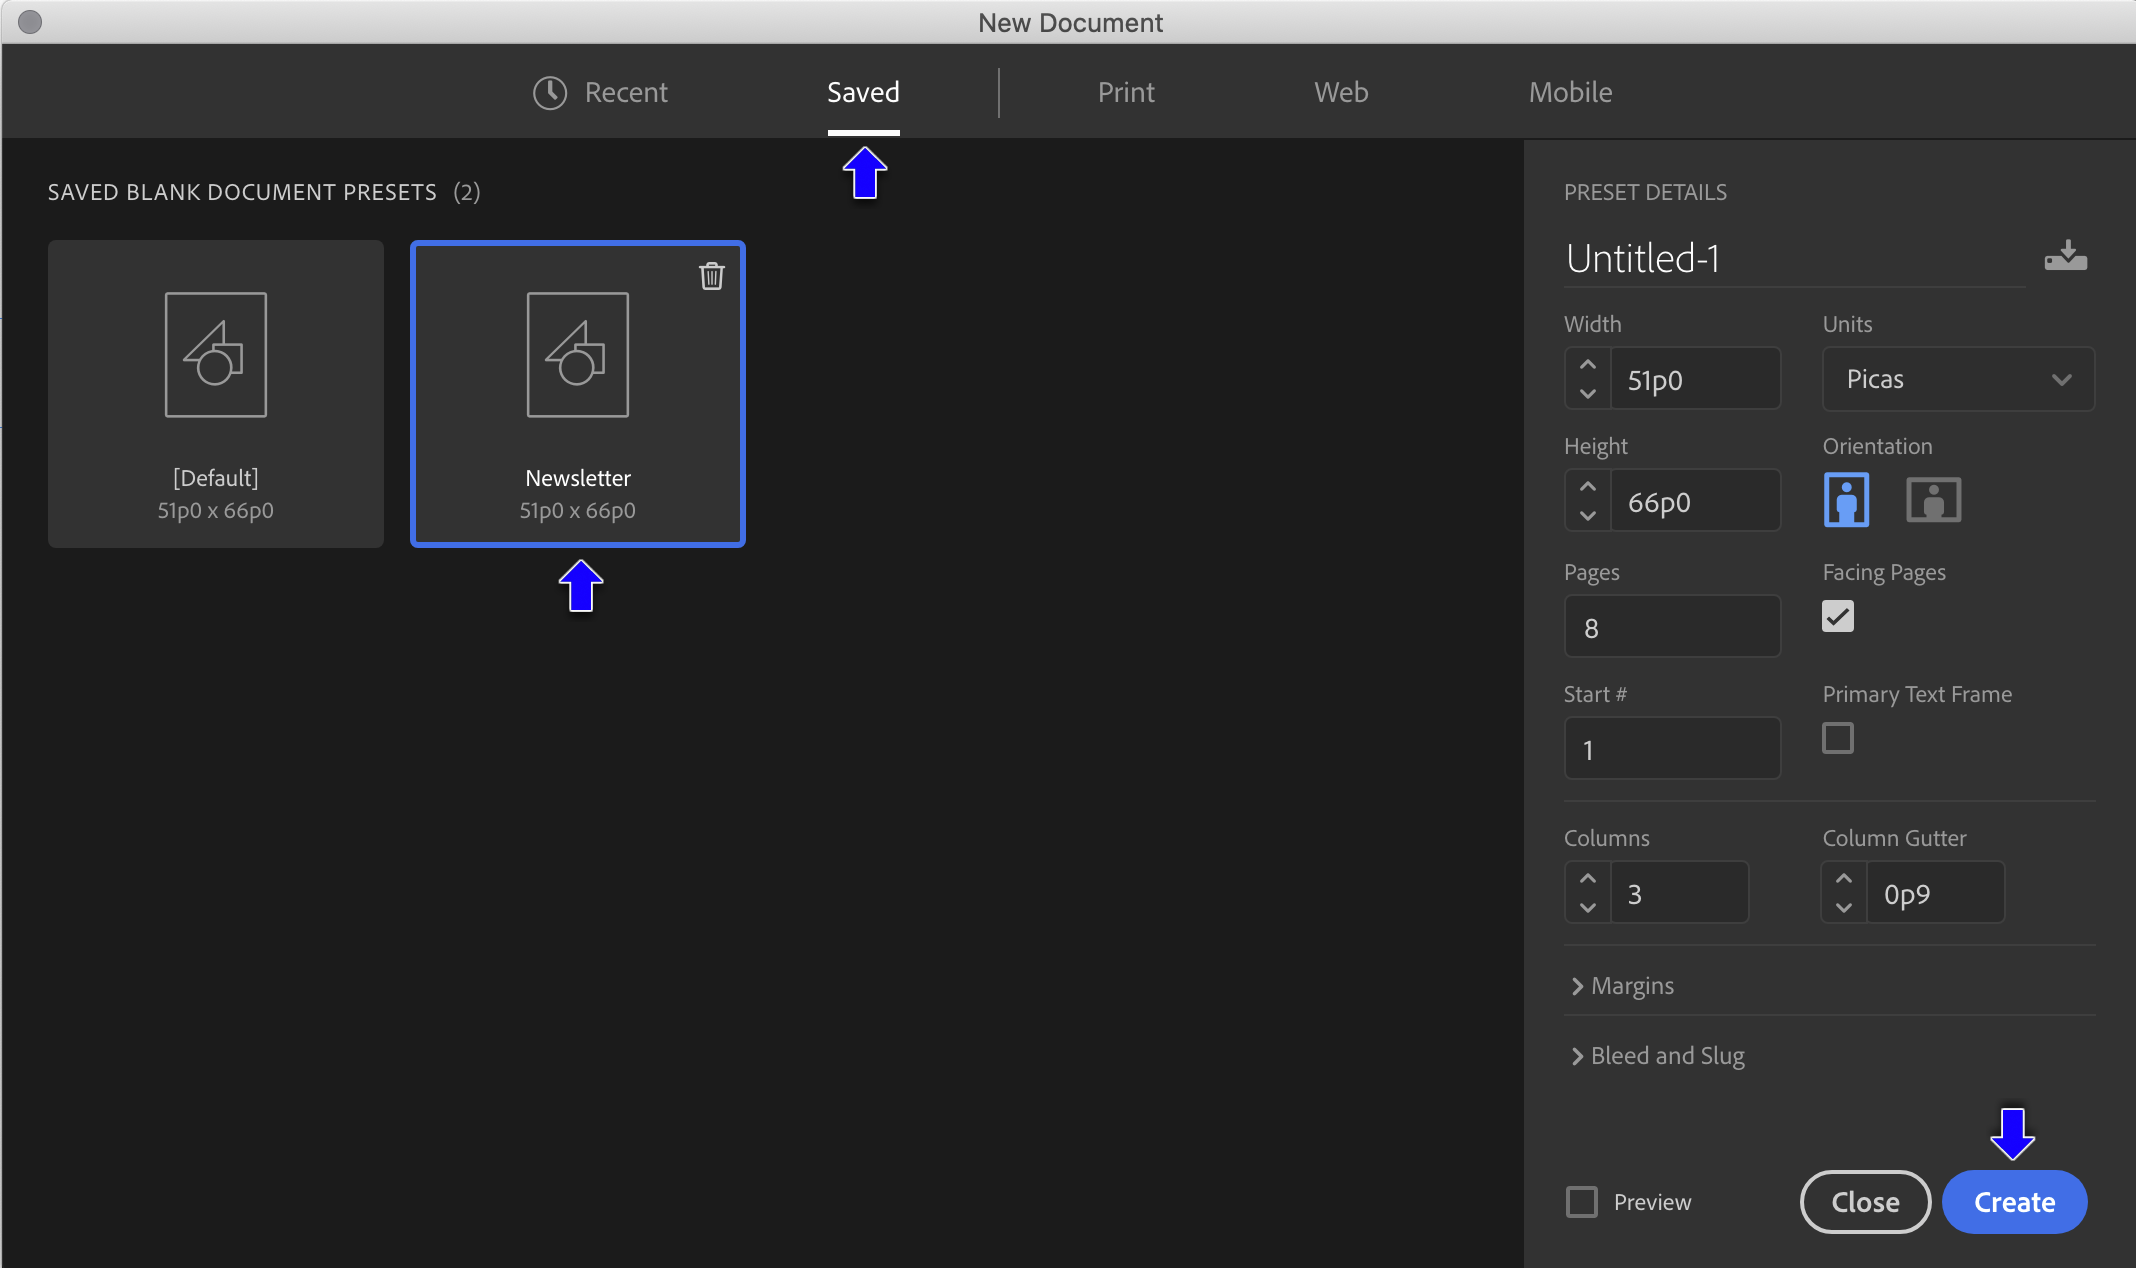
In the New Document dialog, choose the Saved tab and Newsletter, then click Create
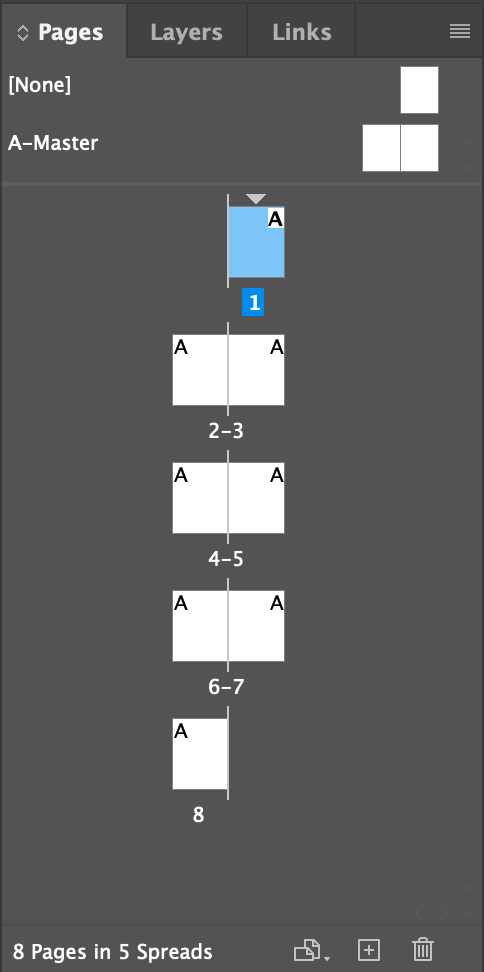
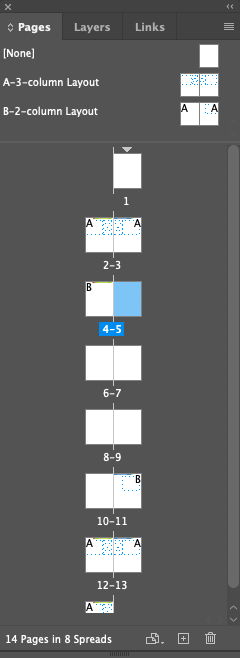
Open the Pages panel
Apply Blank Page
Apply Master/Parent Page (A)
Current page
Master/Parent Page letter applied to the page
Center line (spine)
Odd pages right of spine
Even pages right of spine
About Page Numbering
It's all about the spine. In any multi-page layout, the physical numbering of the pages will start with the first page to the right of the spine. Therefore, odd pages (1,3,5...) will fall to the right of the spine and even pages (2,4,6...) to the left. However, not all multipage layouts start on the first physical page—that might be the cover page, with next page (physical page 2) labeled as page 1. The Pages panel will display the physical page number.
2
7
4
5
Working with Master/Parent Pages
Master/Parent Pages vs Pages
Master/Parent Pages are one of InDesign's most powerful and useful features.
They are essentially templates for page layouts
A well designed Master/Parent Page and cut development time by orders of magnitude
Pages are often generated from Master/Parent Pages, but Pages never generate Master/Parent Pages
Any content added to a Master/Parent Page will automatically be added to any Page that uses the Master/Parent Page
You apply a Master/Parent Page to a Page by clicking on the Master/Parent Page icon and dragging it to a Page in the Page Panel
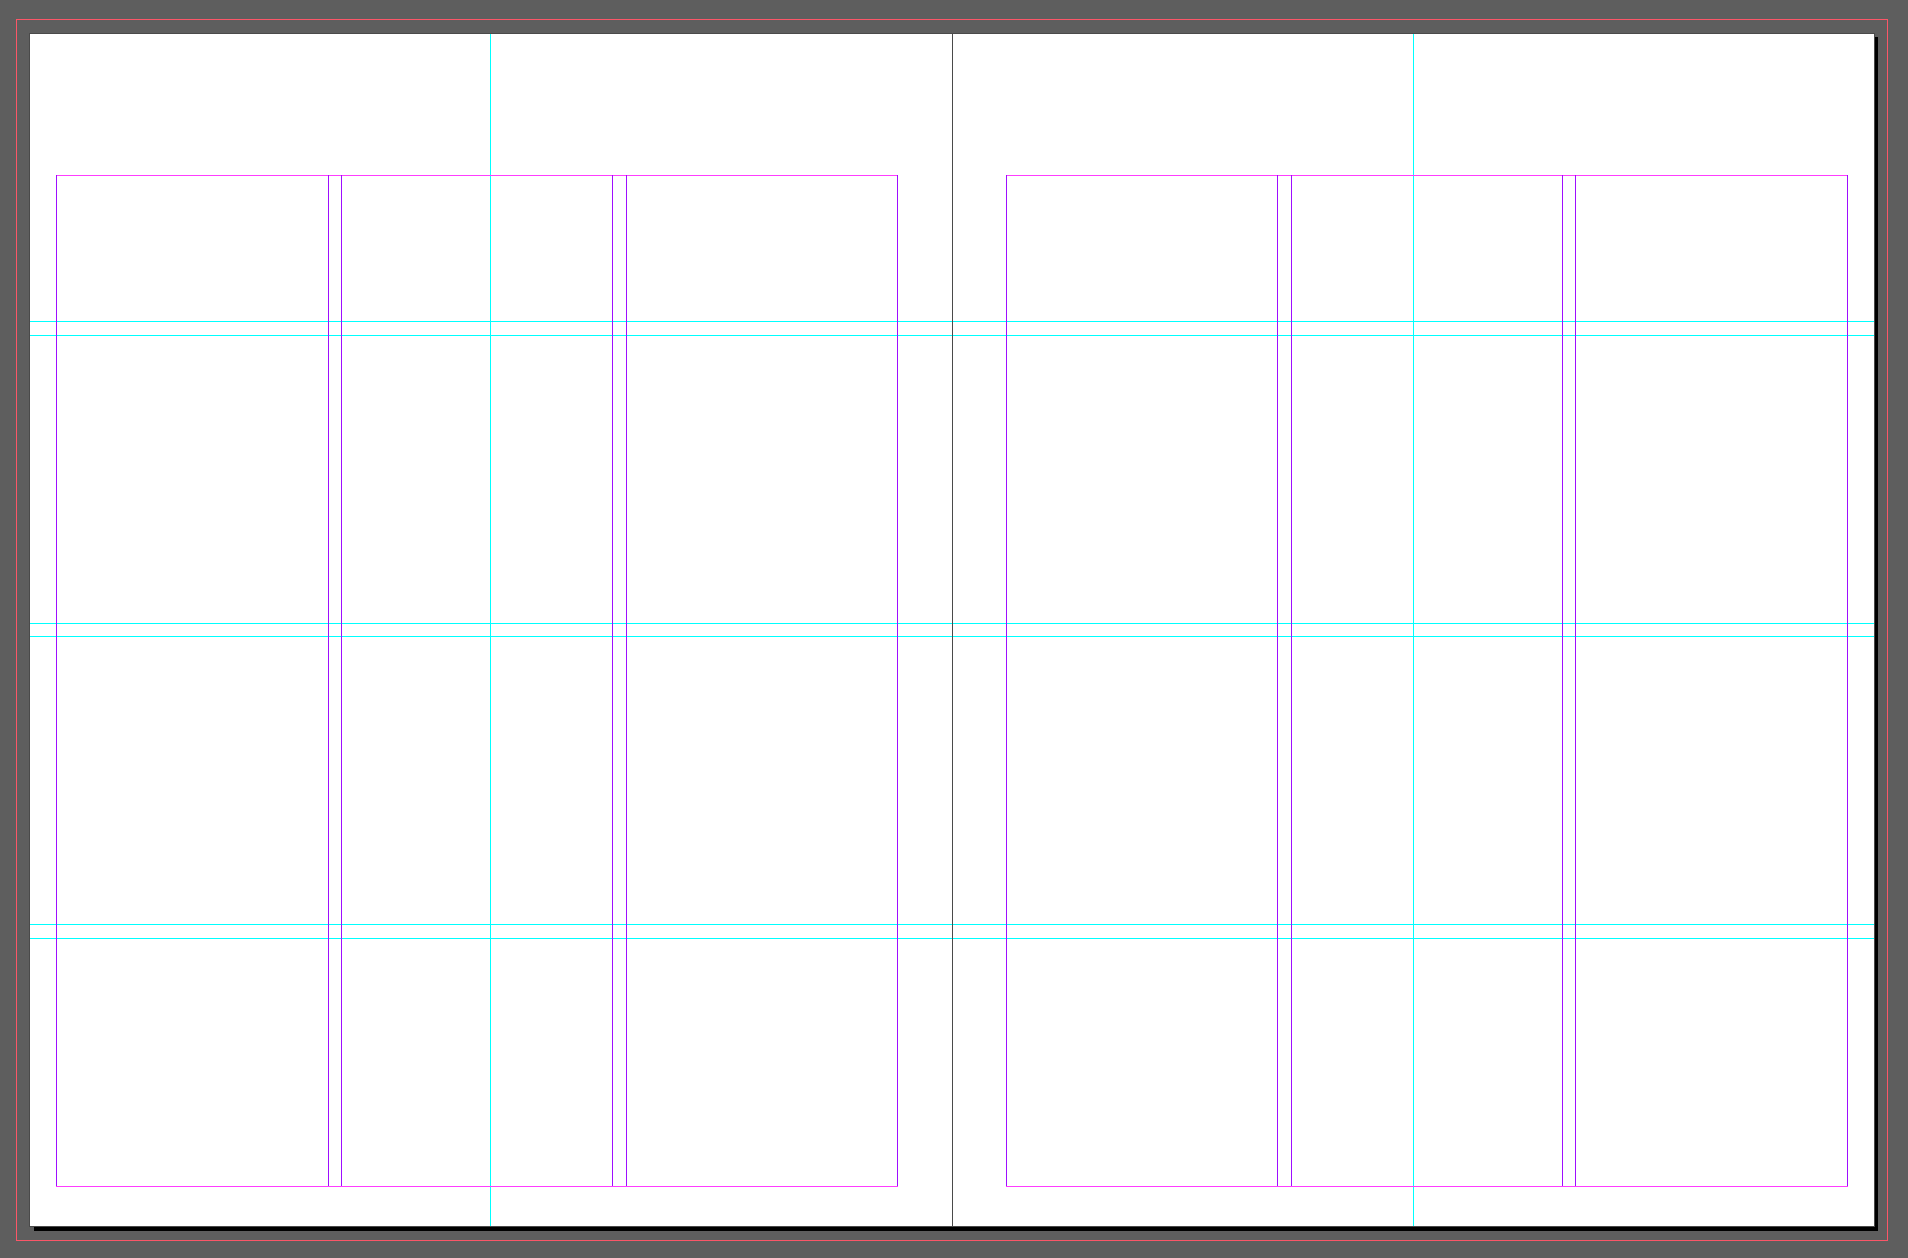
Adding guides to the Master/Parent Page
Double click on the A-Master/Parent Page in the Pages Panel. This will set the document window to the Master/Parent Page.
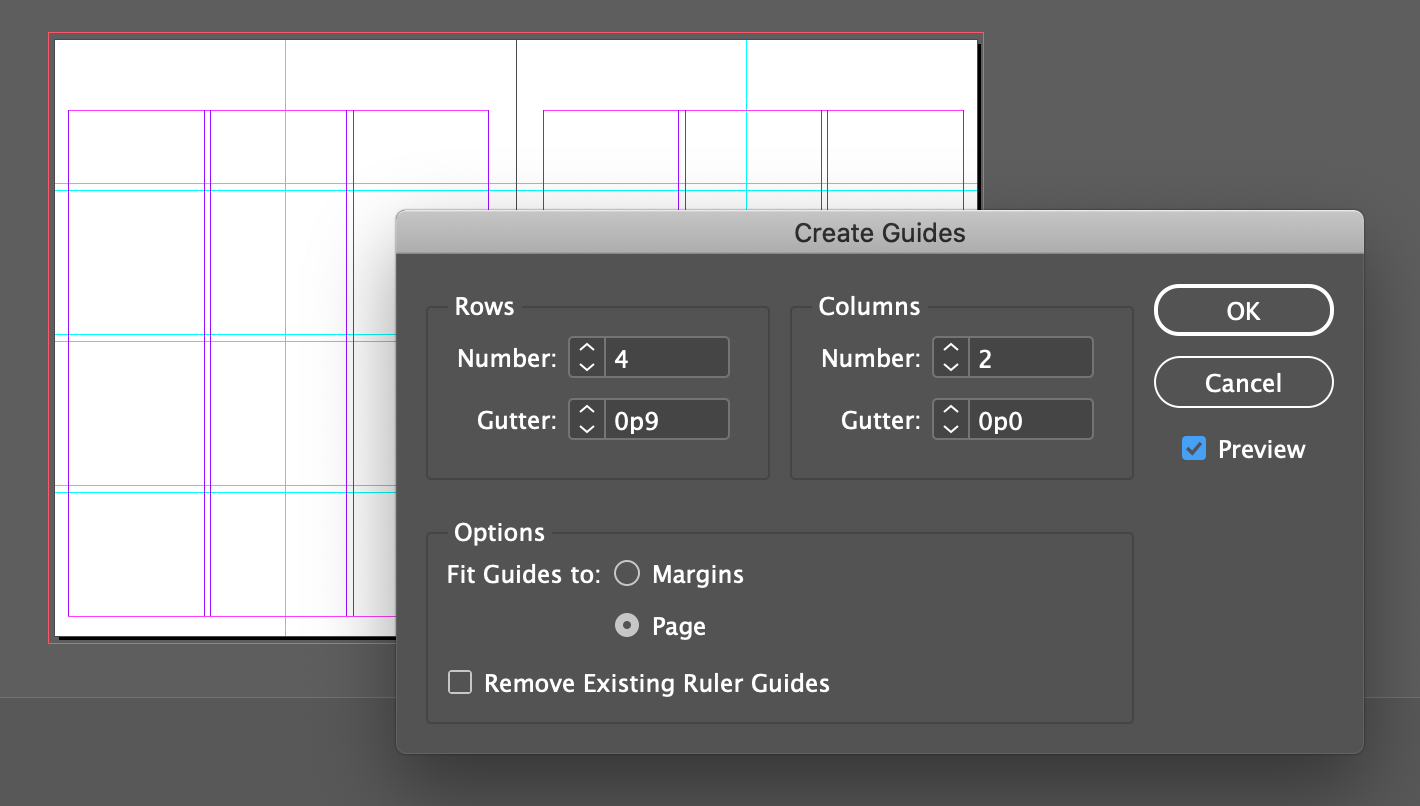
Menu > Layout > Create Guides
Rows
Number: 4
Gutter: 0.125 in or 0p9
Columns
Number: 2
Gutter: 0 in
Preview
Options
Fit Guide to: Page •
Dragging Guides from rulers
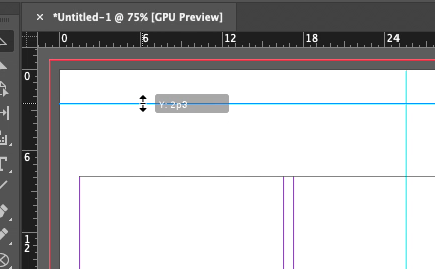
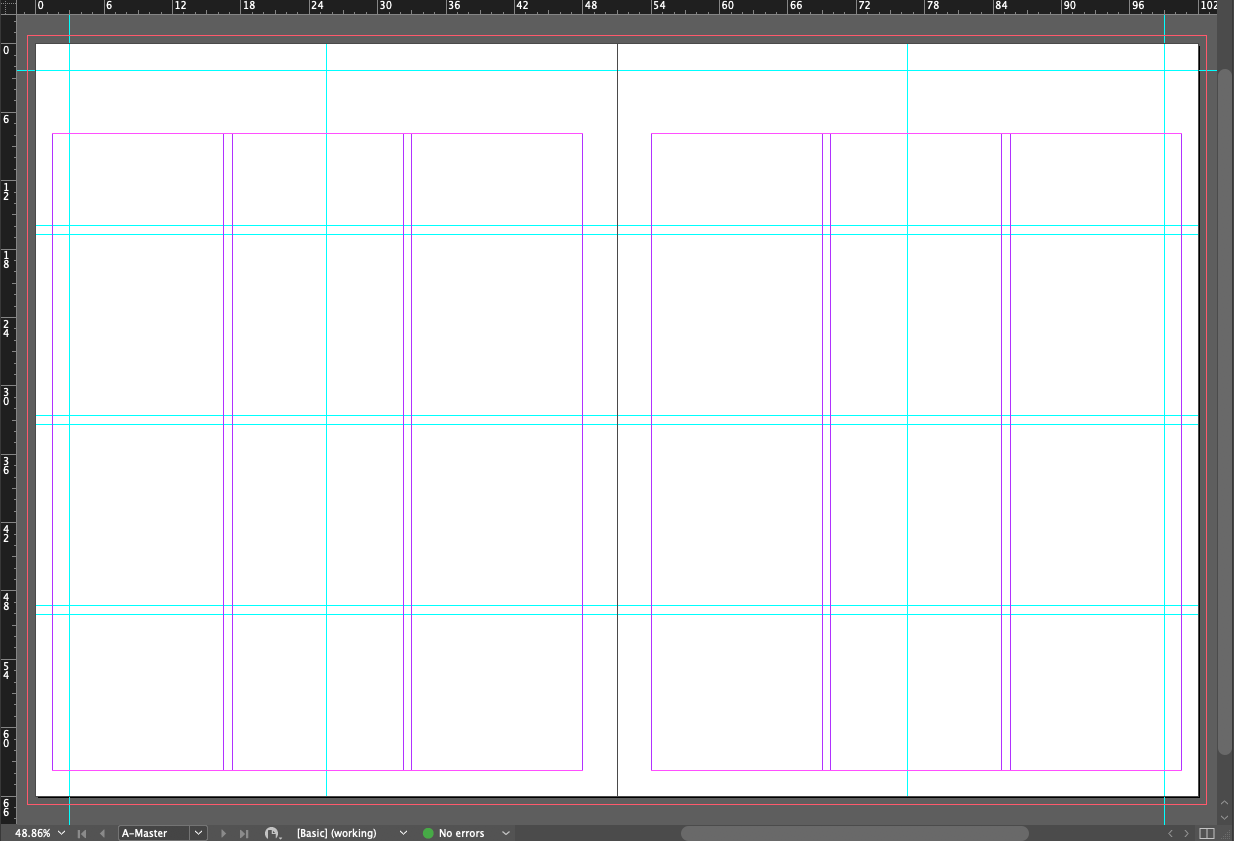
With Control/Command key held down, drag from ruler to .375 in (2p3)
If you don't hold down command/control then the guide will only be on one of the two pages. If you hold down the shift key while you drag, the guide will snap to 1/8 increments, making it easy to hit .5 inches.
Tweak it if necessary with the Y input box in the control panel.
Also add two vertical guides @ .5in (3p0) and 16.5in (99p0)
Also tweak with the X input box in the control panel if necessary
Creating a text frame on the Master/Parent Page
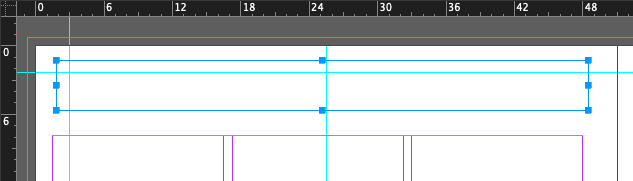
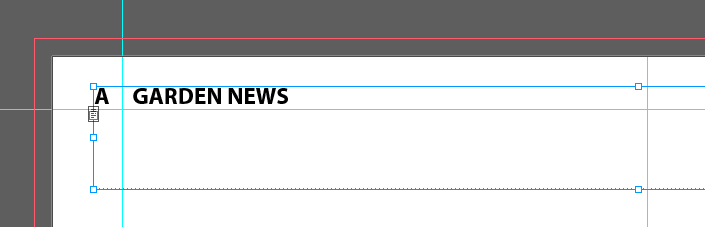
With the Text tool (T), add a text frame to the left (verso) page
A long standing tradition names the right and left pages of a spread with latin “recto” and “ verso.” It goes back to medieval times when monks in monasteries penned bibles by hand.
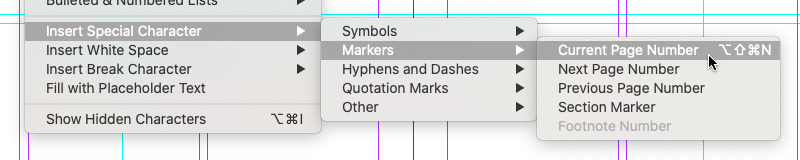
Menu > Type > Insert Special Character > Markers > Current Page Number
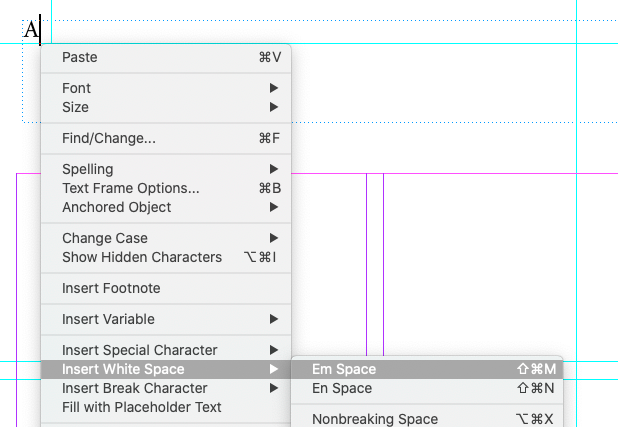
Right-click and choose > Type > Insert White Space> Em Space
“Em Space” and “En Space” comes from the metal slug spacers used in hand-set typography. They are theoretically the width of the letters “M” and “N” in that particular font at that particular size. In actuality, an Em space is the same width as the font size, so a 72 point font will have an Em space that's 72 points wide. An En space is half the width of an Em space, 36pt.
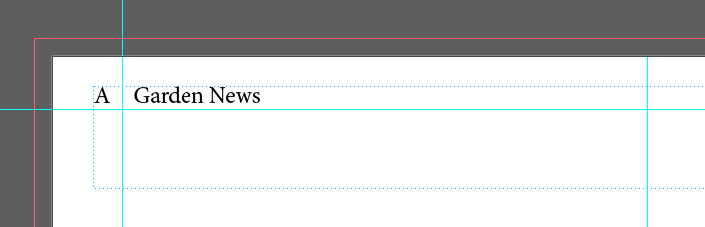
Type "Garden News"
While you still have the Text tool, hit the escape key, then select the Text tool again. This will set the current text frame to being active.
Then choose Myriad Pro for the font, Bold for the style, and use Menu > Type > Change Cast > UPPERCASE.
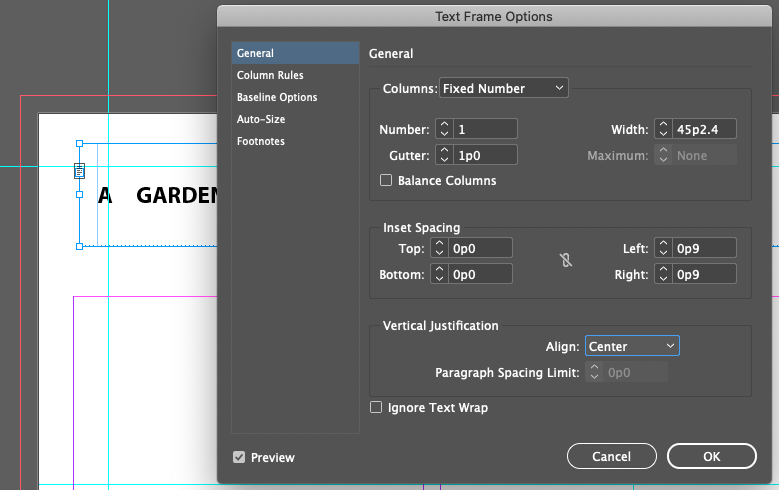
Then choose Menu > Object > Text Frame Options
Inset Spacing
(Turn off link)
Left: 0p9 (.125in)
Right 0p9 (.125in)
Vertical Justification
Align: Center
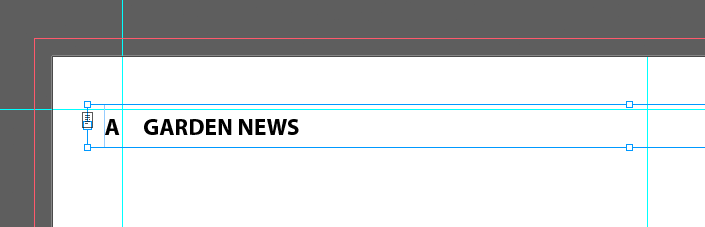
Select the Text Frame with the Selection Tool (V)
Go to the positioning controls in the Control Panel
Control point set to Center-Left
X: 0.25
Y: 0.625
W: 7.75
H: 0.3125
Hold down the Option/Alt key, then click on the header text frame, then hold down the shift key, and drag the text frame to the right A-Master/Parent Page. This should make a copy of the original and move straight/parallel to the orignal. The sequence of holding/shifting/dragging matters.
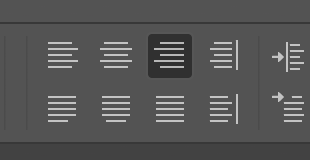
Set the Paragraph alignment to Right Aligned in the Control Panel
Switch the word order so the page number and em space are at the right edge
This is not the way I would do it. What happens when you have a two digit page number? The heading "GARDEN NEWS" will move, when it should stay in the same place. I'd use tabs to keep the page number and heading in consistent positions, but we haven't gotten into tabs yet, so maybe later.
Next, let's add a footer by drag-duplicating the header down to the bottom. Weird, but that's what the book wants us to do.
SEQUENCE MATTERS
Switch to Selection Tool (V)
Click-release on left text frame
Shift-Click-release on right text frame (this selects both text frames)
Option-Click-hold on the selected frames
Hold down the shift key and drag the frames to the bottom
Let the frames snap to the center of the bottom margin guide
Release
With the Select tool set the vertical alignment to Bottom in the Control Panel
Set the font to Myriad Pro, Regular, 10pt, and use Menu > Type > Change Cast > Title Case
Then change the text from Garden News to Urban Garden Oasis
Renaming the Master/Parent Page
Good labeling is a really useful skill. It will save you time later on when the inevitable changes come in at the last minute. And it's just a Best Practice* technique.
* A best practice is a method or technique that has been generally accepted as superior to any alternatives because it produces results that are superior to those achieved by other means or because it has become a standard way of doing things
Adding Placeholder Frames for Text
Focus on the left page of the Master/Parent Page by double-clicking on the icon in the Pages Panel
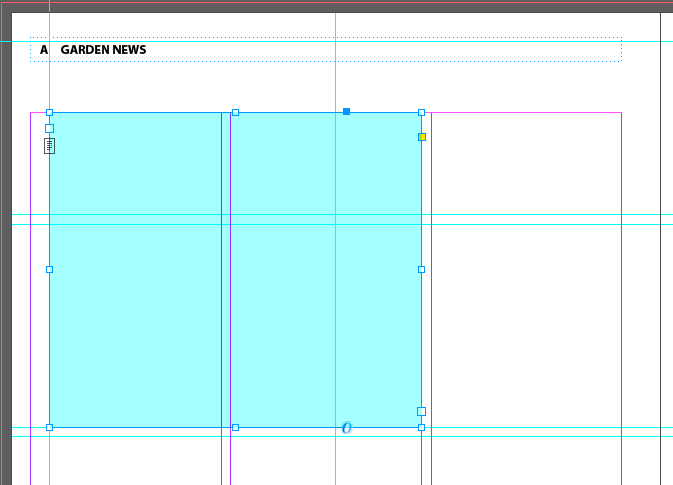
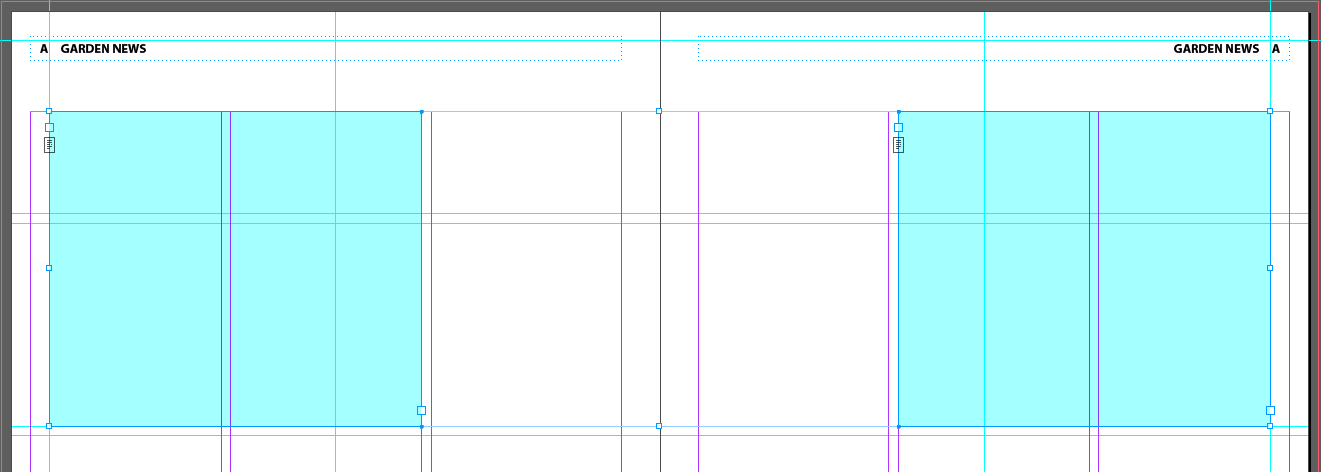
Using the Text tool (T) drag from the upper left corner of the first column to the lower right corner of the second column
NOTE: Cyan color is for indication of the rect's position. InDesign won't look like this.
Switch to the Selection tool (V) and option drag a copy of the text from to the right page's 2nd and 3rd columns
Adding placeholder frames for graphics
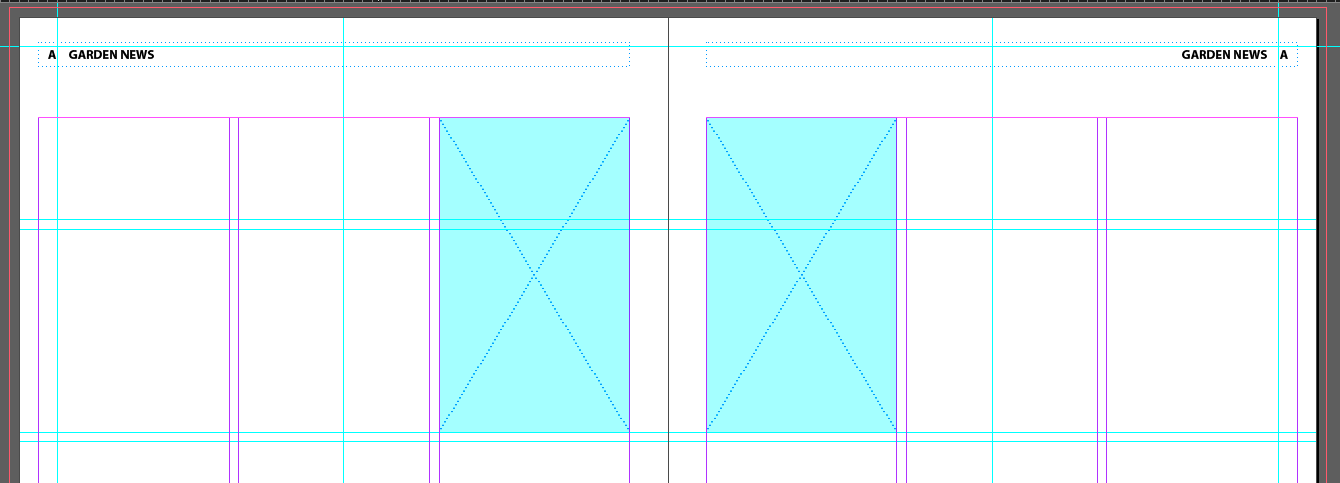
Select the Rectangle Frame tool (F)
Draw a rect at the top of the first column in the right page down to the guide. Ends up the height of the rect at 4.125 in.
Make another one in column three of the left page
Creating an additional Master/Parent Page
You can create multiple Master/Parent Pages within a document (in fact, that's kind of the whole point to a Master/Parent Page). You can build them independently or base one Master/Parent Page on another Master/Parent Page. If you base a Master/Parent Page on another master, it's called a parent/child relationship, with the first Master/Parent Page as the parent and the subsequent Master/Parent Page the child. Any change made to the parent master is automatically applied to the child master.
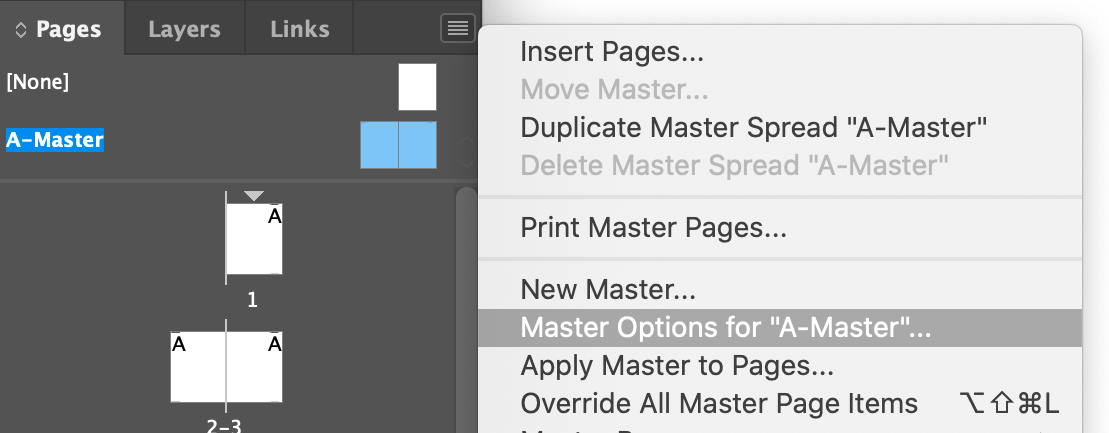
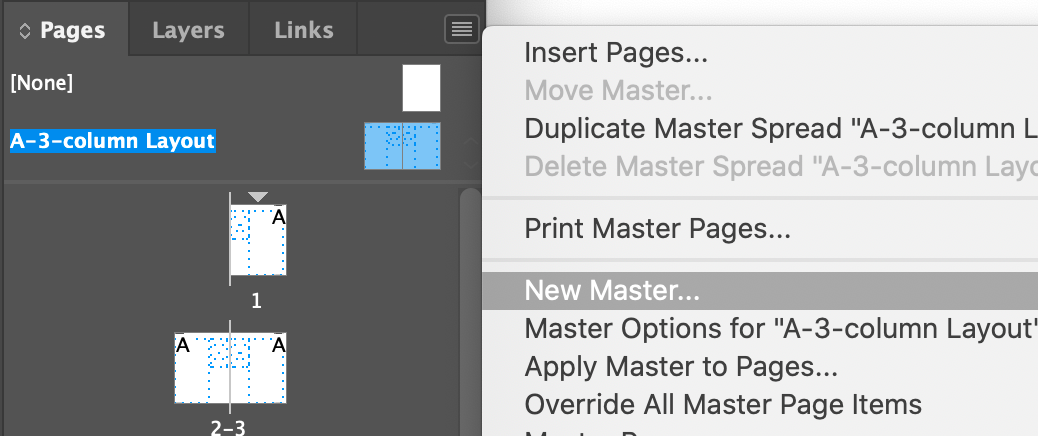
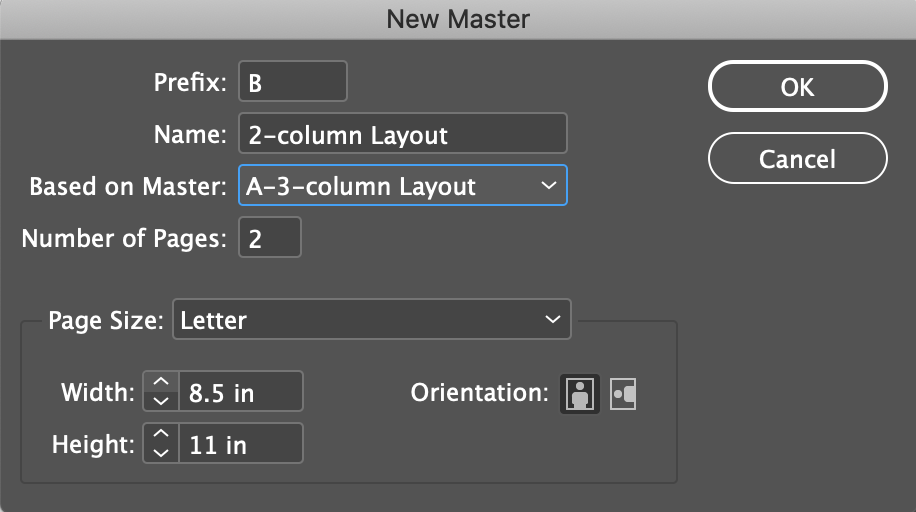
In Pages Panel, choose New Master from panel menu
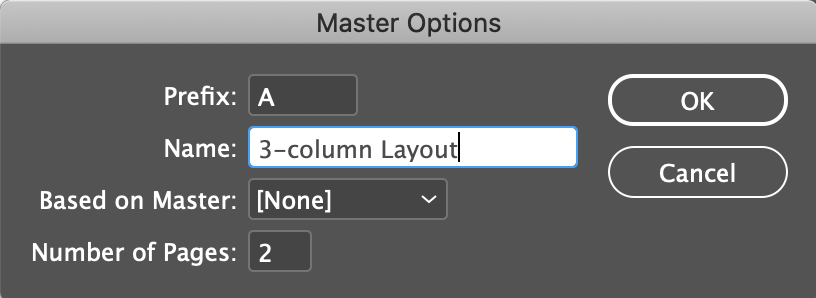
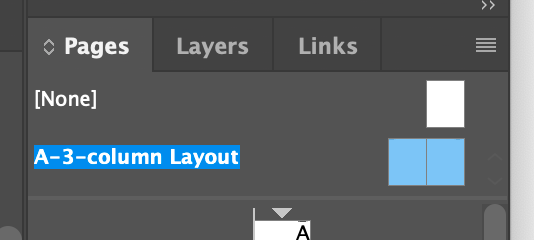
Name it 2-column Layout and base it on A-3-column Layout
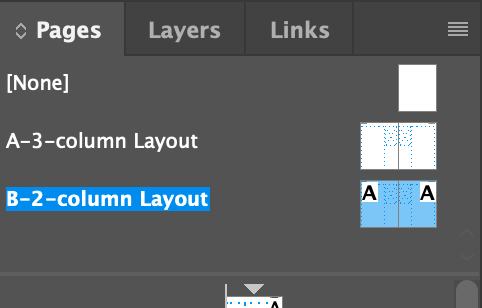
It appears in the Master/Parent Pages section of the Pages Panel
A indicates that B is a child of A
You might have to extend the height of the Master portion of the Pages panel
Overriding Master Items
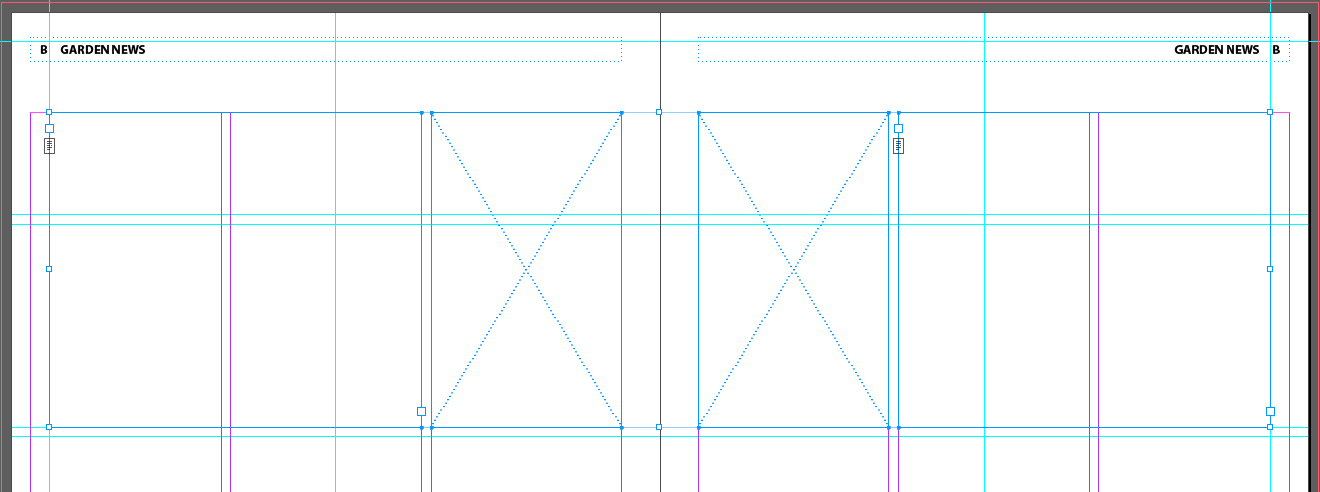
The document pages that will use the two-column layout do not require placeholder frame, which means that only the footer text frames and ruler guides from the A parent Master/Parent Page are needed. Overriding a Master Frame object requires a special UI gesture to unlock it.
The magic gesture: Shift-Control/Command-Click
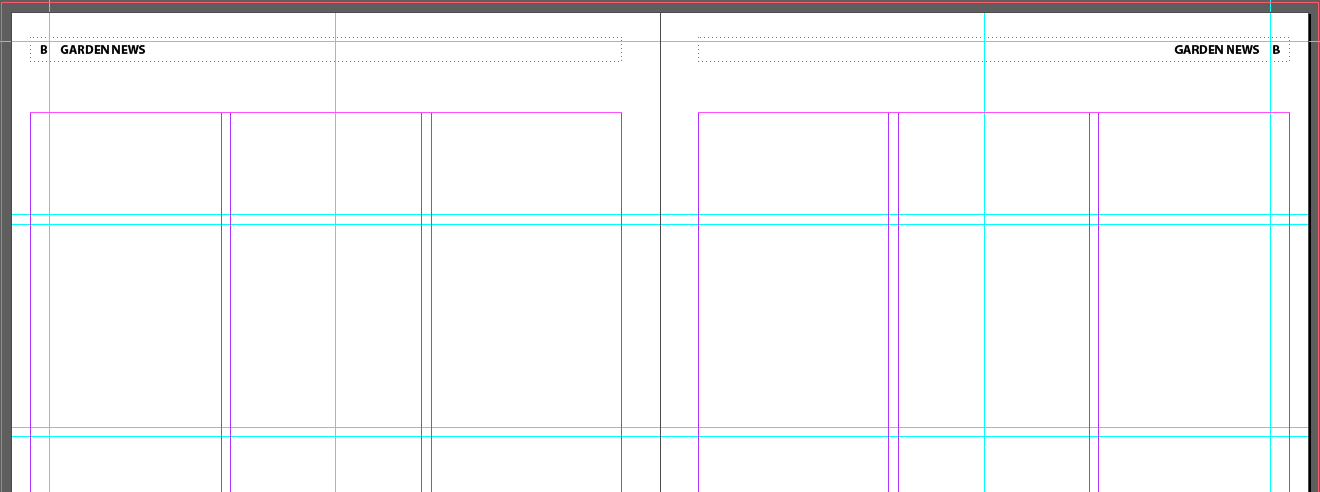
Select and delete the two graphics frames and two text frames. Keep the footer and header frames
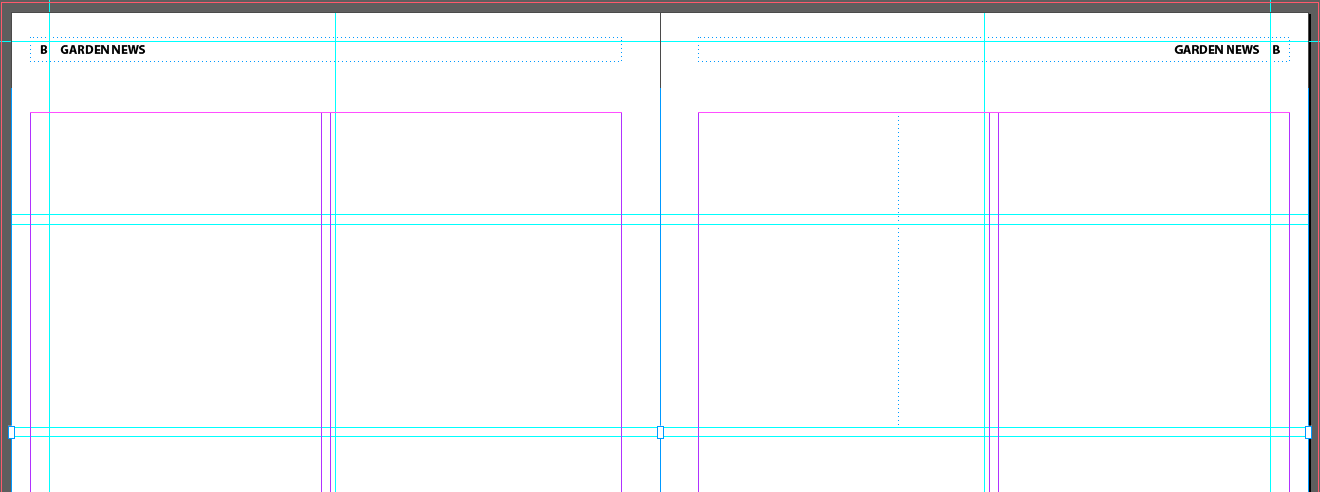
And don't forget this tiny little detail: Menu > Layout > Margins and Columns to set the B Master to two instead of 3 columns
Modifying a Parent Master
We'll add some stuff to the header of A-3-column Layout and see what it does to B-2-column Layout. We'll also take advantage of InDesign's snippets, which allow you to create a group of objects that can be quickly imported to several masters or documents
Go to A-3-column Layout
Menu > File > Place...
Choose HeaderSpippet.idms in the Links folder
Line it up with the upper left corner of the document bleed lines and click and release
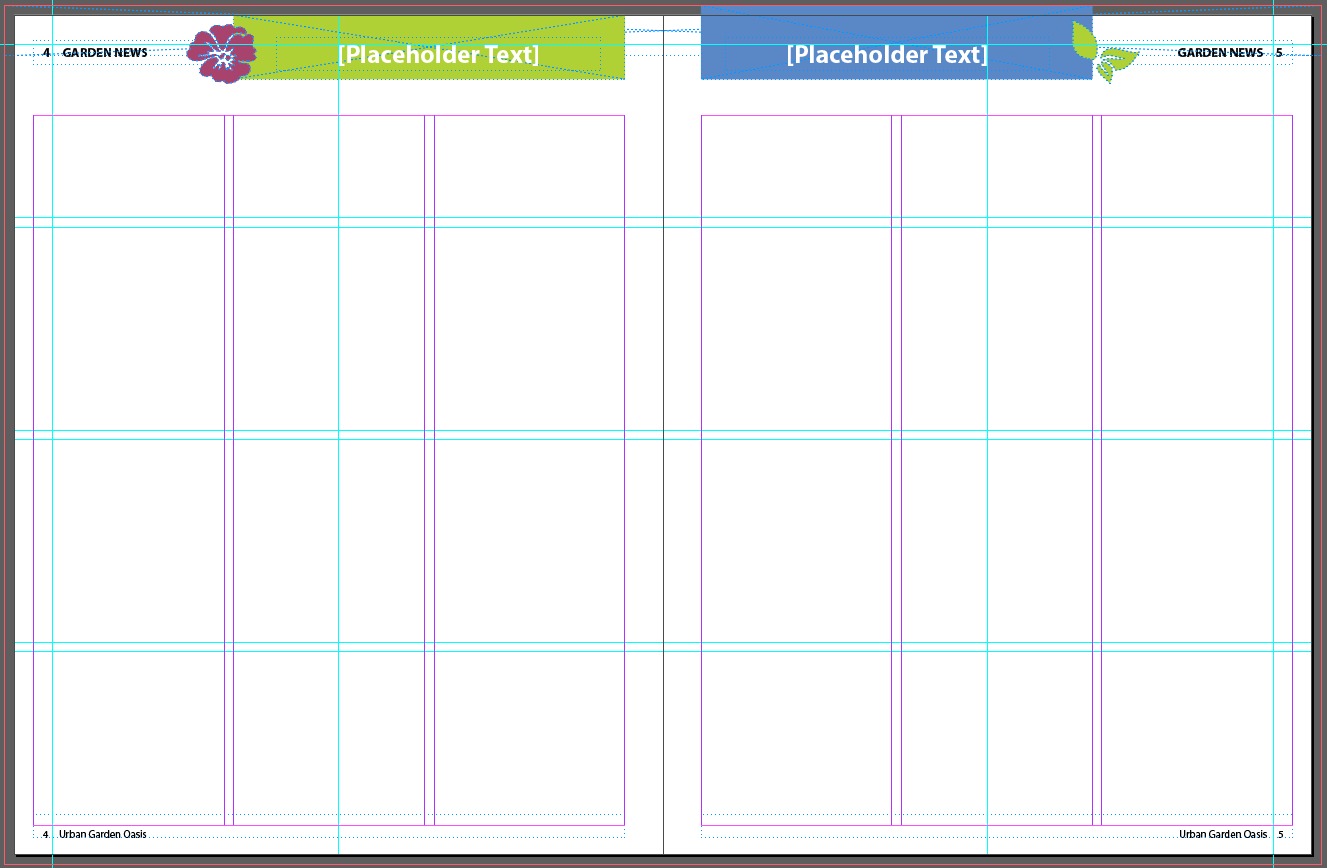
Check out the B-2-column Layout Master/Parent Page!
Go back to A Master and change the color of the left page's blue rect to Green-Brighest from the Swatches panel
And note the change in B Master
Applying Master/Parent Pages To Document Pages
By default, the A Master/Parent Page was been applied to all the pages in the document when you specified the number of pages. You can apply any Master/Parent Page to a Page page by drag and dropping it onto the page in the Page panel. You can also apply a no Master or [none] Master type to a page the same way.
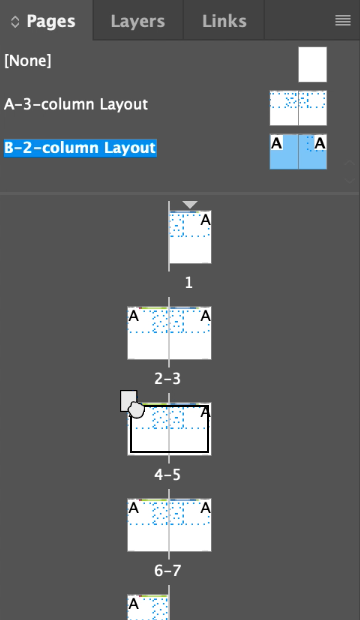
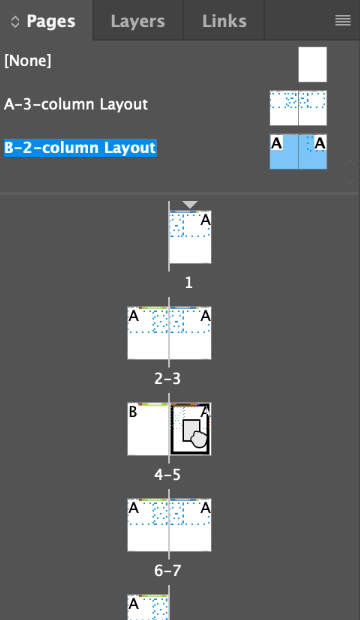
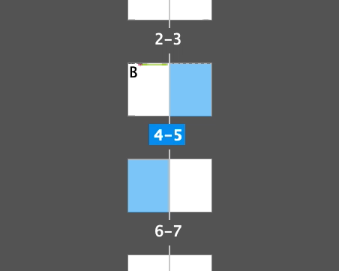
Click on the B-2-column Layout Master (the Name on the left, not the Icons on the left), then drag either the name or the icons to the icon of page 4 in the Pages panel
Notice the way the cursor changes when you are over the 4-5 page icon. It's quite tricky to get the right gesture. Getting it wrong drops the Master/Parent Page onto only one of the two pages in the spread.
If you didn't get the gesture, do the same for other page in the spread that didn't get the Master/Parent Page set
You'll know when it's been properly applied with you see the B in the outside upper corners of both pages
Double-click on the spread to check it
Notice the page numbers are correctly displayed!
Focus on Page 1
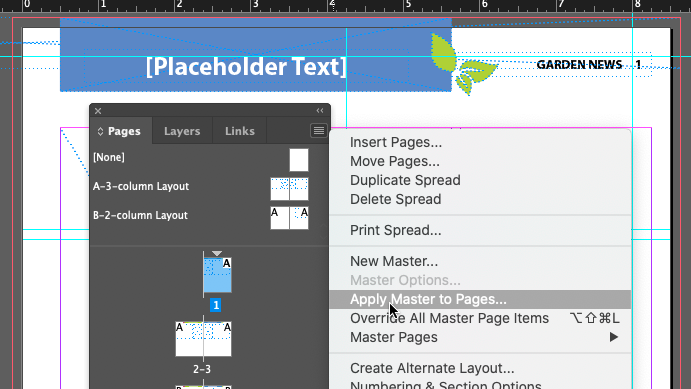
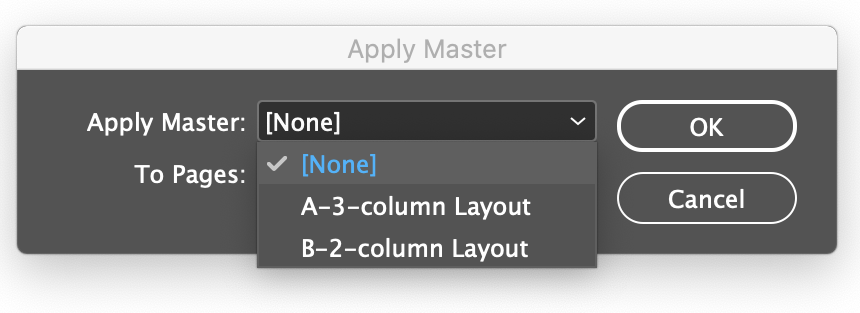
Choose Apply Master to Pages... from the Pages panel flyout menu
Choose [None] from the list
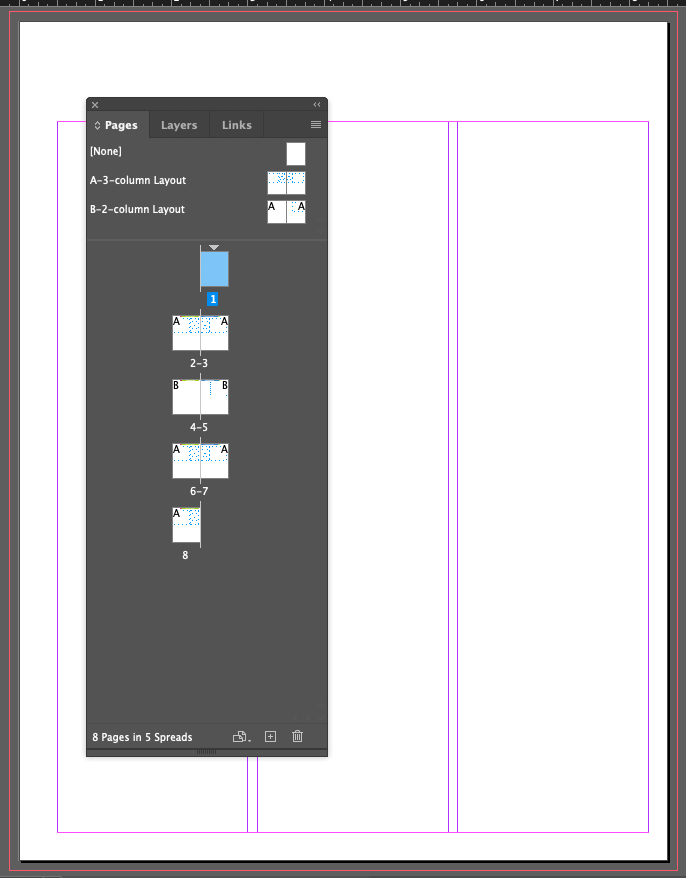
Result
Adding New Document Pages
Let's add 6 pages to this doc
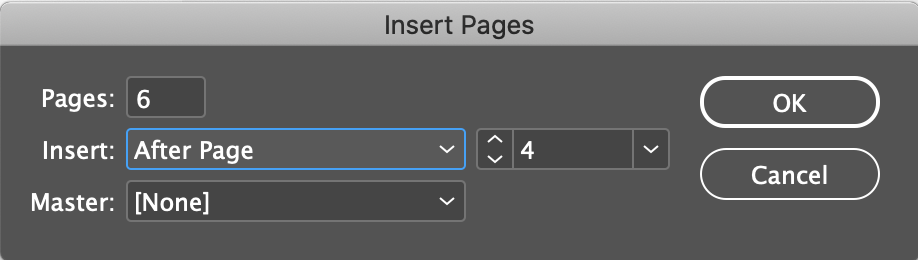
Choose Insert Pages from the Pages panel flyout menu
Pages: 6
Insert: After Page 4
Master: [None]
Result
Rearranging and Deleting Document Pages
It's basically drag and drop
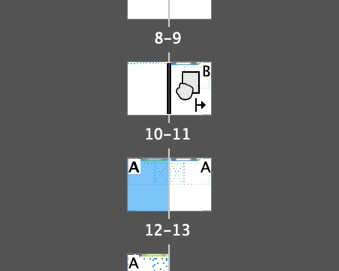
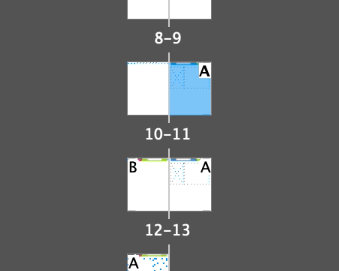
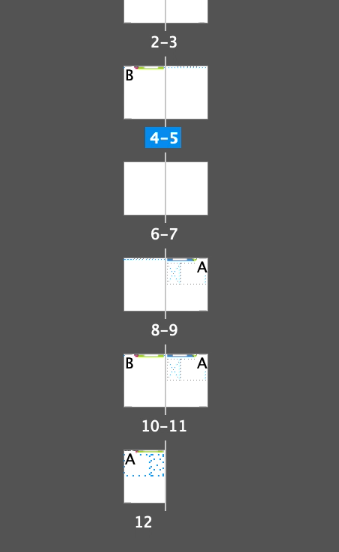
In the Pages panel, click on page 12's icon and drag it to page 11
The trick is to drop it just to the right of the center line of pages 10/11
You should see this icon to indicate that the current page 11 will be moved forward and the old page 12 will be dropped where page 11 was
Result
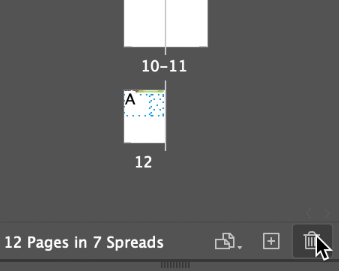
Shift-click both page 5 and 6 to select them both, then delete them by clicking on the trash icon in the Pages panel
Changing the Size of Pages Within One InDesign File
This is a really rare case, in fact, I don't think anyone would do it this way. It would require a printer to take your file and turn it into two separate documents, meant to be printed on seperate printer setups. It might be handy for presenting to a client, though, but I think it would work just as well with two docs, even for presenting to a client. If we're short on time, let's skip this.
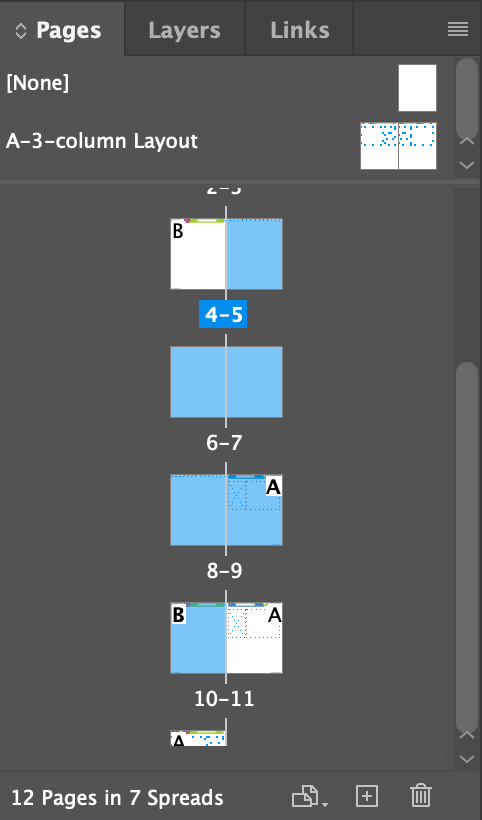
Select the Page tool (Shift+P) and shift-click pages 5 and 8 in the Pages panel
This will select pages 5 thru 8
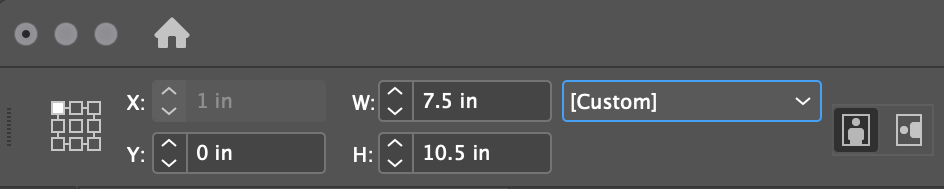
In the Conrol Panel, set the Width and Height to a different size than the rest of the doc
W: 7.5 in
H: 10.5 in7
Don't forget to set the registration point back to upper left
Using the Measure Tool
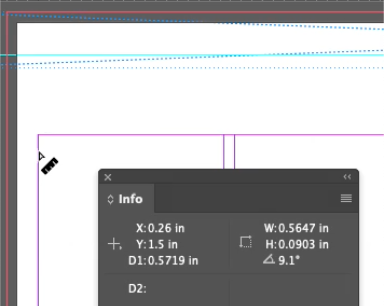
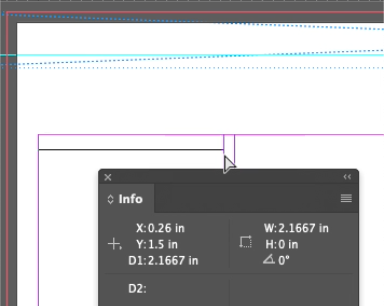
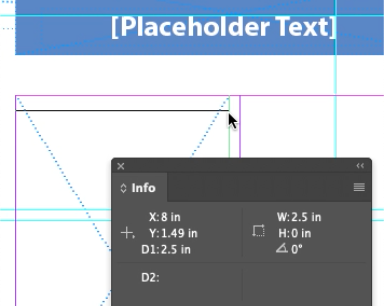
Just a demo of what it does, and guess what? It measures stuff! The point here is to show that the resized pages have automatically resized the columns (and everything else) proportionately, so a 2.5 in column becomes a 2.1667 column.
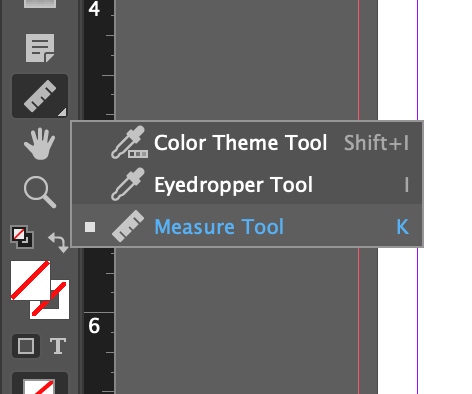
Choose the Measure tool, which probably is hidden the tool bar. It's under the Color Theme tool. Press K and it should pop up
Hold the shift key and measure the first column on page 8
It should read 2.1667 in
Now measure the same column in page 9
It should read 2.5 in
Adding Sections to Change Page Numbers
Demo the ability of InDesign to keep track of page number across documents and sections within a document
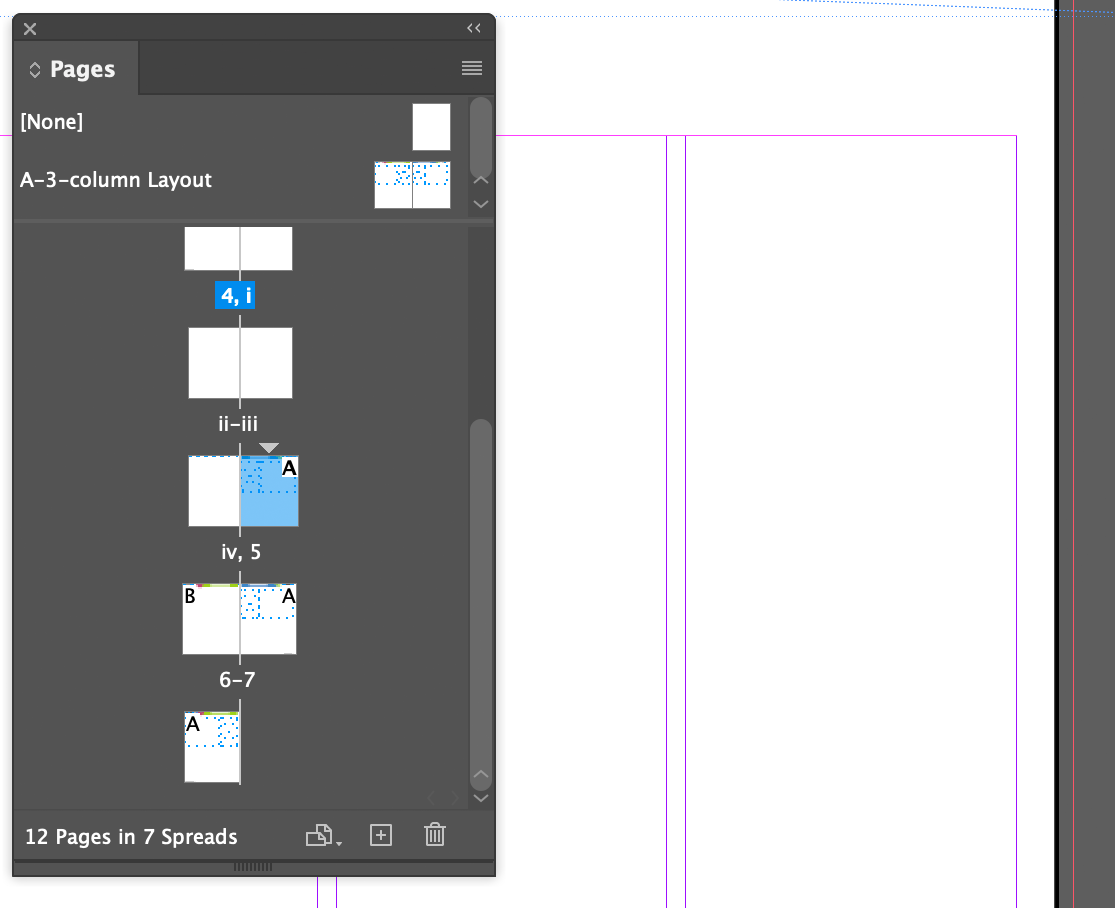
Focus on Page 5 by double-clicking the page icon.
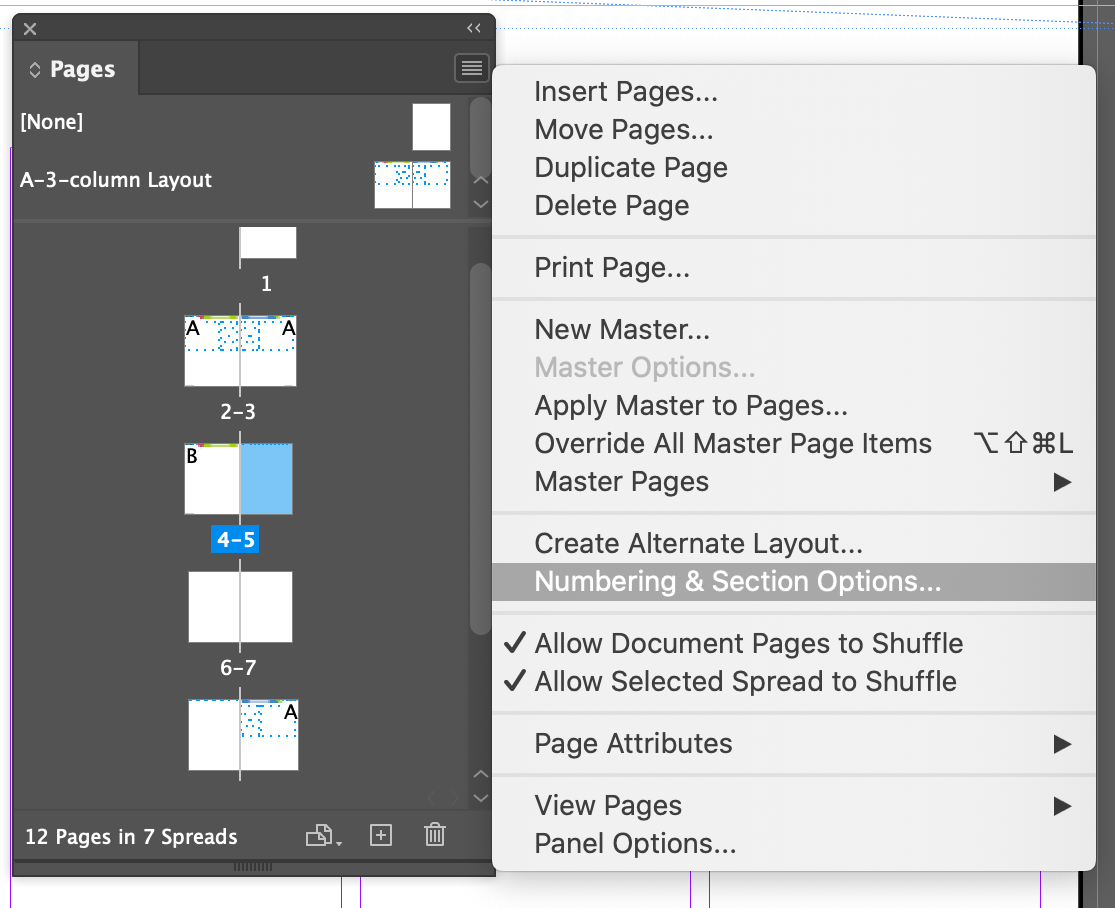
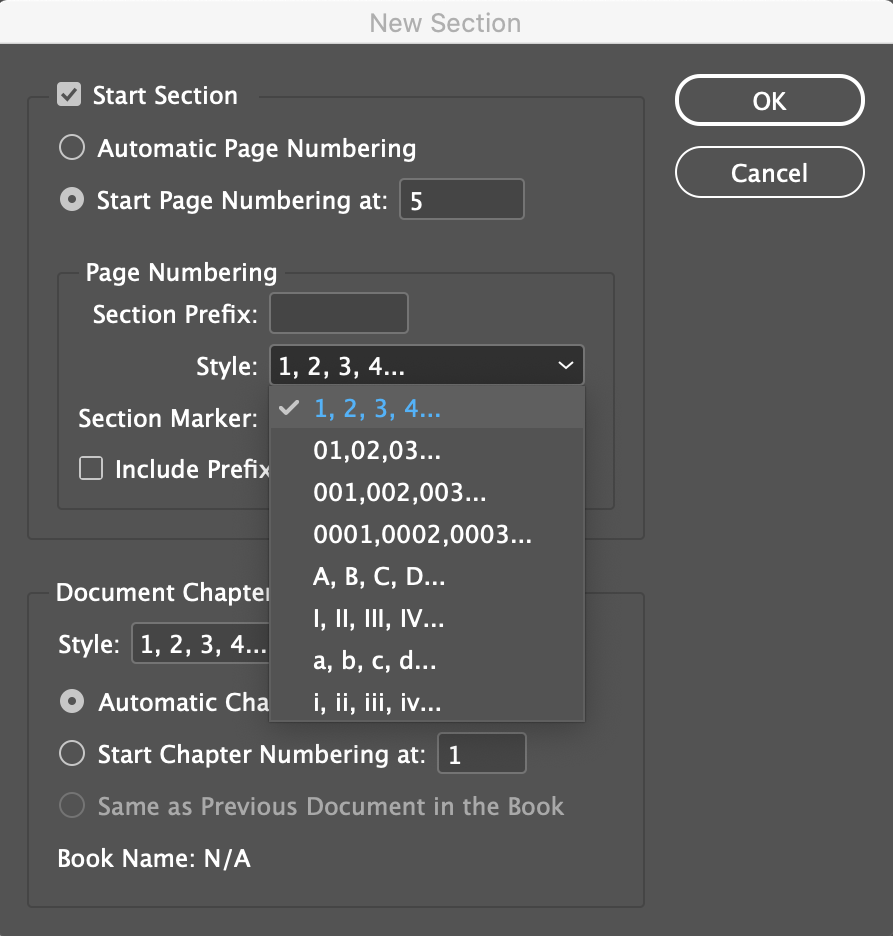
From the flyout menu of the Pages panel, choose Numbering & Section Options
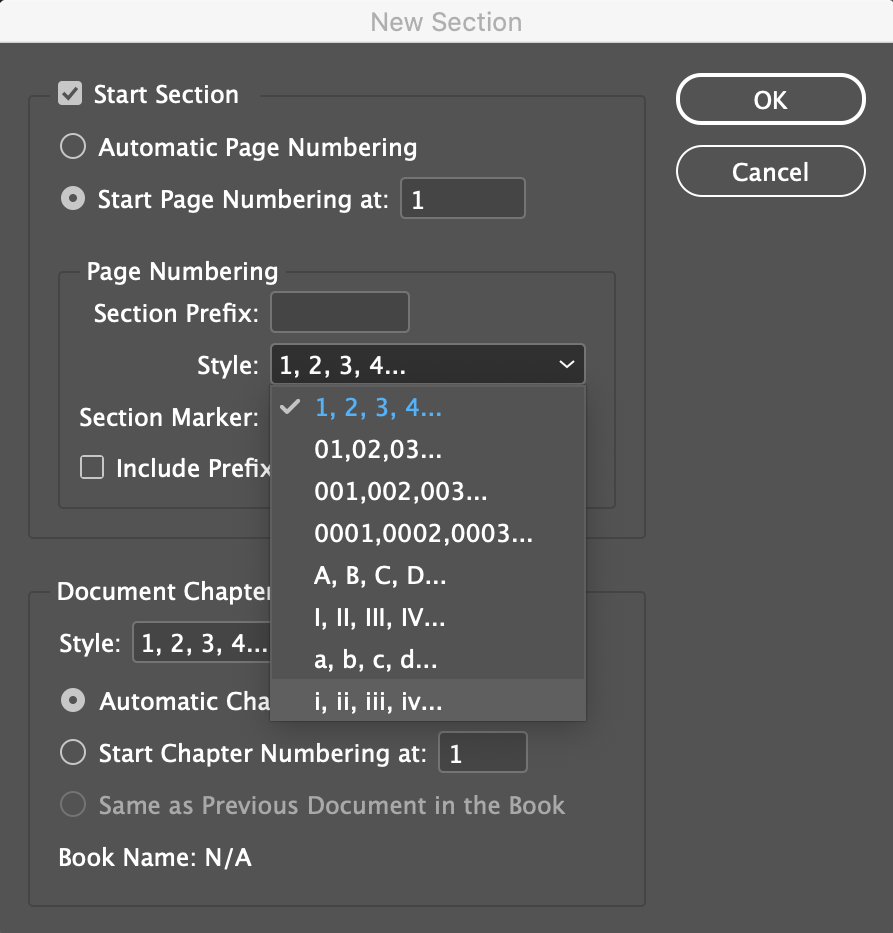
Set the parameters
• Start Page Numbering at: 1
Style: i, ii, iii, iv...
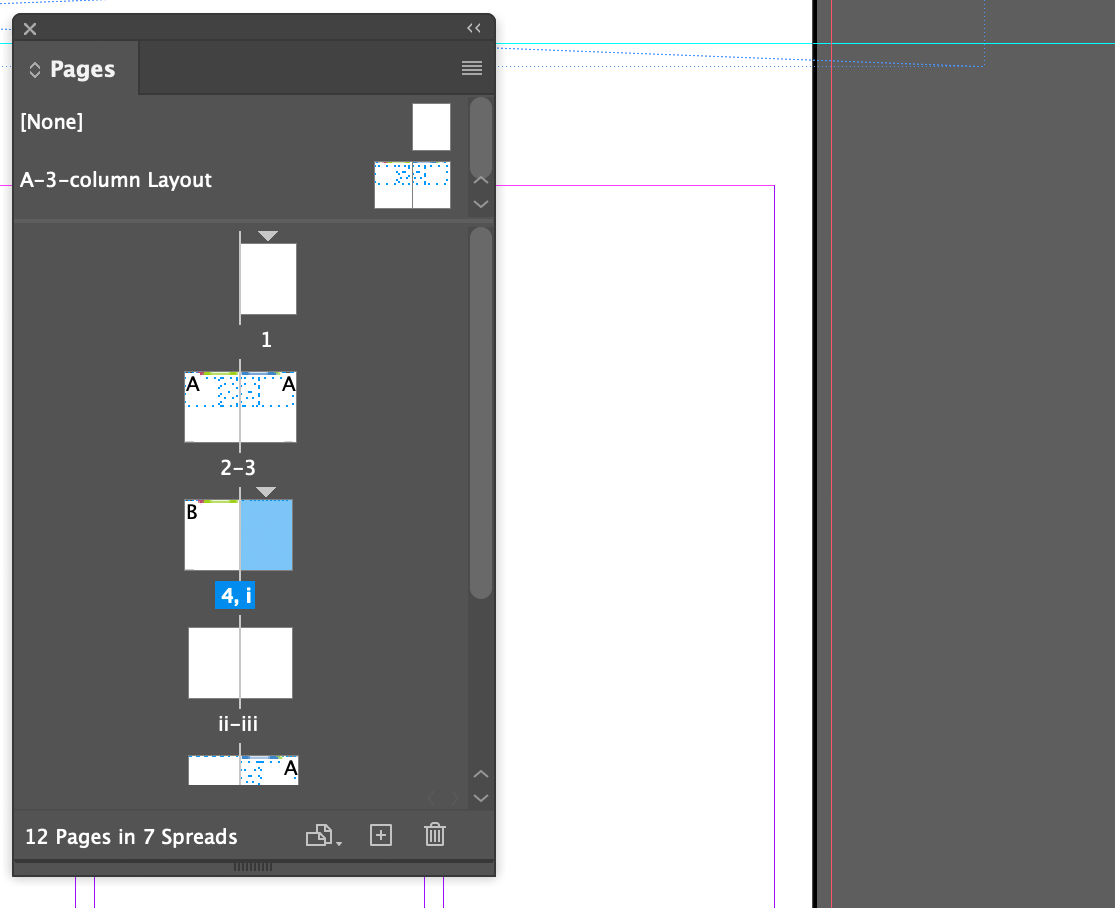
Result
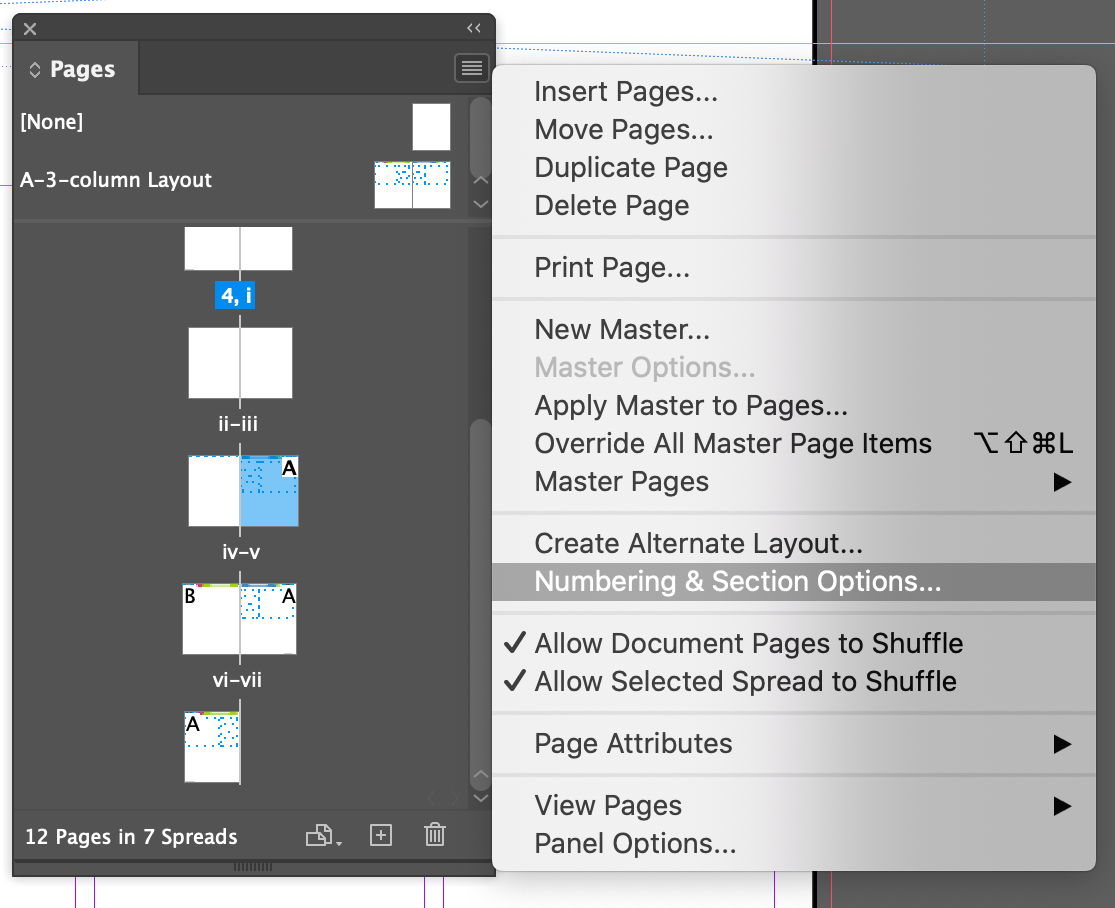
Now reset the rest of the pages to resume numbering with numbers instead of lower-case Roman numerals (for which there is no automated process). Click on page v and open the menu again...
Set the parameters
• Start Page Numbering at: 5
Style: 1,2,3,4...
This is actually bad practice. What happens if you add a page or two between pages 1- 4. 5 will now be the wrong number. It's better to use • Automatic Page Numbering,
which does the right thing.
Result
Save this as 03_Newsletter.indd
Adjust Layout
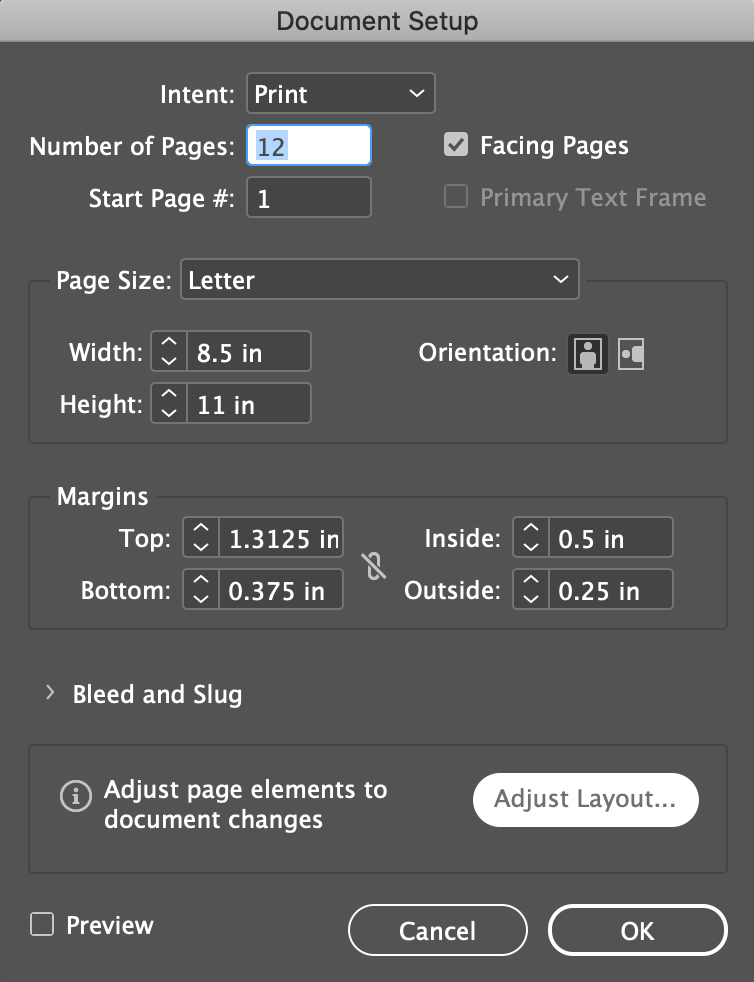
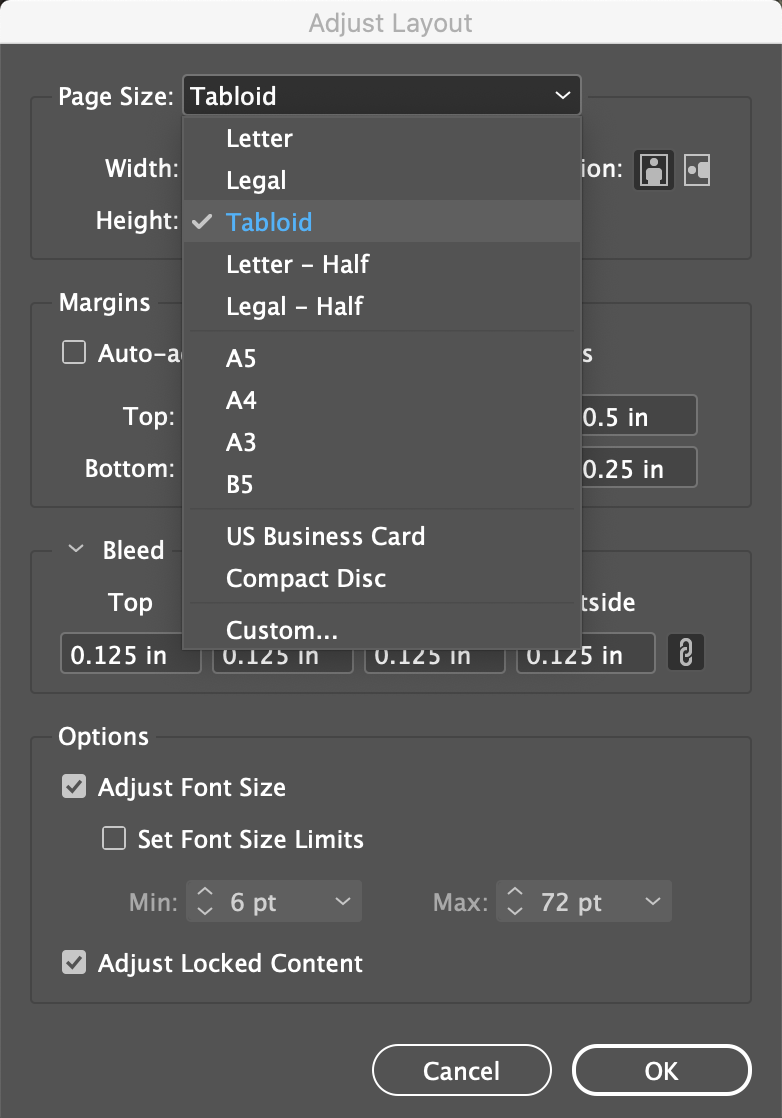
New feature in CC 2019. Not a usual condition, but it can happen that you need to redo the entire document at a different size. Do this with the file 03_end.indd
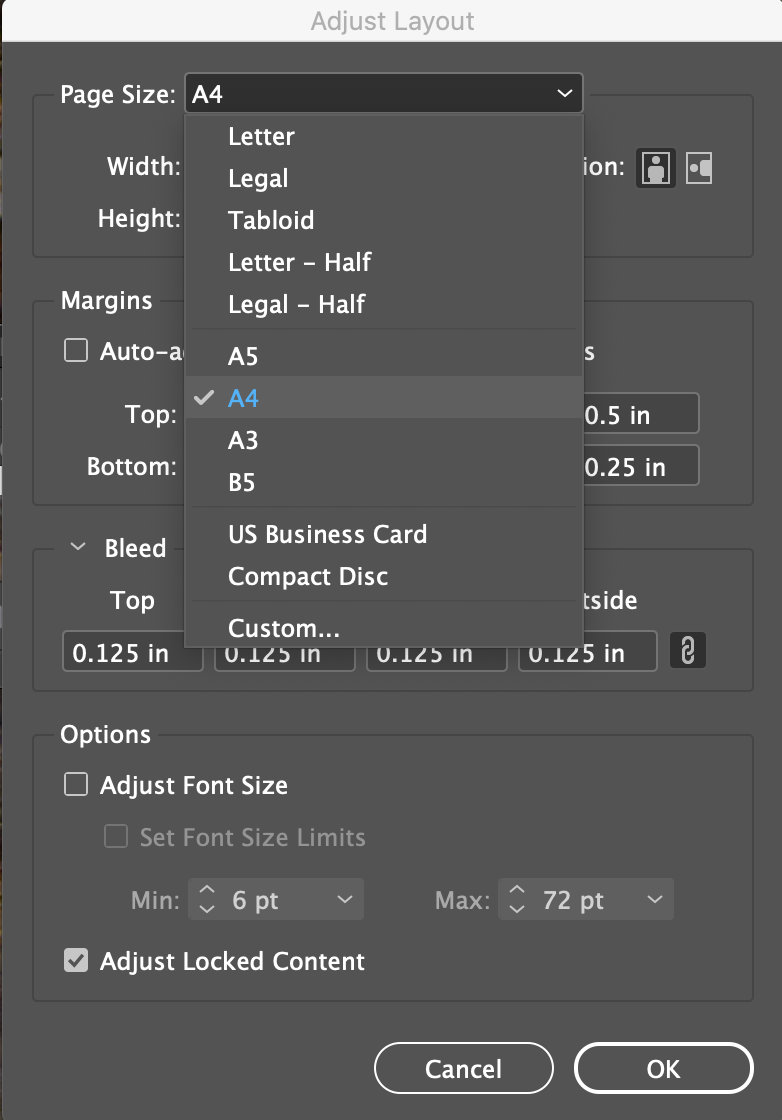
Open the Doument Setup dialog and choose Adjust Layout...
Page Size: A4
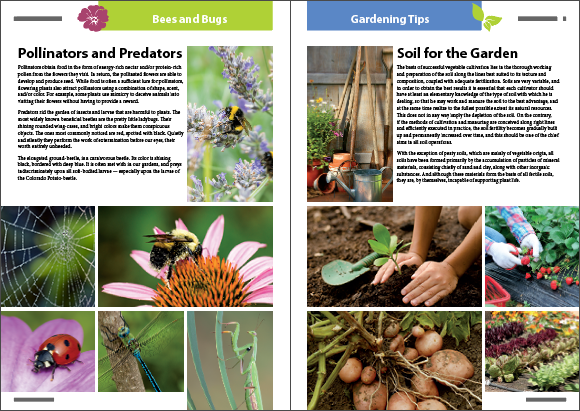
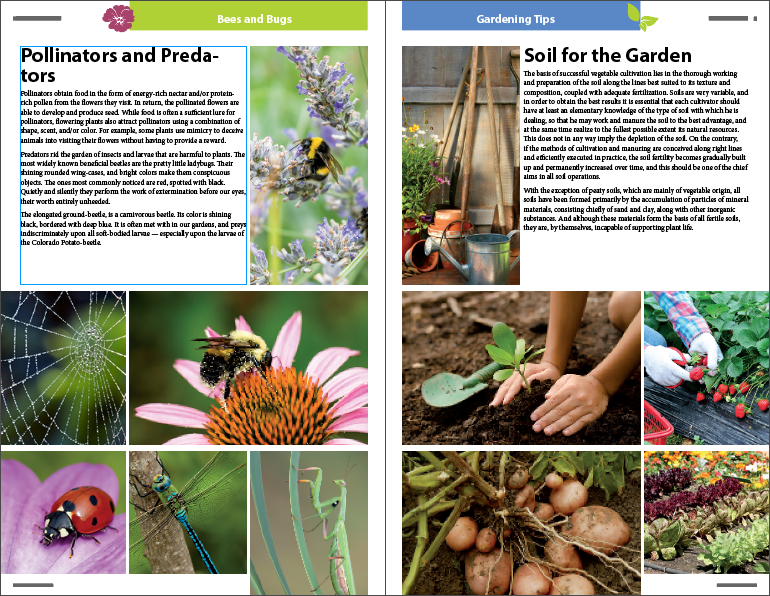
Try it again with Tabloid size, and set Adjust Font Size checkbox on
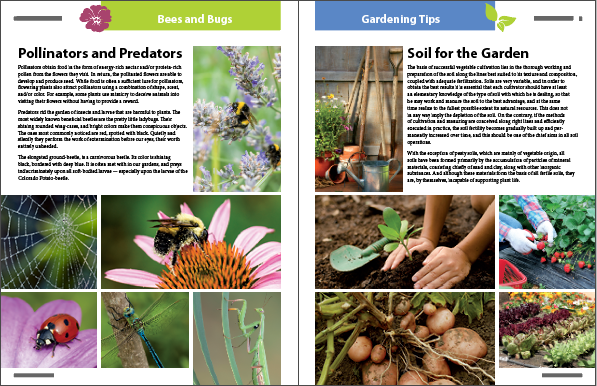
Page Size: A4 Adjust Font Size (checked on)
Results
Letter
A4
Tabloid
Break?
If we haven't already done so, save the work we've done so far (not 03_end.indd) as 03_Newsletter.indd
Overriding Master/Parent Page Items and Placing Text and Graphics
Working with what we have so far, save it as 03_Newsletter.indd. Here we'll add some content to the actual pages using the established guides, header and footers, and placholder frames from the A-3-column Layout Master/Parent Page
Go to page 2 (We're done with Master/Parent Pages, so make sure you're not working on a Master/Parent Page, but an actual Page page). Make sure nothing is currently selected (Menu > Edit > Deselect All... or click with the selection tool on an area where nothing is selectable).
Menu > File > Place...
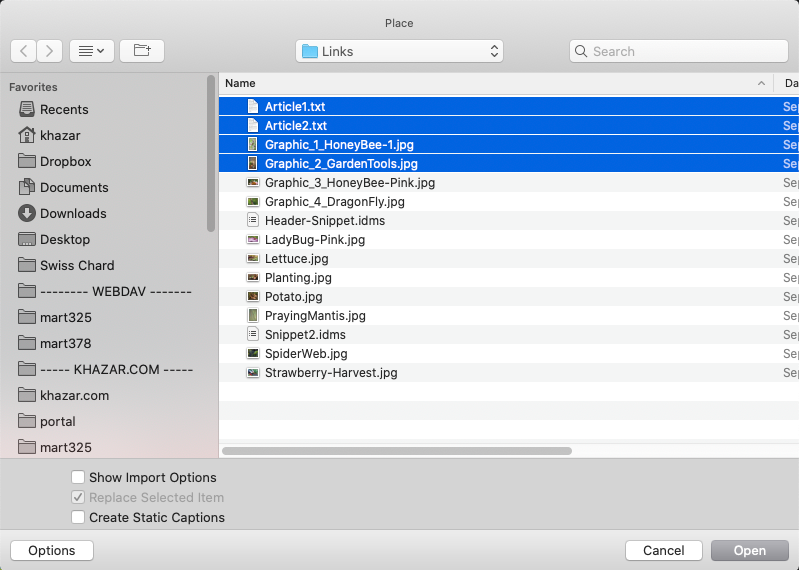
From the Links folder in Lesson 3, choose then open (in this sequence and by holding the Command/Control key when you click):
Article1.txt
Article2.txt
Graphic_1_HoneyBee-1.jpg
Graphic_2_GardentT00ls.jpg
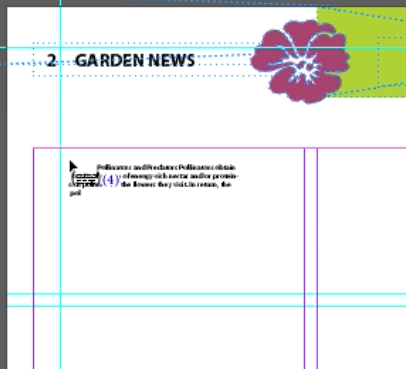
This loads up the cursor with multiple, placeable, objects. Each click and release places the first object in the stack and moves to the next one.
You can see a little (4) showing there's 4 objects loaded into the cursor...
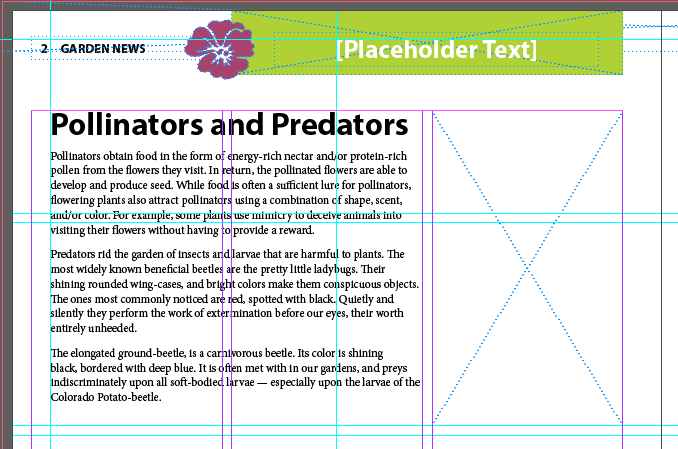
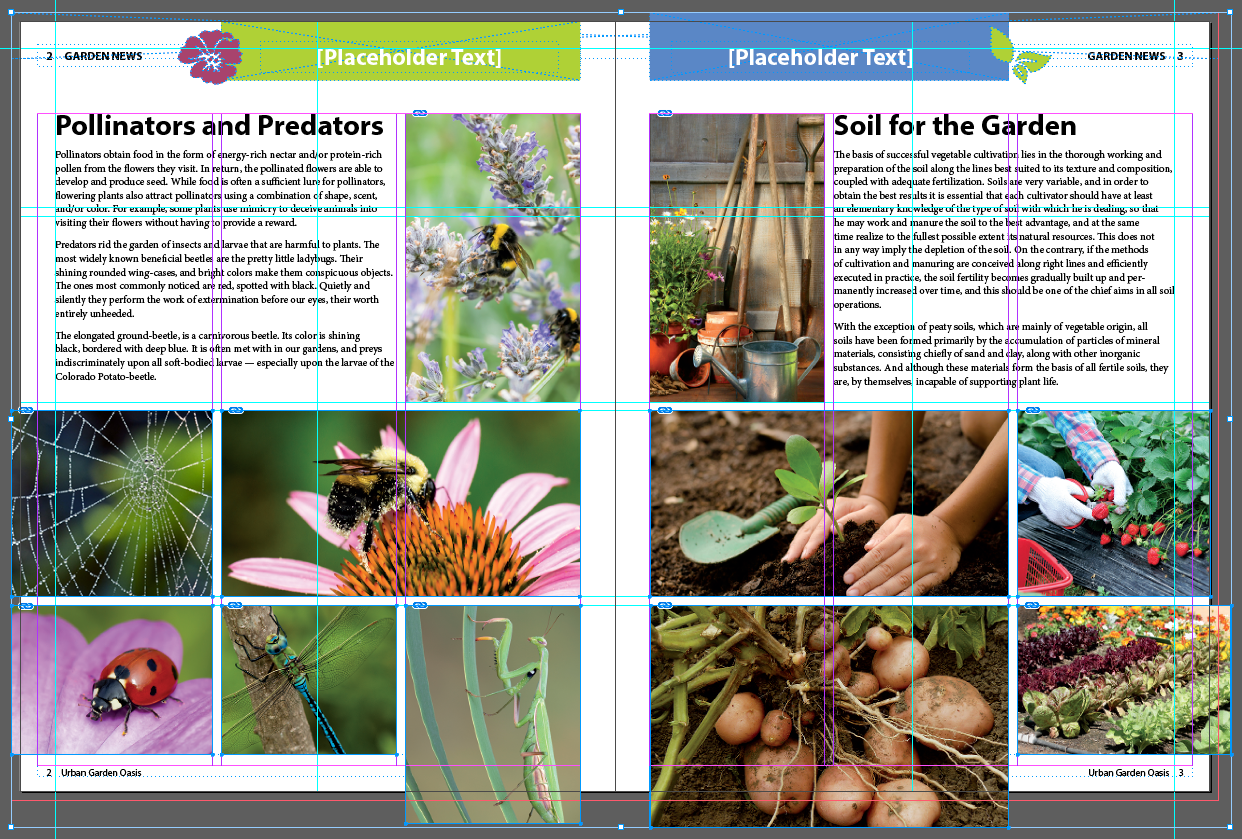
Click in the upper right corner of the text frame (which is invisible, you gotta know it's there) which will drop Article1.txt into the text frame from the Master/Parent Page
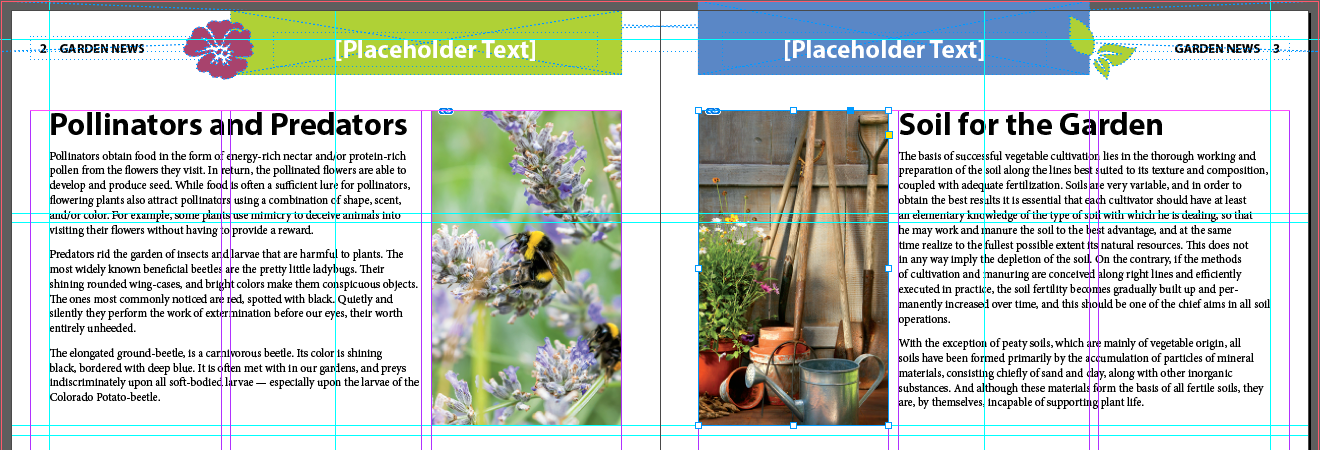
Do the same for the remaining article and the two images...
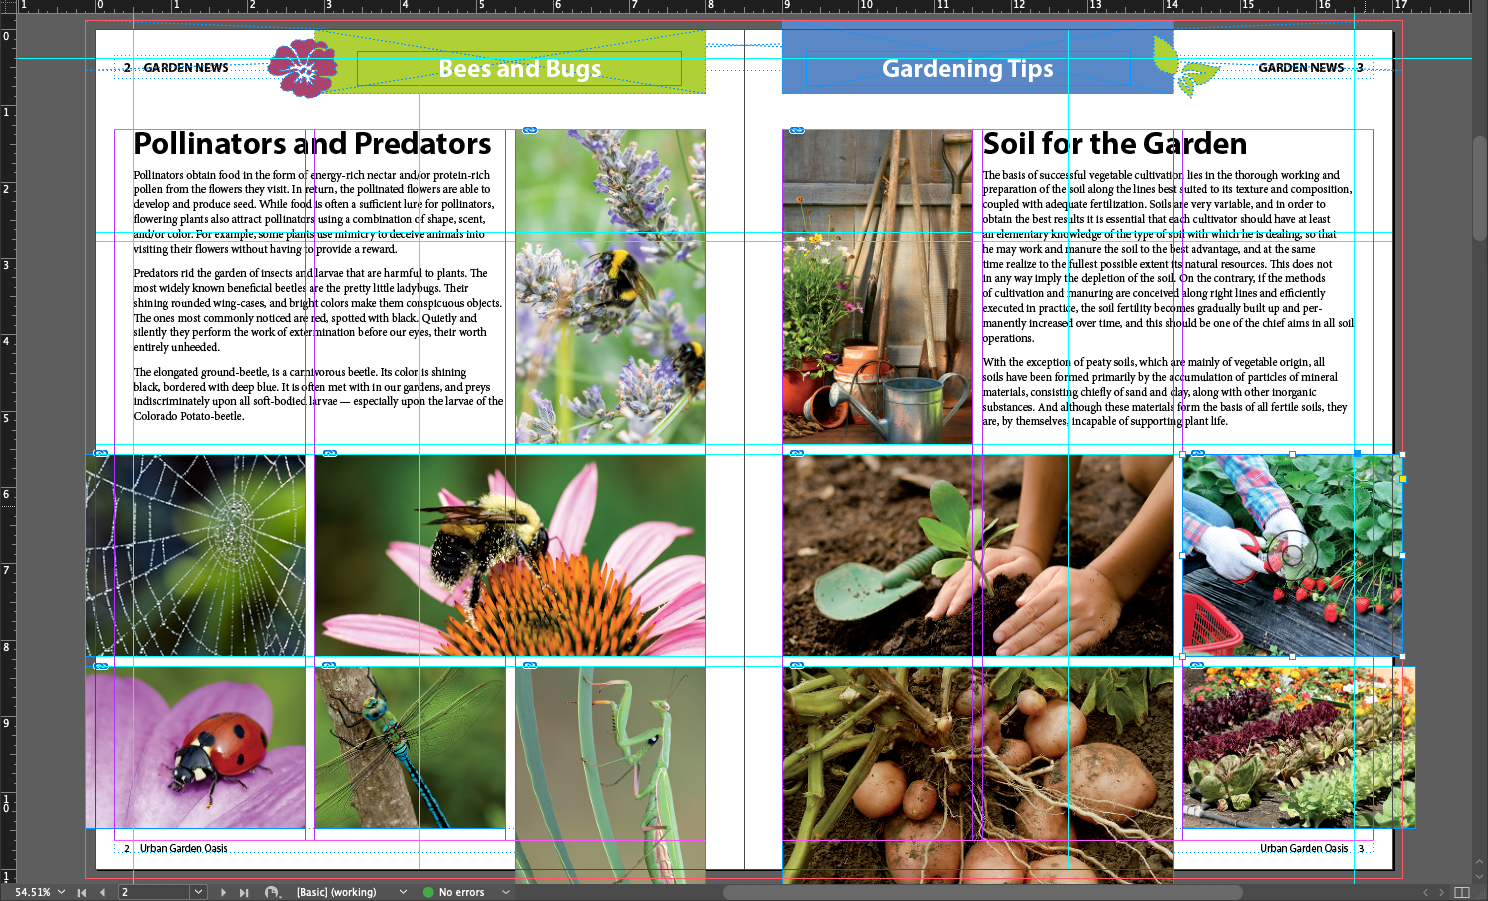
Now we'll place another one of those snippets (Snippet2.idms) to fill out the bottom half of the two pages. Position the cursor at the upper left edge of the bleed guides.
Again, this ain't how it's done in the real world. Snippets should be used for content that gets used multiple times across multiple documents and projects
Result
Replacing Placeholder Text
The headers at the top of the page for the two Master/Parent Pages has placeholder text set to a specific font and style. It's been named with the self-descriptive [Placeholder Text]. If you just click on it, you can't select or edit it. It requires the special gesture of Shift+Command/Control click to free it up.
Zoom in and replace the placeholder text with Bees and Bugs on page 2 and Gardening Tips on page 3
Printing to the Edge of the Paper: Using the Bleed Guides
[Quote from our text] A very important concept to keep in mind when setting up a document is whether any elements will print all the way to the edge of the paper. If so, you need to account for how that is accomplished in commercial printing. The bleed guides that we set up in the newletter template are there to enable you to do that.
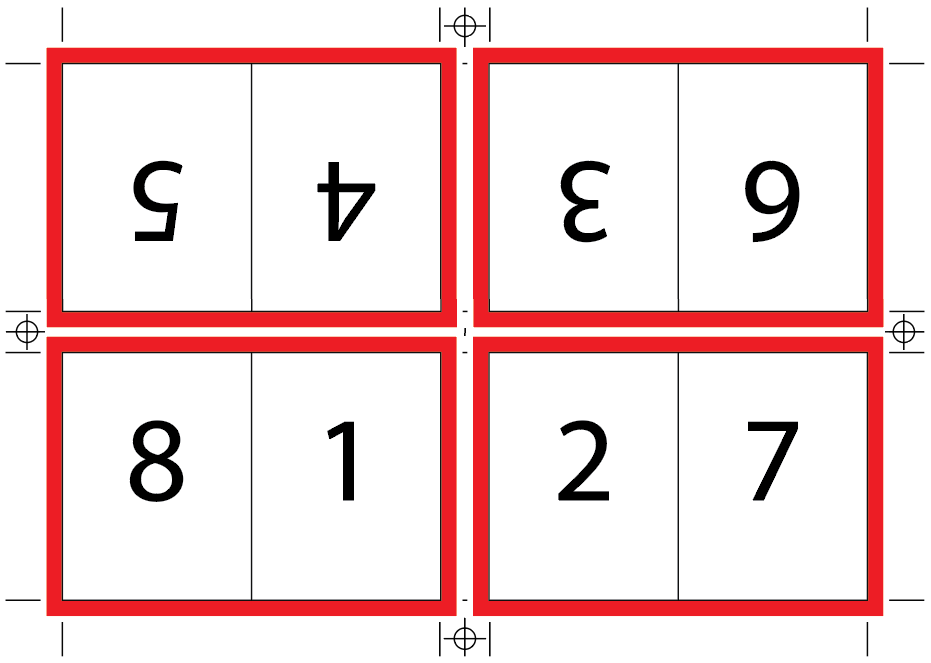
In commercial printing, pages are printed on large peper, and pages are arranged to fold correctly on bindery machines, rather than on single sheets as on an office printer. For example, the pages could be 2-up on a small digital press, or 8-up on a ty[p[ical large offset press. Throughout the printing process, tolerances are built in to alow for slight variations, and one of theose tolerances is bleed.
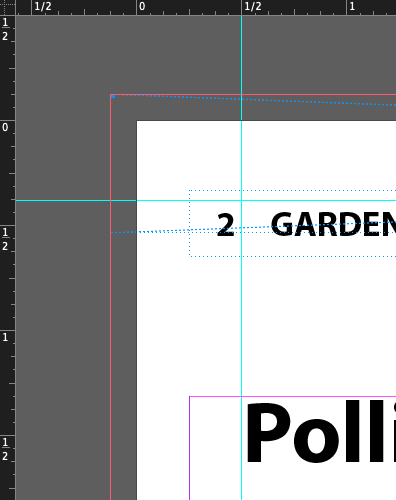
Bleed line
Trim Line / Paper Edge
Margin line
Sheets of printed material are cut while in lage stacks, and even with a very sharp industrial blade, it's impossible to cut exactly to the edge of an image hundreds or even thousands of times. So to get a perfect edge every time while allowing for the mechanics of cutting paper in stacks, any artwork that will print to the edge must acutally extend past where the blade will cut the printed sheet.
Diagram of a press sheet. Red is the bleed area and is trimmed off.
Therefore, to create a finished piece with photos or other elements that print right to the edge of the page, you actually must extend those items in the InDesign file past where the blade will cut the sheet to the final size. That produces a clean edge because the blade cuts through the printed image, not unprinted paper.
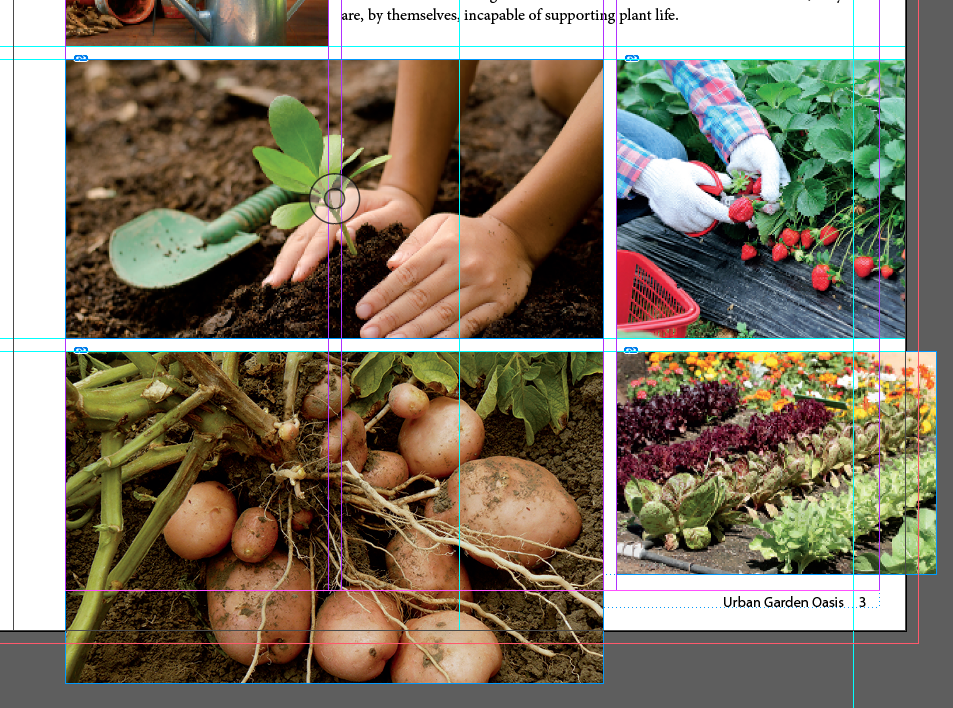
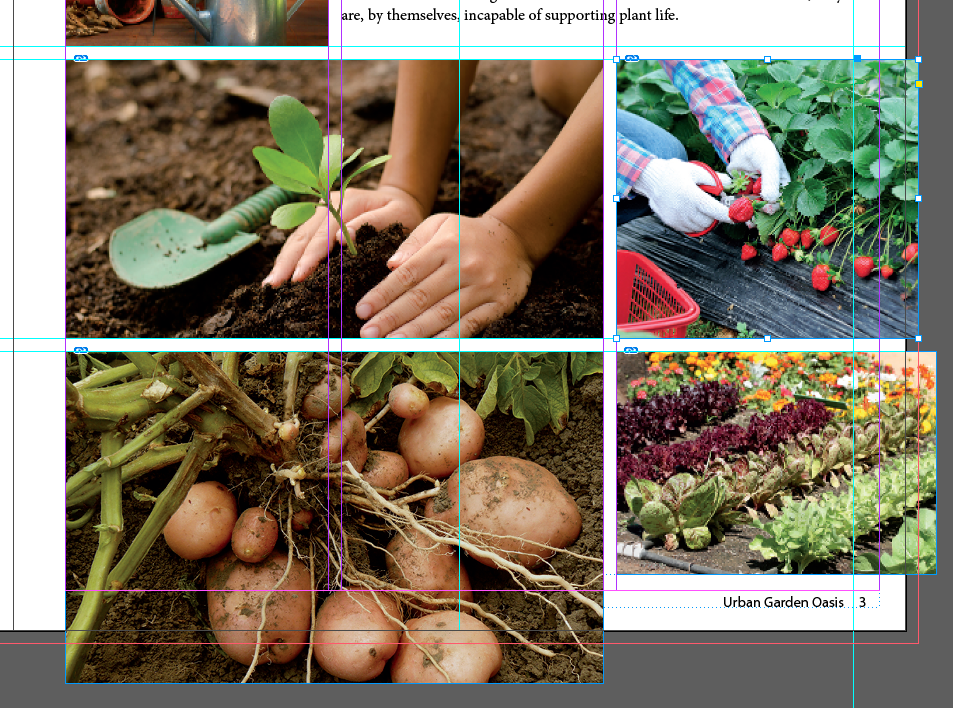
Here, we'll check that items extend sufficiently beyond the page edge, and fix them if they don't.
Zoom into page 3 near the bottom of the page
The strawberry image stops at the edge of the paper. Just stretch out the crop frame to the bleed line fix it
Result
Viewing the Completed Spread
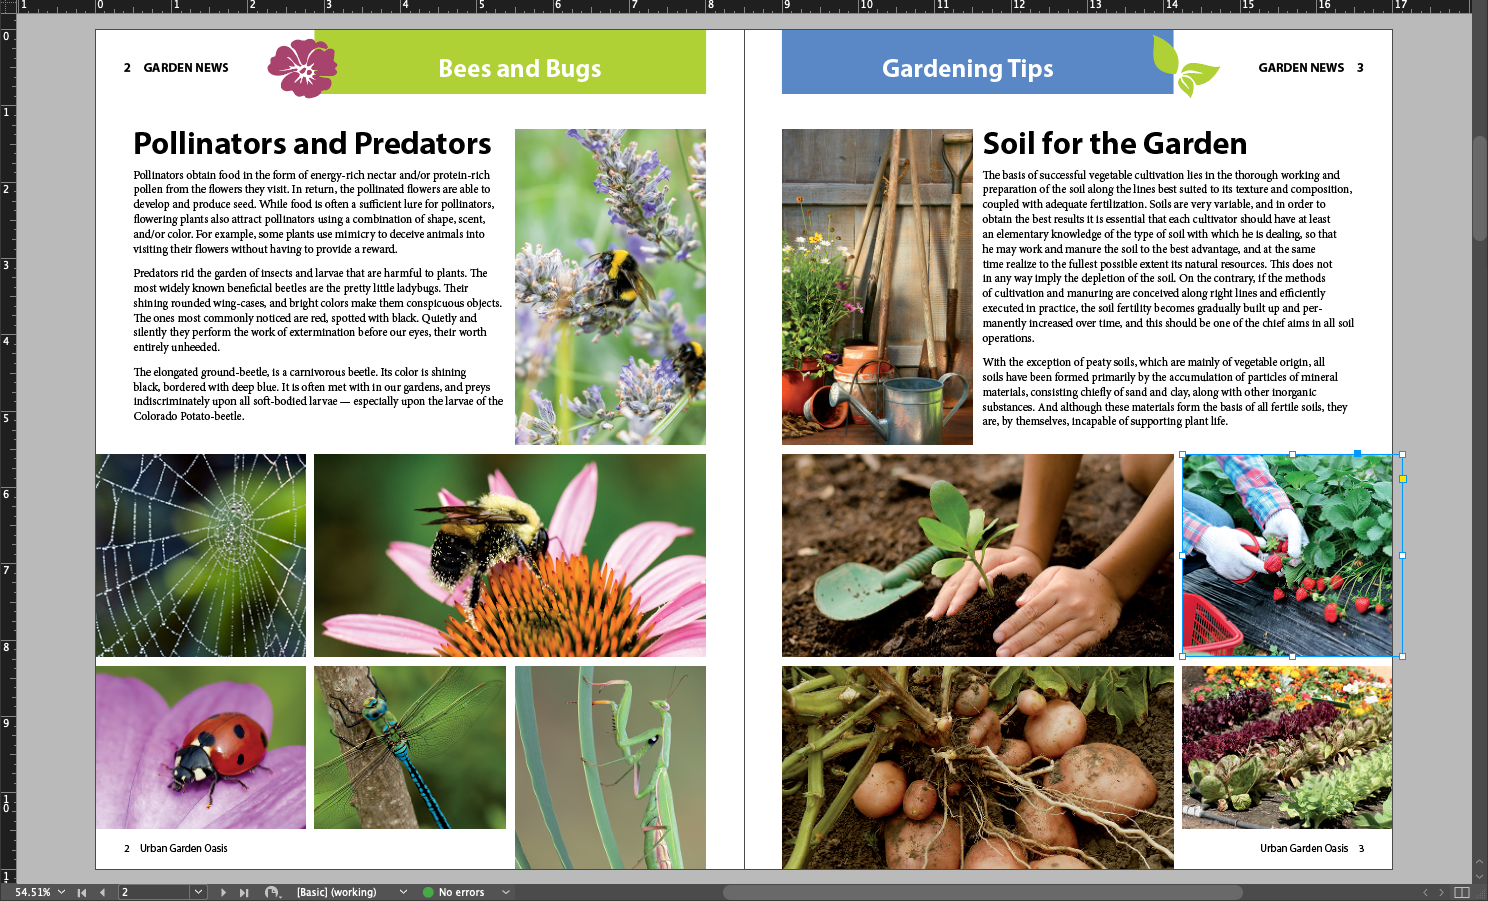
How to get rid of all those margin and guide lines to see how the document will look when printed (but short of the Client Presentation oriented Presentation mode)
Fit the spread in the window with Option-Command+0
Normal View
Menu > View > Screen Mode > Preview
Preview View
Notice that the bleed content and the guides have disappeared.
Rotating Spreads
Skip this, too much of an edge condition, as they say in tech support and QA circles.
CHAPTER 3
Review Questions
What are the advantages of adding objects to Master/Parent Pages?
How do you change the page-numbering scheme within a document?
How do you select a Master/Parent Page item on a document page?
What's the advantage of basing a new Master/Parent Page on an existing Master/Parent Page?
How do you override a Master/Parent Page item?
How do you handle items that print to the edge of a paper?