Wood

- Do a layer for the mass fill in of base color
- Sample color from photo into Mixer
- Use Gouache Fine Bristle, 30px brush size
- Good trick: Set color variability to H:4, S:5, V:5 to put in grain.


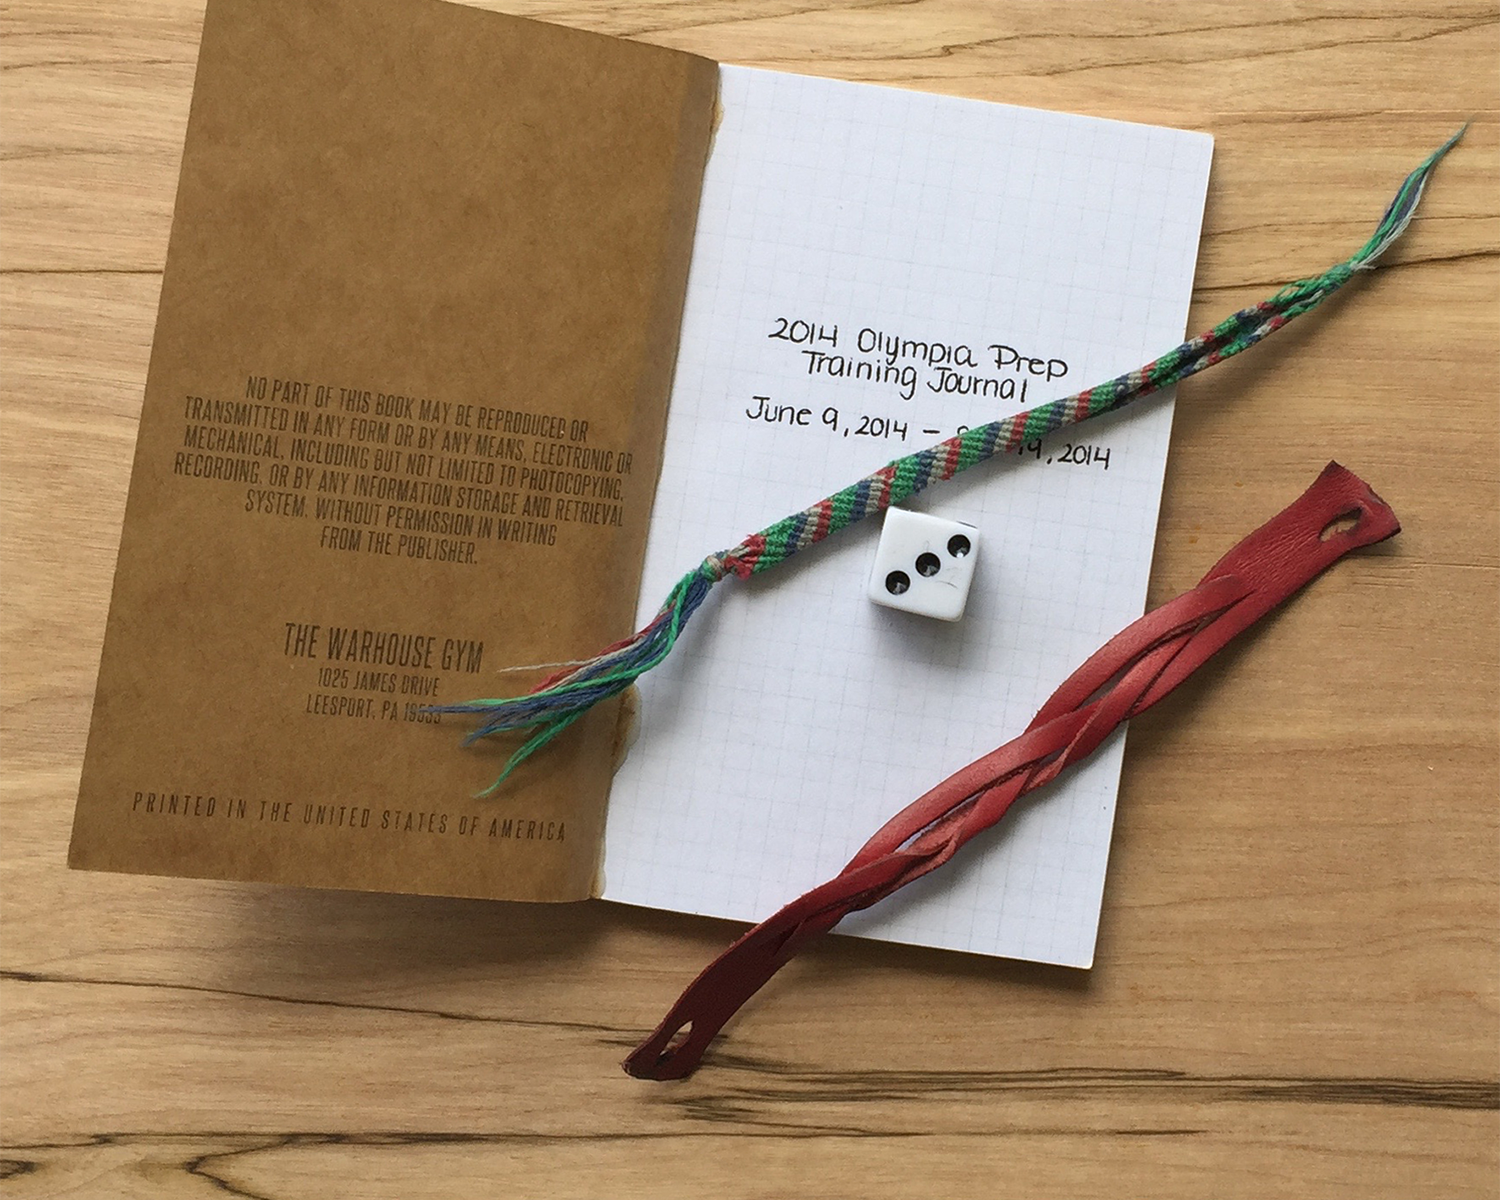
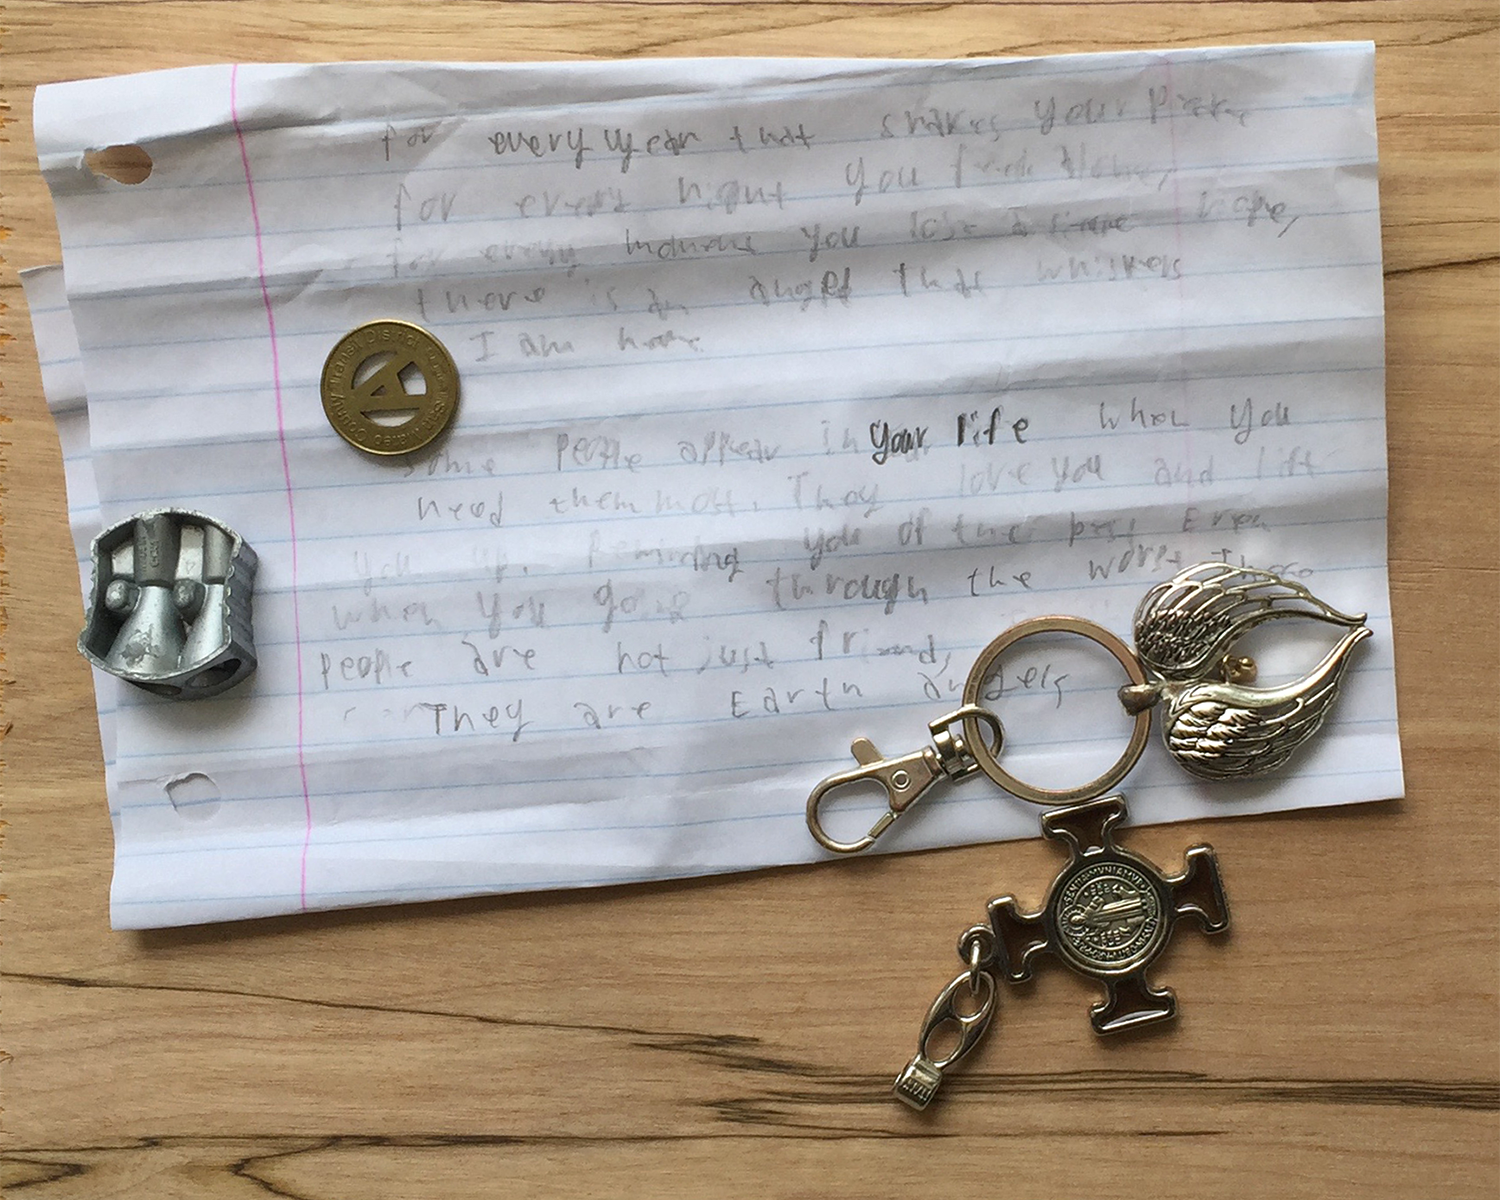
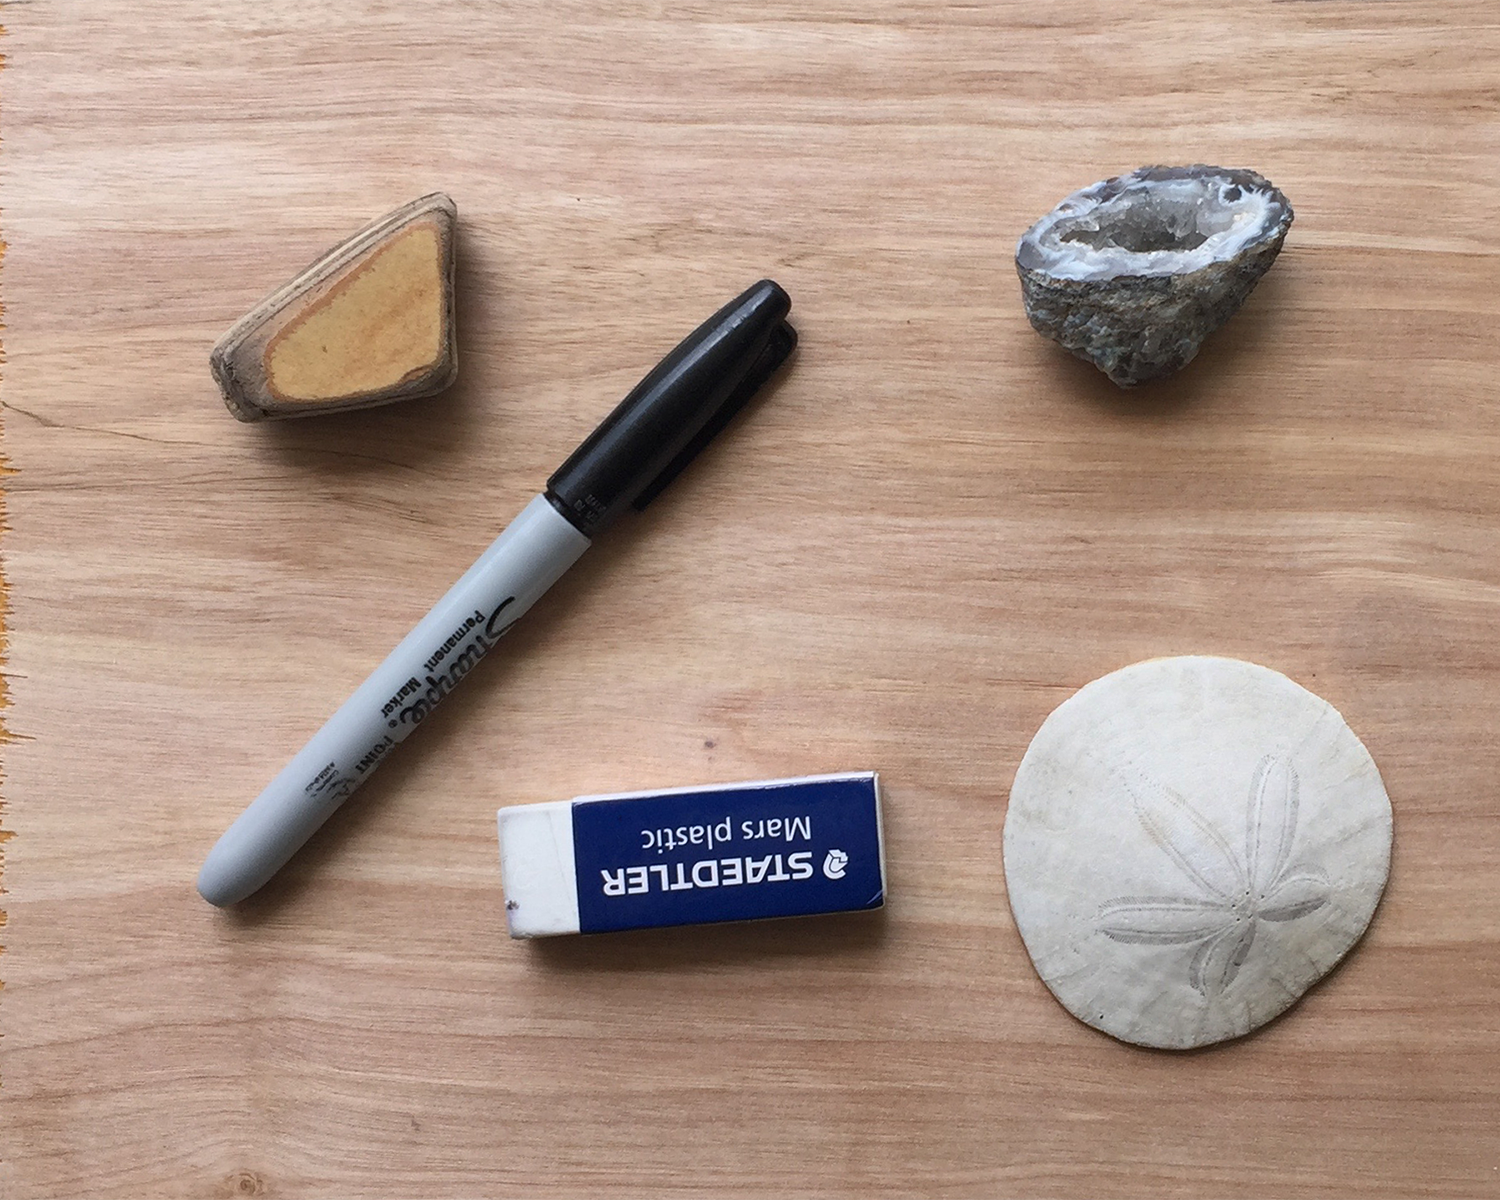
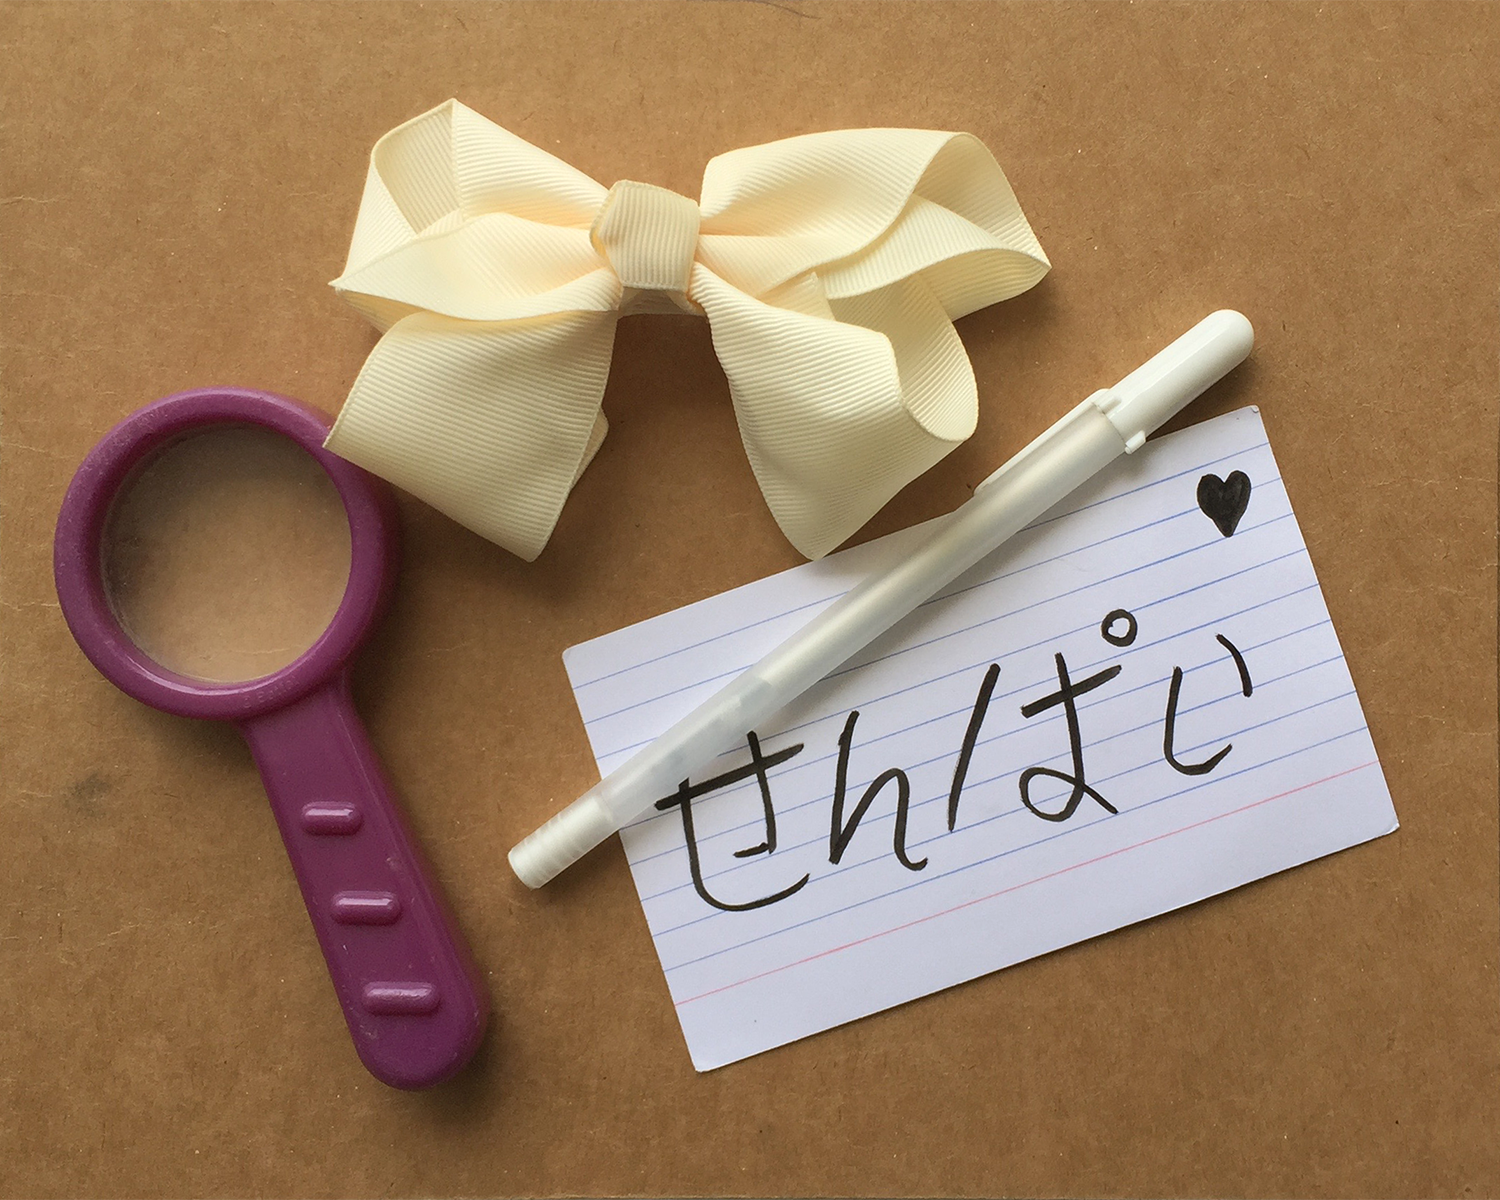
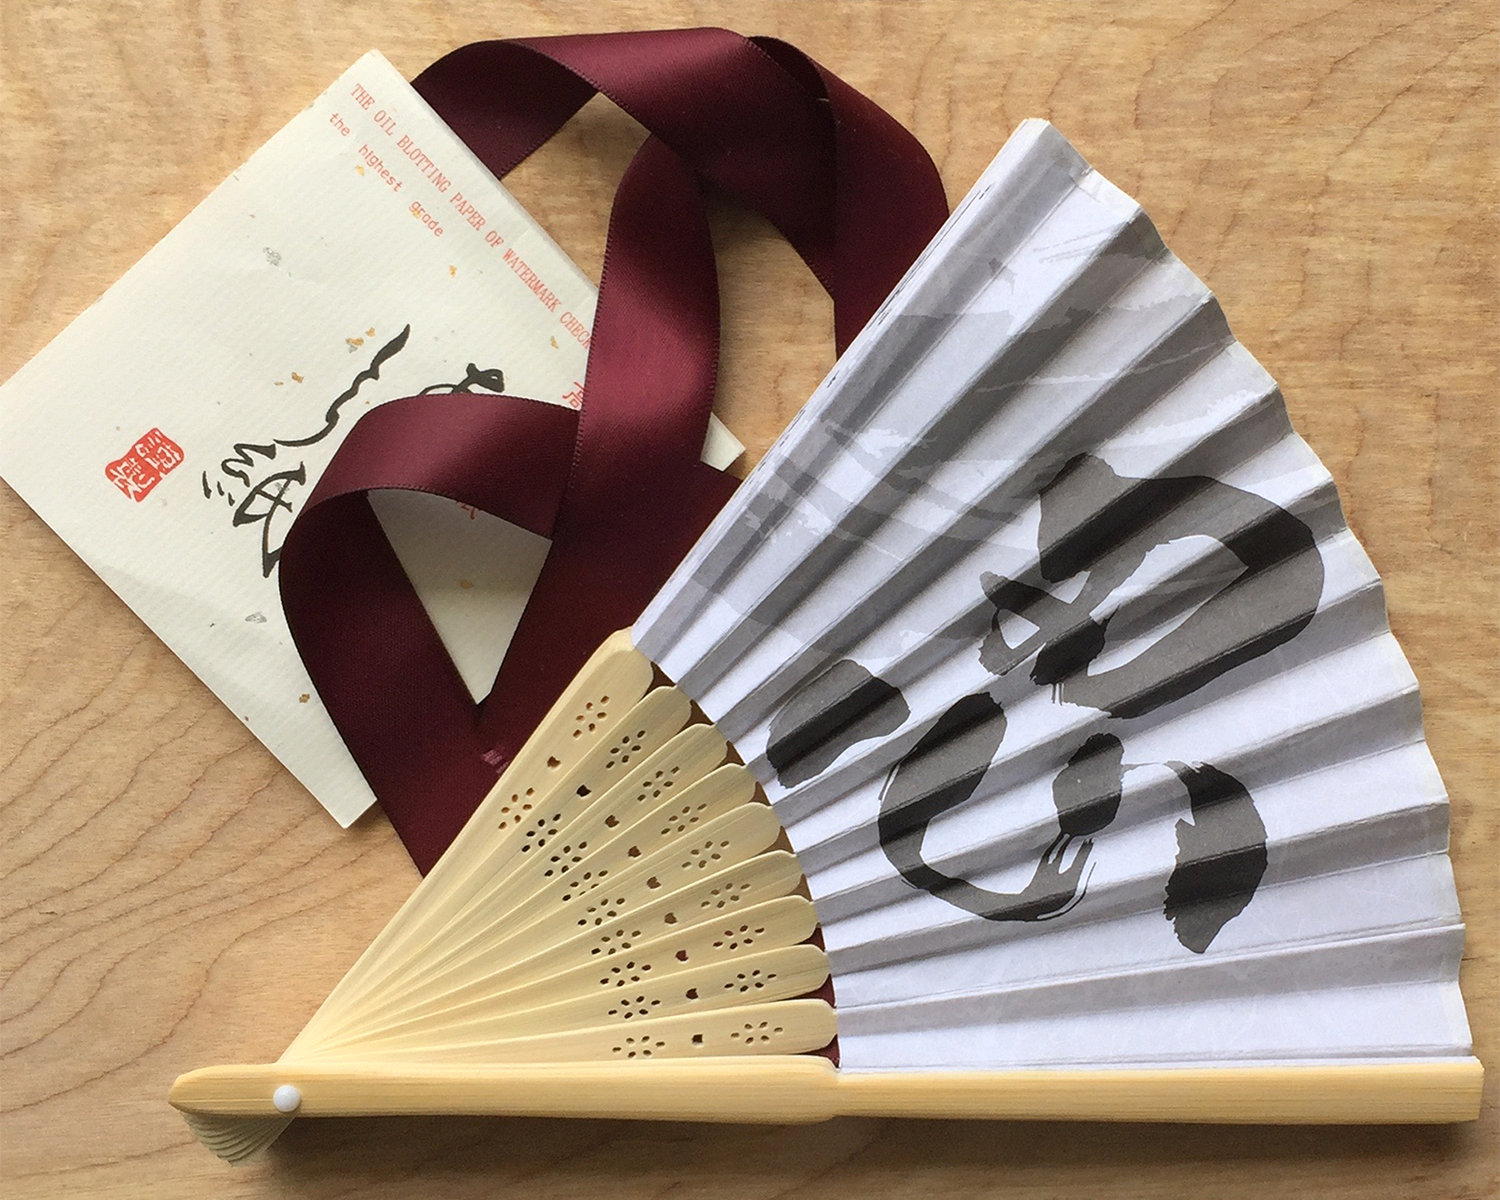
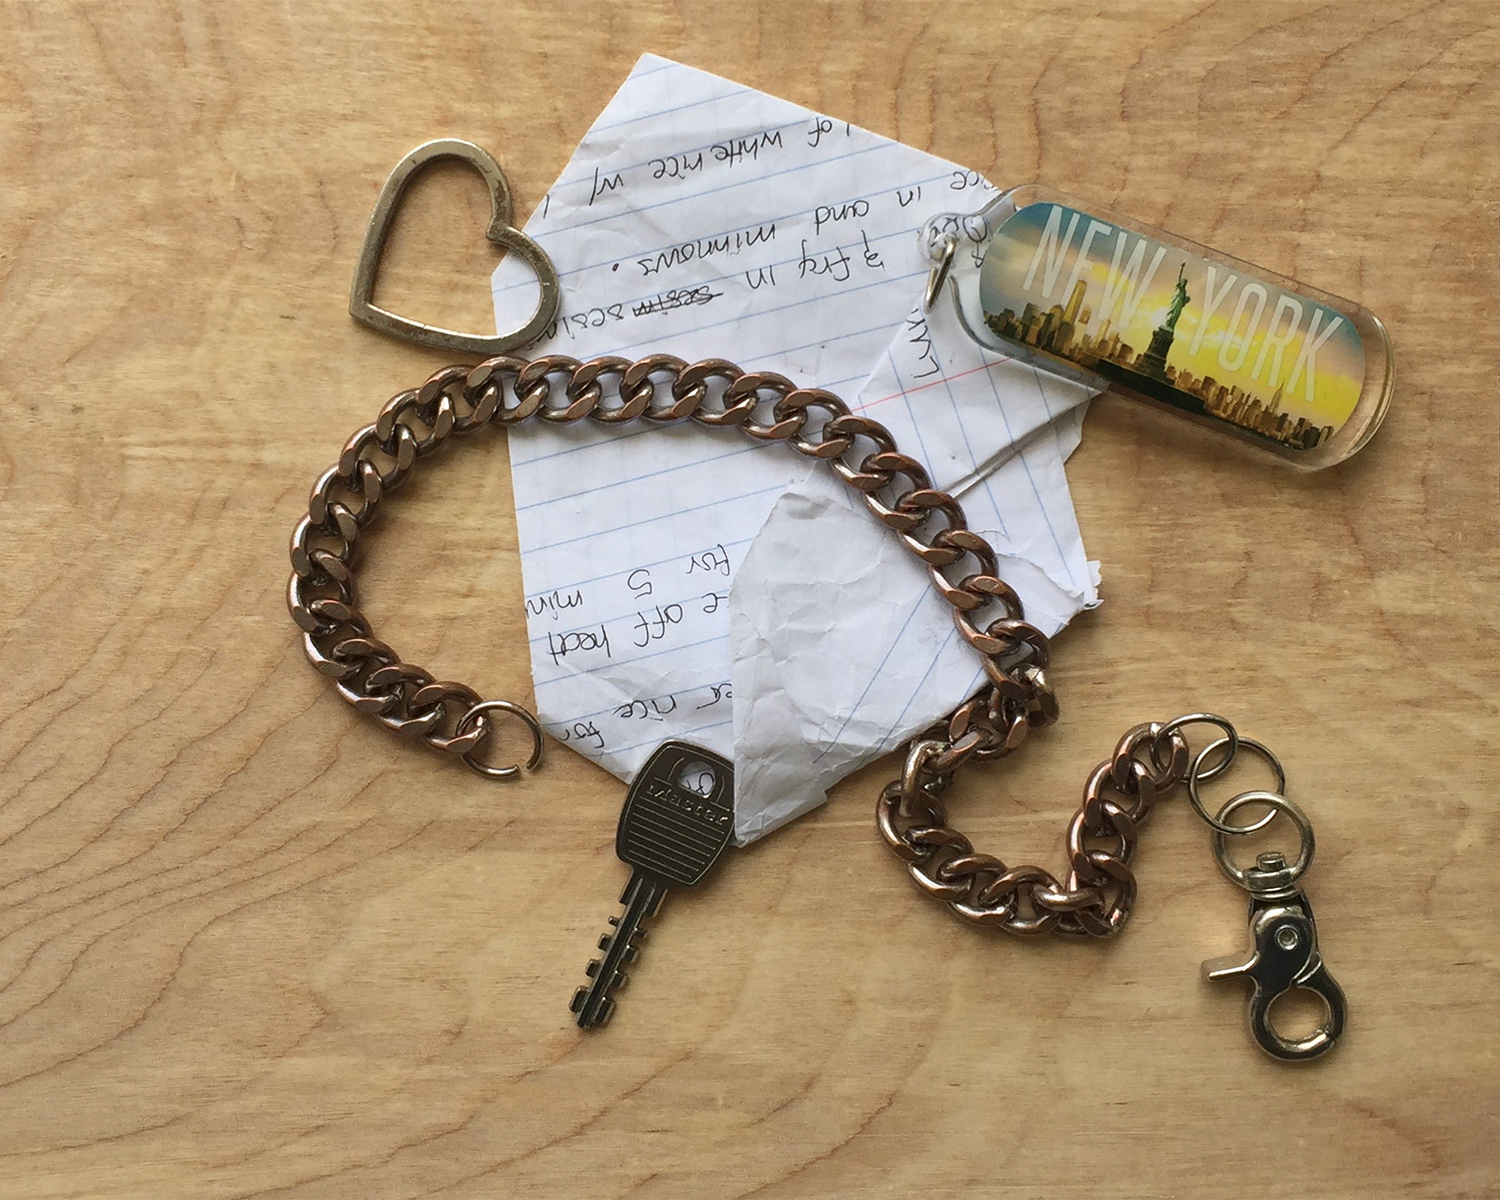
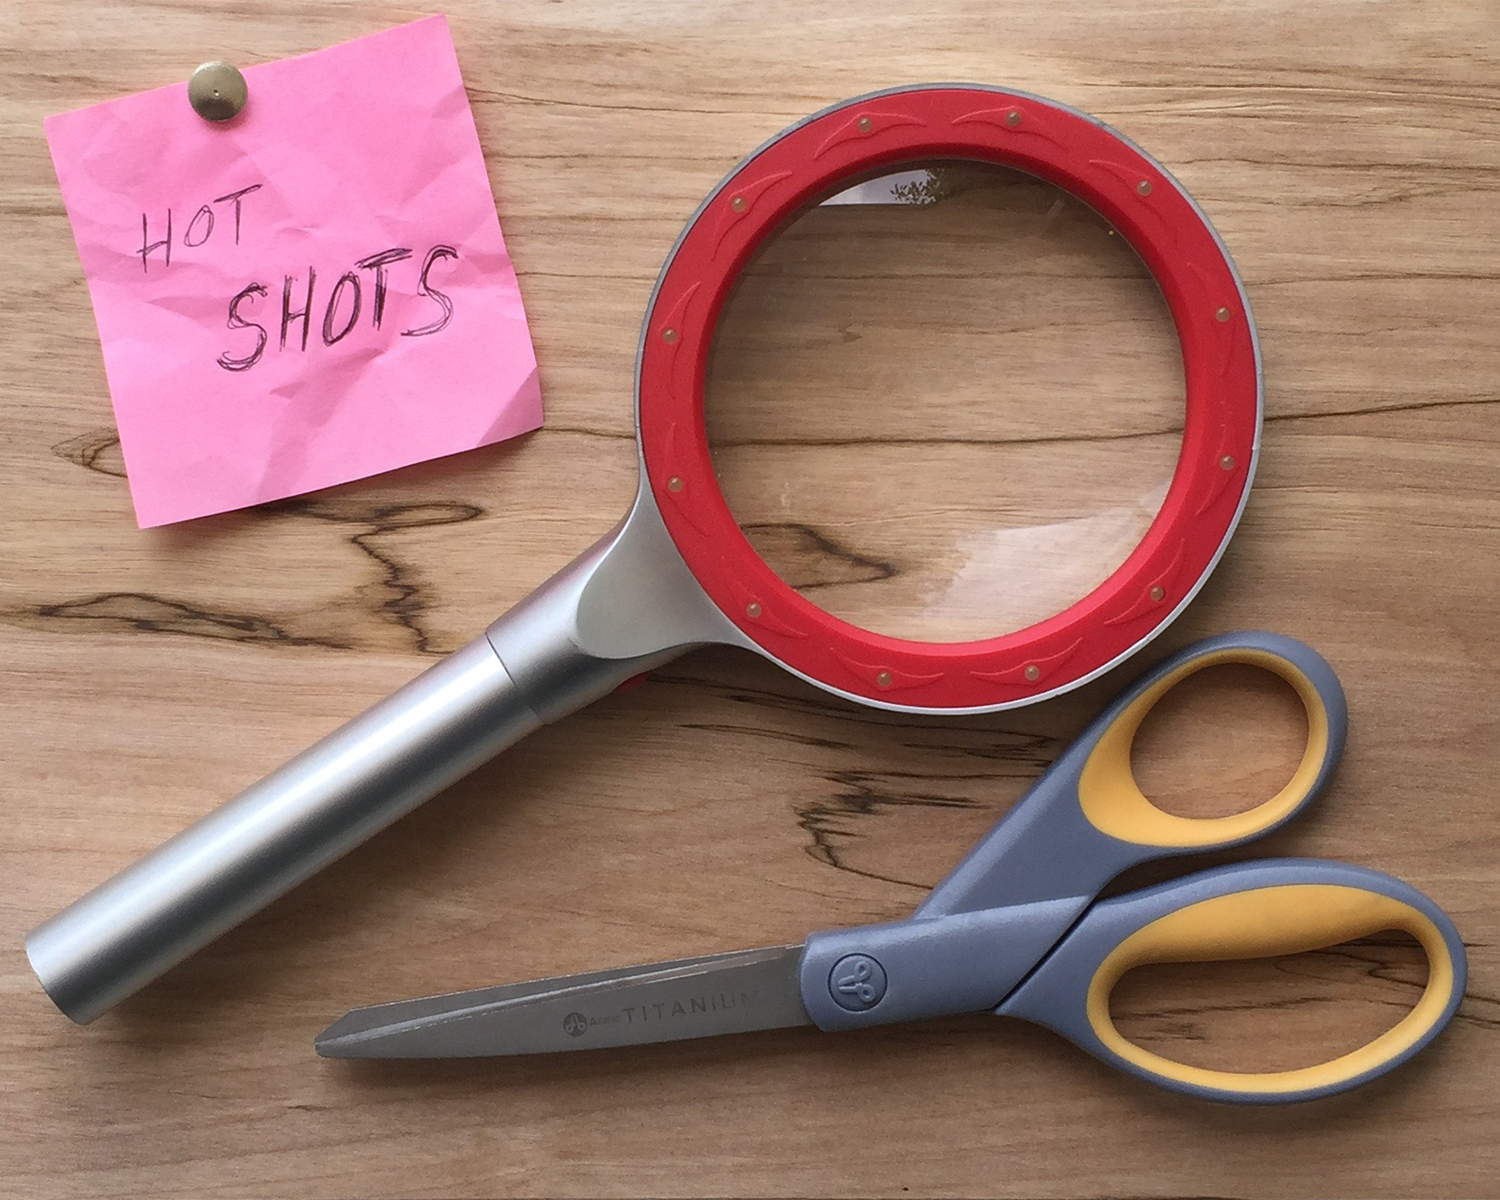
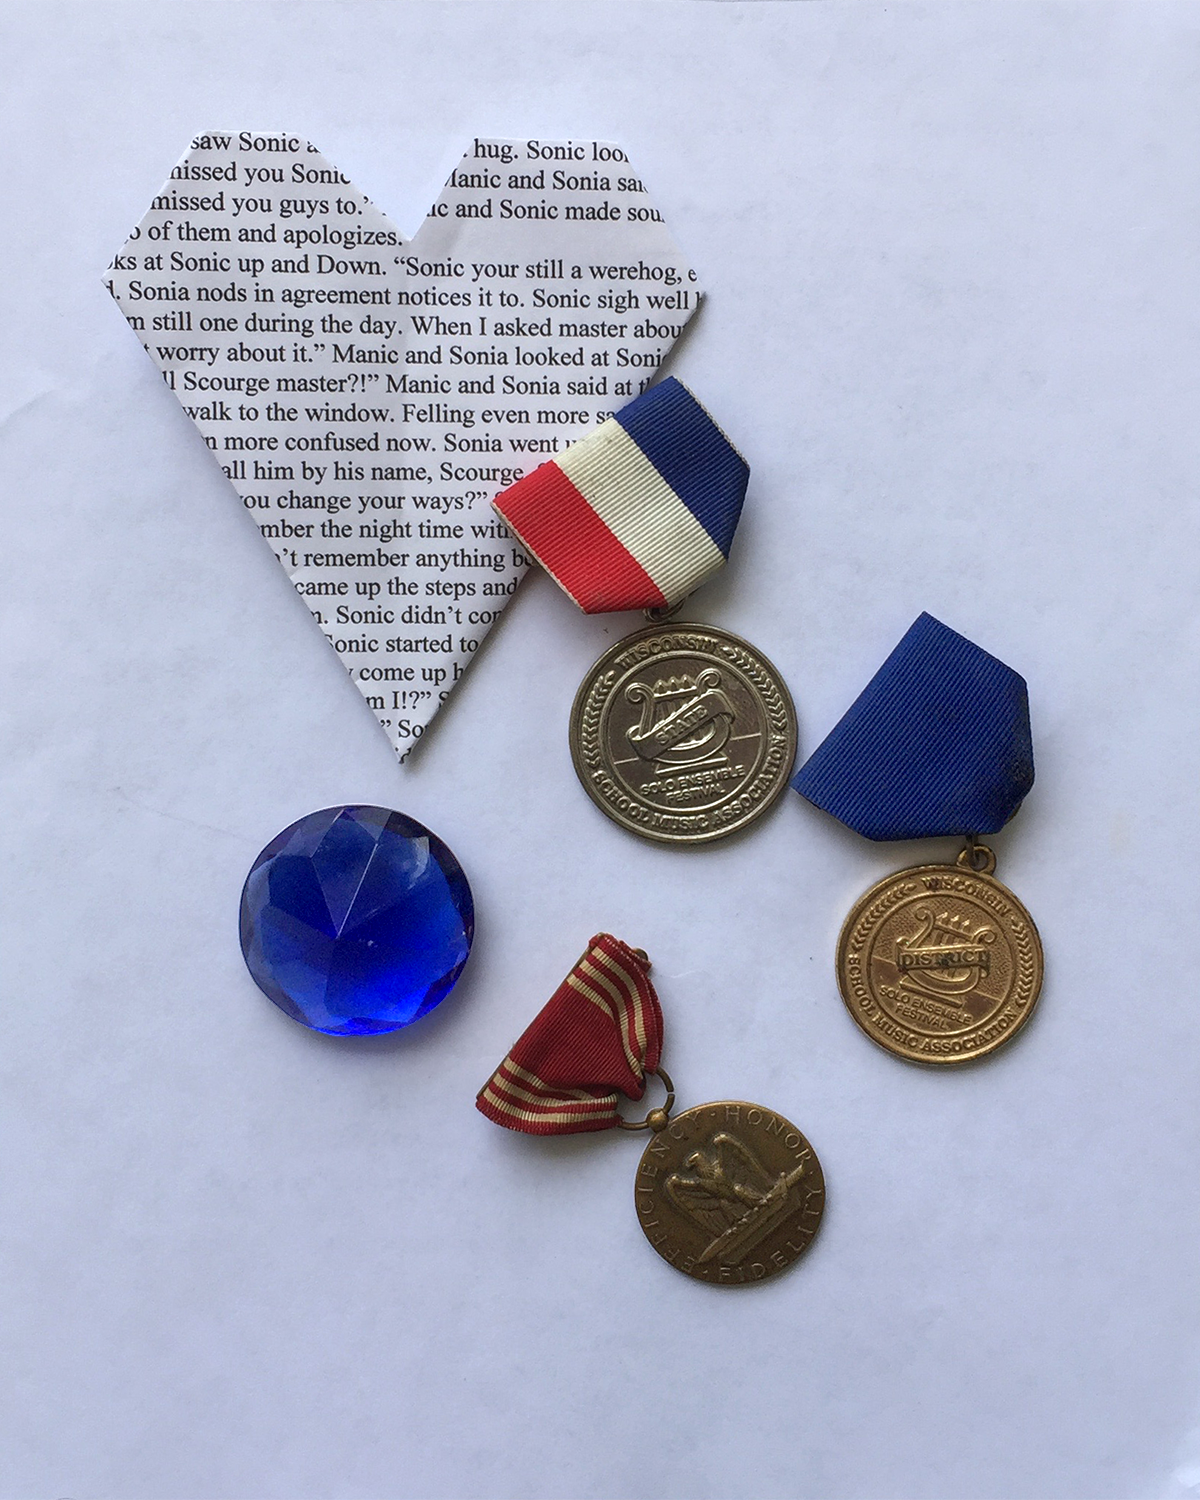
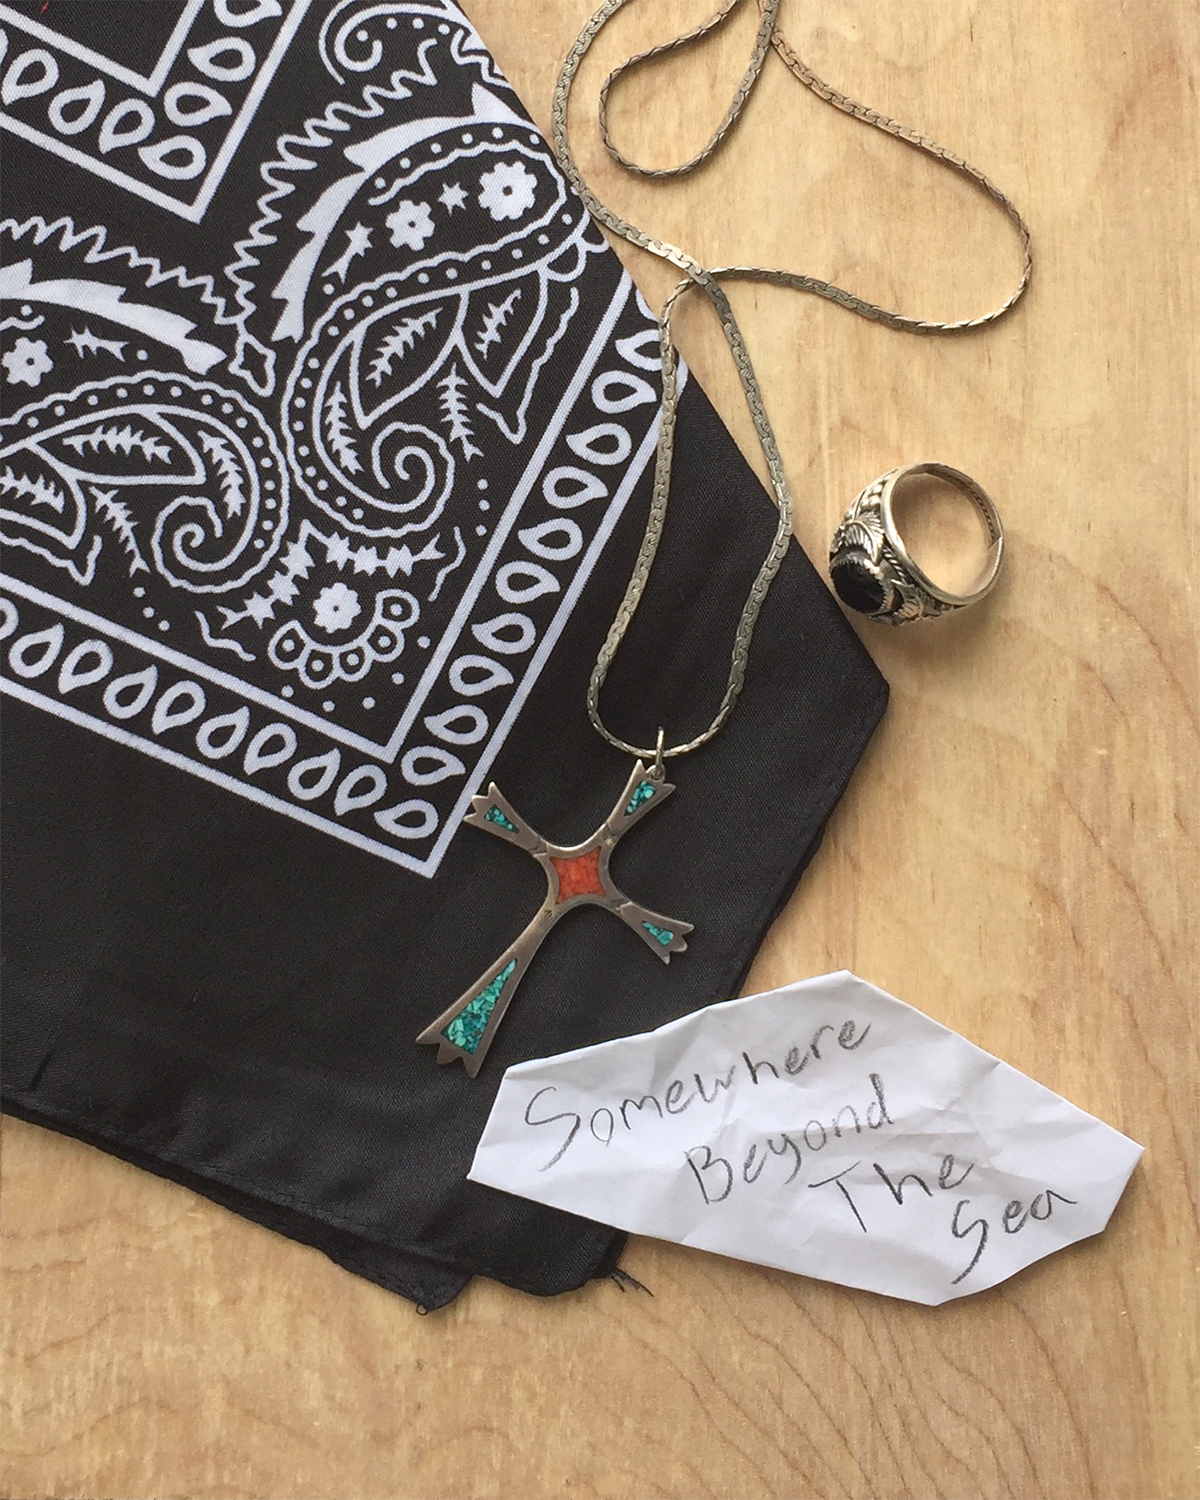
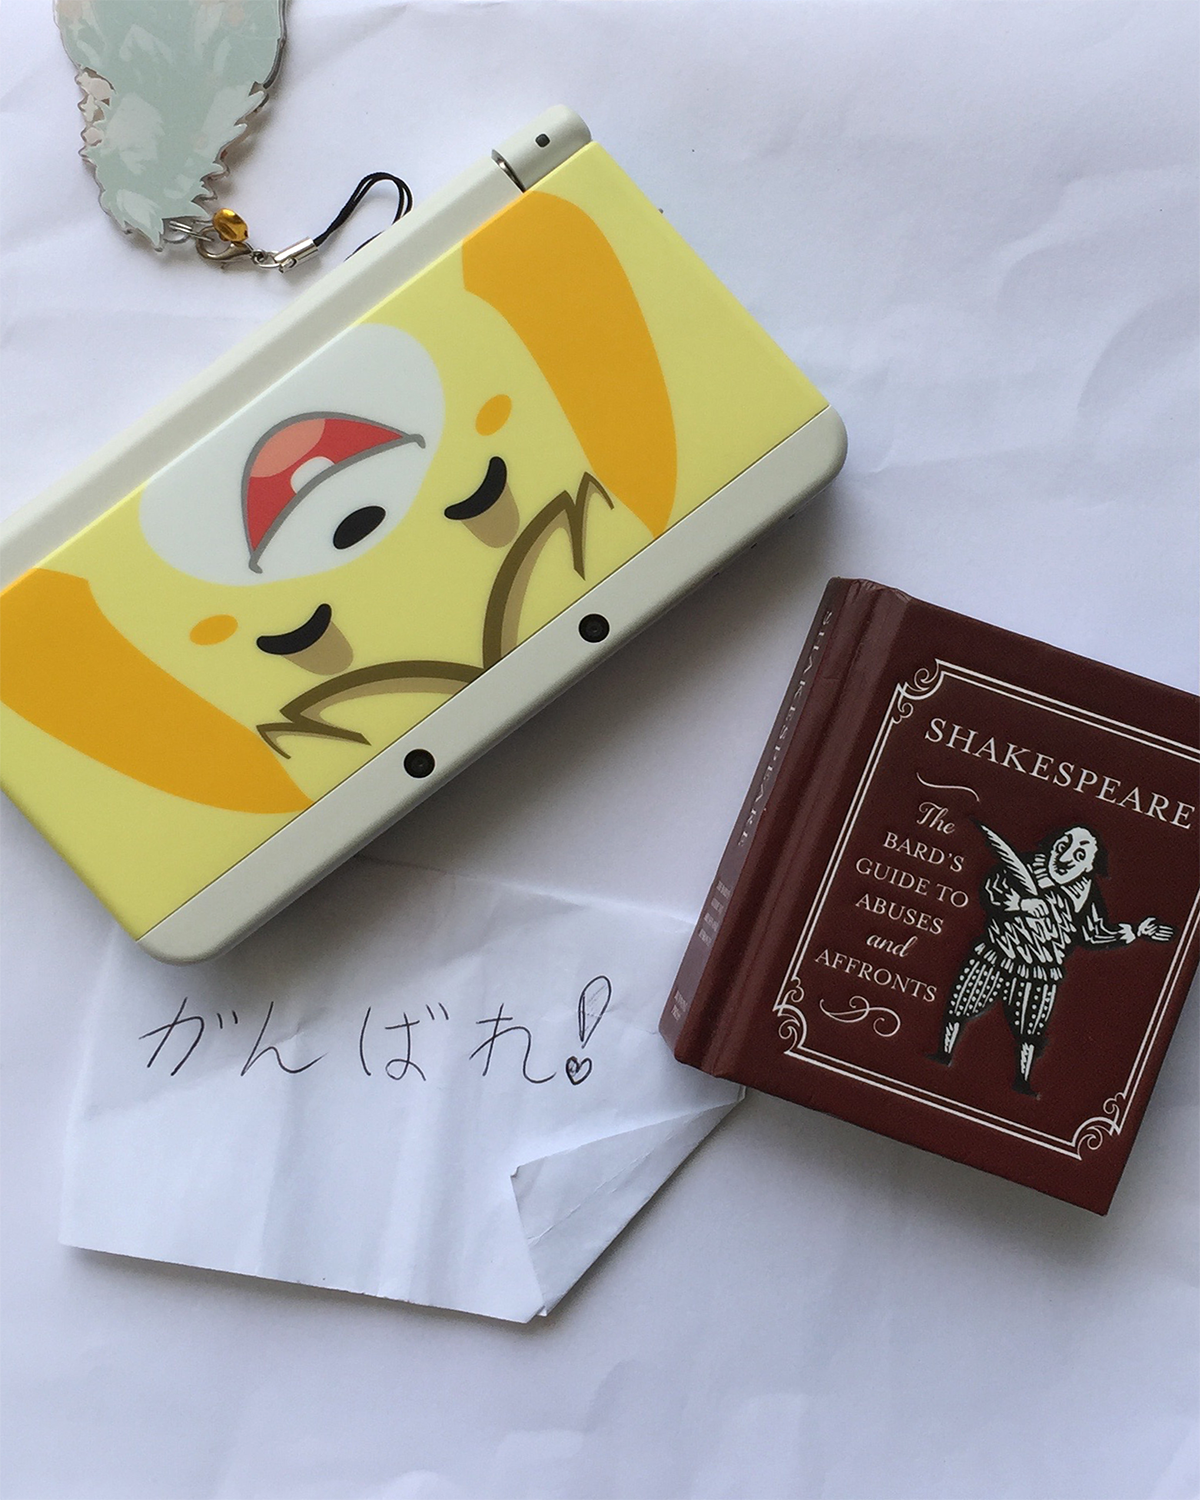
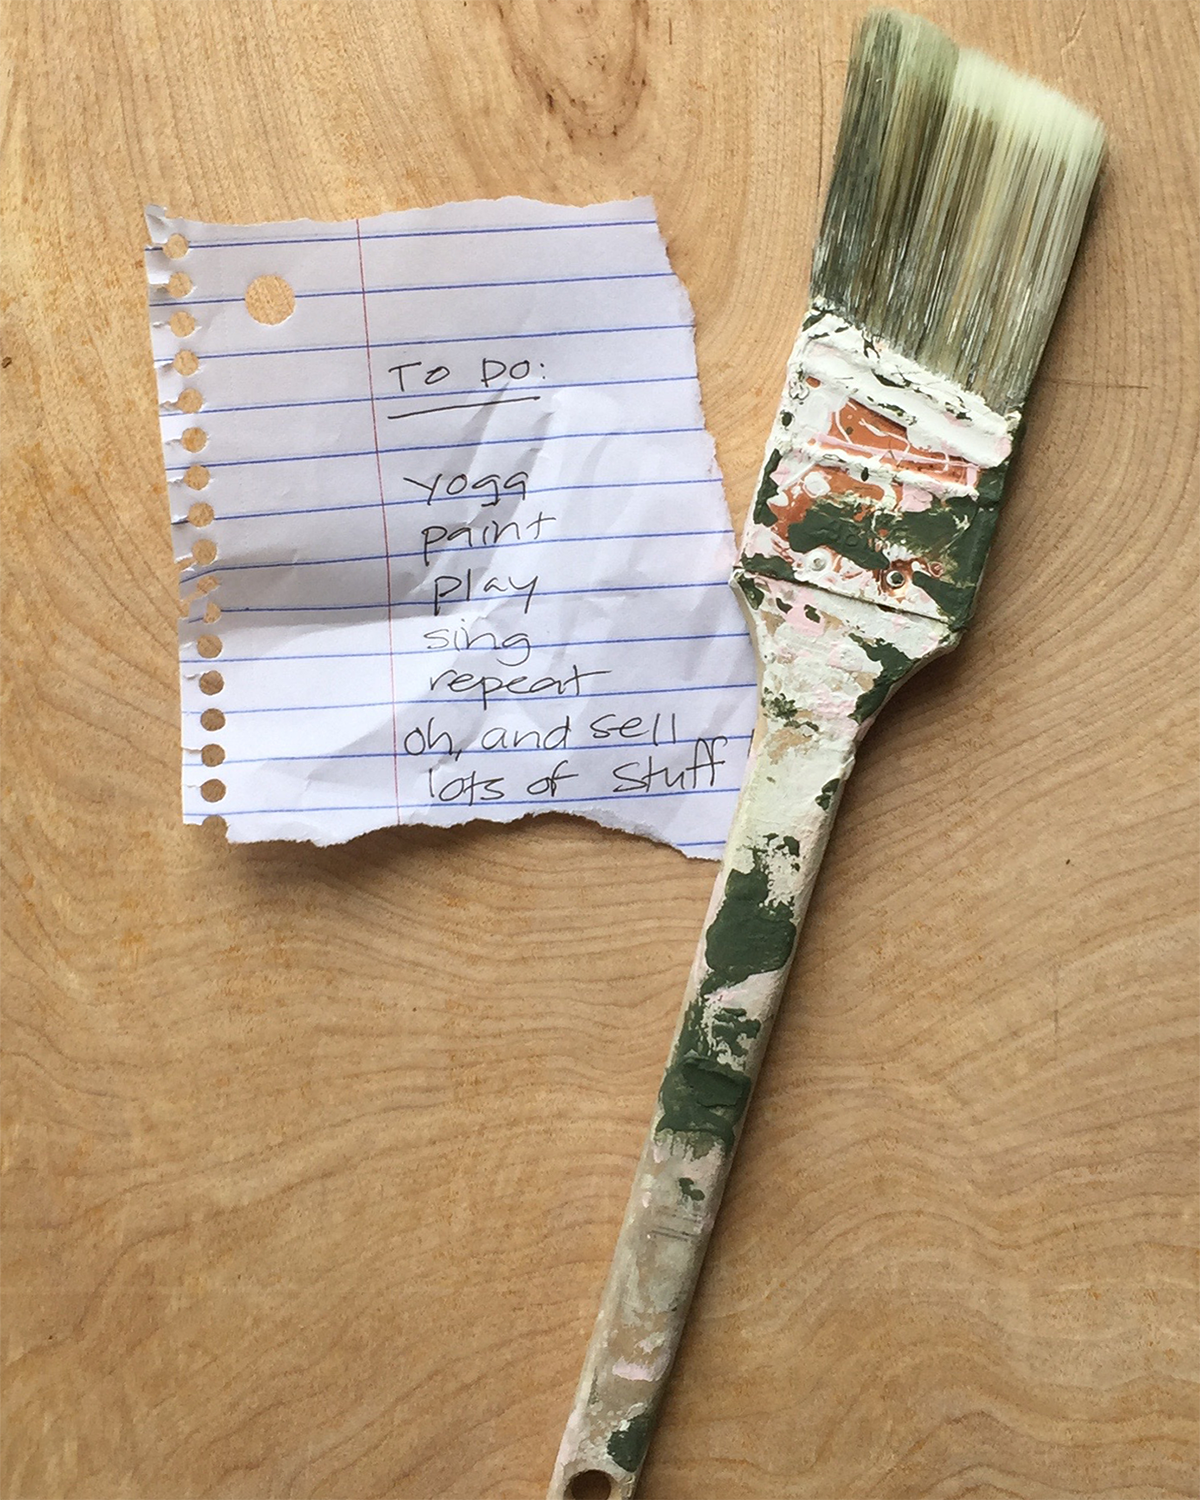
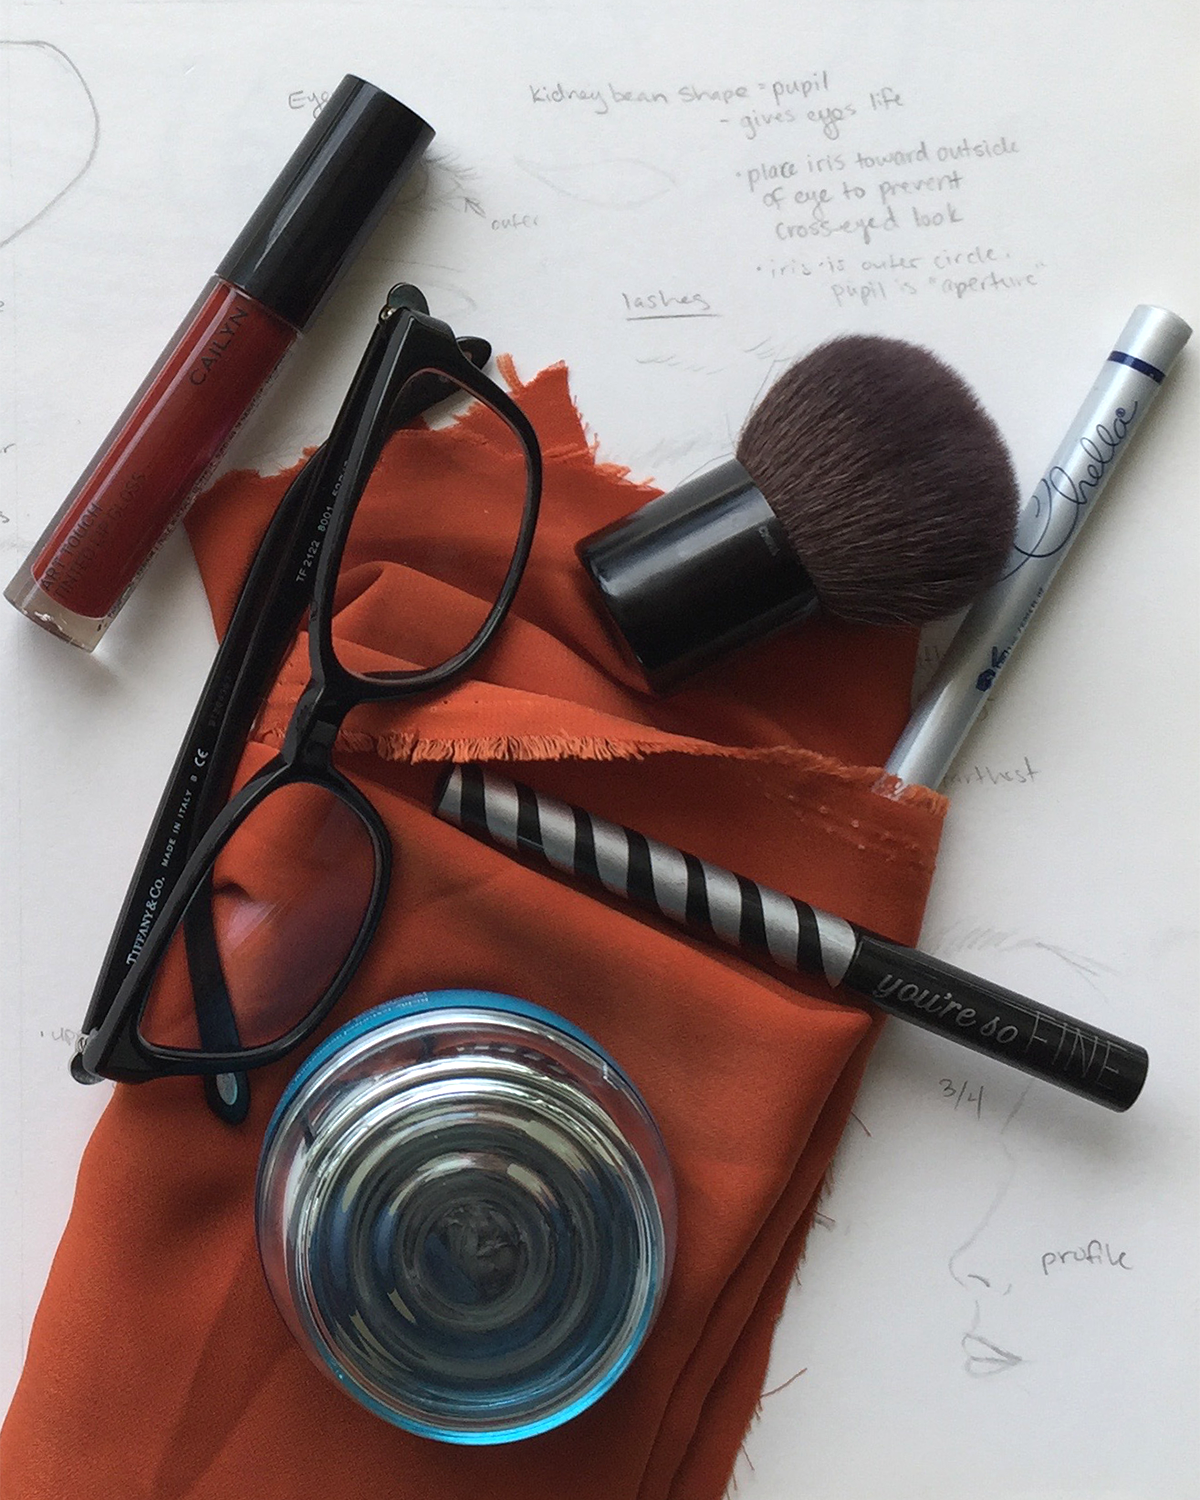

Either clone the image to trace from, or bring it in as a layer.


Painter's Gradient controls are, um, well, sorta unusual. They are not like any other gradient editors around, and just different enough to throw you off the track when you're trying to use them. Here's a breakdown...

1. Choose "Gradients" from the Window menu

2. Make sure the gradient type is set to "Two-Point" from the popup in the Gradient panel

3. In the Color panel, make sure the black circle is surrounding the larger color picker circle, then set the color to whatever you want

4. Then click on the small color picker circle to select it. It will get a black circle around it instead of the larger color picker circle.

5. Then set the color with the color wheel. It will become the second color for the gradient.

6. If you want to save the gradient, click on the menu button in the upper right corner of the Gradient panel and choose "Save Gradient..."
You can also create gradients with more than two colors.

1. From the menu button in the upper right corner of the Gradient panel choose "Edit Gradient..."

2. A color bar with the two colors of the current gradient at opposite ends will appear. To add a new color tab, you must click on the color bar (not just below it like in Adobe products). This adds a new color tab.

3. Select a color with the Color panel. Unlike most dialogs in Painter, this dialog allows you to use other panels (or at least the Color panel). That color becomes the color of the color tab in the Edit Gradient dialog.

4. You can choose the type of tweening between the color tabs by clicking on the small square above the color bar in the Edit Gradient dialog. A Color popup menu will appear with RGB. This means that the color between the two tabs will blend evenly.

5. Selecting "Hue Clockwise" interprets the two colors by using the rainbow of colors as hues that change as if they were moving through the Hue wheel in the Color panel in a clockwise manner. So blending from orange to blue goes from orange to yellow to green to turquoise to blue.

6. Selecting "Hue Counterclockwise" goes the opposite direction around the hue wheel in the Color panel, so going from orange to blue goes from orange to red to purple to blue.
Even though you've edited the gradient in the Edit Gradient dialog, it won't appear in the Gradient panel. However, it isn't lost, it's waiting to be saved.

1. Click on the menu button in the upper right of the Gradients panel and choose Save Gradient.

2. Give the gradient a name and click OK

3. The gradient in now saved in the Gradients library and appears in the Gradient panel!


Back Paper


You can save and load masks - preset selections with anti-aliased edges - in the Channels panel

These are great for isolating a curved area before filling them in with paint. Then you don't have to worry about keeping a smooth edge when you paint. Equivalent to a frisket mask in traditional painting, especially in Air Brush work.
If you look carefully at the wood in the background, or even take a color sample at the top and the bottom and compare them, you'll see that there's more light at the top than at the bottom. That's hard to paint when also dealing with the grain and such.
To fix the issue, I painted it as if it was evenly lit, but use a layer with a gradient to change the tone from top to bottom.

And set the overlay glaze composite method to Multiply with 30% Opacity:

A lot of verisimilitude can be gained from carefully selected details, like bits of dirt or scuff marks

Camera still available if you need it... Don't forget I need to approve your photos...