The Processing PDE
PDE (Processing Development Environment)
If you haven't already done so, here's how to download and set up Processing on pretty much any Computer.
PDE (Processing Development Environment)
You should install Processing on your own computer. Get it at: https://processing.org/download/
PROCESSING
line(10, 80, 30, 40);


PROCESSING
Extended Example
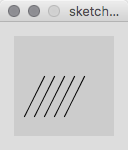
line(10, 80, 30, 40); // Left line
line(20, 80, 40, 40);
line(30, 80, 50, 40); // Middle line
line(40, 80, 60, 40);
line(50, 80, 70, 40); // Right line
PROCESSING
More Extended Code
background(0);        // Set the black background
stroke(255);          // Set line value to white
strokeWeight(5);      // Set line width to 5 pixels
line(10, 80, 30, 40); // Left line
line(20, 80, 40, 40);
line(30, 80, 50, 40); // Middle line
line(40, 80, 60, 40);
line(50, 80, 70, 40); // Right line

Cool, huh?
In the editor, type this:
ellipse(50, 50, 80, 80);

When finished, click on the Run button
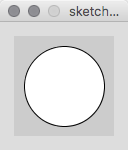
Ta da! A circle!
It appears in the 'Display Window'.
The line we just wrote essentially tells the PDE to "draw an ellipse, with the center 50 pixels over from the left and 50 pixels down from the top, with a width of 50 pixels and a height of 50 pixels"
The word ellipse is a command in the Processing language. It draws an ellipse in the Display Window, but it needs some information it order to do its job.
That's why there's four numbers inside the parentheses next to the word ellipse. Namely, (50, 50, 80, 80)
Those numeric values are called 'parameters', and most commands in the Processing language have them. In the case of the ellipse() command, the four parameters will tell the PDE to draw an ellipse with specific values for the x-location, y-location, height, and width in pixels.
In the editor, type this:
PROCESSING
Example 2-1: Draw an Ellipse
ellipse(50, 50, 80, 80);
Now let's make it way more interesting...
PROCESSING
Example 2-2: Make Circles
void setup() {
size(480, 120);
}

void draw() {
   if (mousePressed) {
     fill(0);
   } else {
     fill(255);
   }
 ellipse(mouseX, mouseY, 80, 80);
}
Wow! That was interactive! Don't worry if you can't quite get this, we'll build up to it piece by piece...
By default, Processing will set up a folder called Processing in the Documents folder on the machine's hard drive. You don't want that.
When you use the Save command in Processing, you should always save it to your personal drive (you should have one with you, if you don't get one!). You can never depend on a file being on the classroom machine when you come back for the next class. Also, you can take the files home for reference and homework.
I'm not sure how this will work out, but bare with me while we try and set up Processing's default folder (which has a bunch of nice things in it) onto your personal hard drive
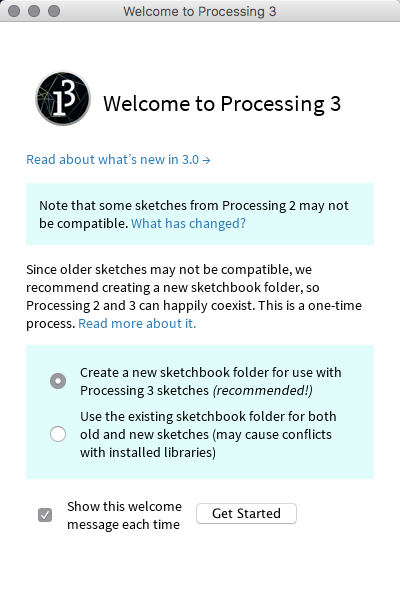
Hopefully, we'll get to this screen. When we do, click on 'Create a new sketchbook folder...'
This might show up before we even do any coding, we'll see...

You can find out more about any command in Processing by selecting the whole word (or double-clicking on it) and choosing 'Find in Reference' in the Help menu. It will open your web browser and go to the appropriate page. (if things are going well, the reference data will be on your .
It's useful and a good idea to keep the Help Reference open while you work in Processing.
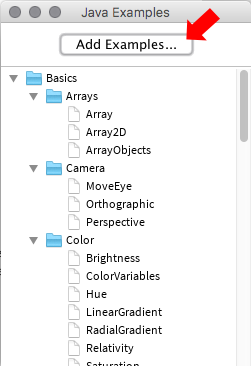
You can also check out examples by choosing 'Examples' from the file menu. Click on the 'Add Examples...' button.
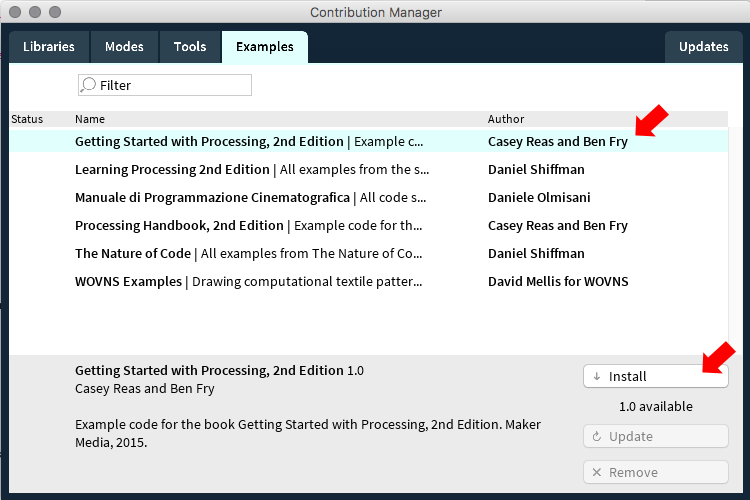
Choose the 'Getting Started with Processing, 2nd Edition' and click on the Install button

I'm using this textbook for a lot of the material I'll be presenting to you. You don't have to buy it (I hate the overpriced cost of textbooks), but it might be helpful to you. You can get it at Amazon, or you can download it for free here. Buy it if you want to support the authors, but if money is tight, download it.
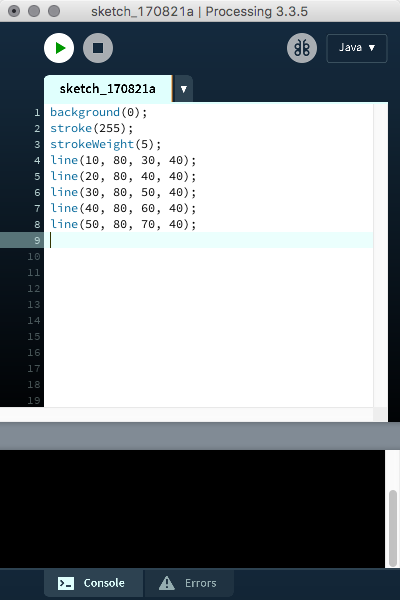
Type this into the PDE
PROCESSING
Extra Example: Make Lines
line(10, 80, 30, 40); // Left line
line(20, 80, 40, 40);
line(30, 80, 50, 40); // Middle line
line(40, 80, 60, 40);
line(50, 80, 70, 40); // Right line
Run it
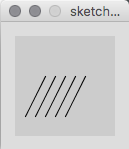
Let's add some stuff to the top
PROCESSING
Extra Example: Make White Lines
background(0);        // Set the black background
stroke(255);          // Set line value to white
strokeWeight(5);      // Set line width to 5 pixels
line(10, 80, 30, 40); // Left line
line(20, 80, 40, 40);
line(30, 80, 50, 40); // Middle line
line(40, 80, 60, 40);
line(50, 80, 70, 40); // Right line
Run it

line(x1, y1, x2, y2); should be fairly obvious. A command to draw a line with a starting point at x1, y1 and and ending point at x2, y2.
But background(0);, stroke(255);, strokeWeight(5);, and smooth(); are of a new type for us.
background(0); tells the display window to have a particular color background. The 0 parameter is a numeric method of describing the color. There is more than one way in Processing to describe a color, but if it's just a single parameter, it describes a color between black and white with 255 intermediary shaded of gray. 0 for black, and 255 for white. 128 would give you a middle gray, since it's halfway between black and white.
stroke(255); follows the same format as background(0);, but strokeWeight(5); parameter describes the thickness in pixels of the line.
NOTE: strokeWeight(0); uses a method called 'camel-back notation' to make it more readable. You can't use spaces to say 'stroke weight', because Processing would see stroke and weight as two separate commands. So to make it more readable, they use internal capitalization to make the combined words more readable than strokeweight.
The last new command, smooth(); is different because, while it is a command, it doesn't have any parameters. Many commands don't need parameters between their parenthesis, but they do need the parenthesis. In the rules of Processing, all commands must have a pair of parenthesis attached to them (with no space between the command and the parenthesis).
Let's see what happens when we change the parameters in our code...